Saturday, February 27, 2016

PERFECT MADELEINES

0


Madeleine. Are they a cake or a cookie? Introduced in Paris in 1755 as a desert for royalty. A sponge like cake that looks like a cookie but tastes like a cake. Baked in a pan that resembles a scallop shell or a cat’s paw. A classic, beautiful shape. 
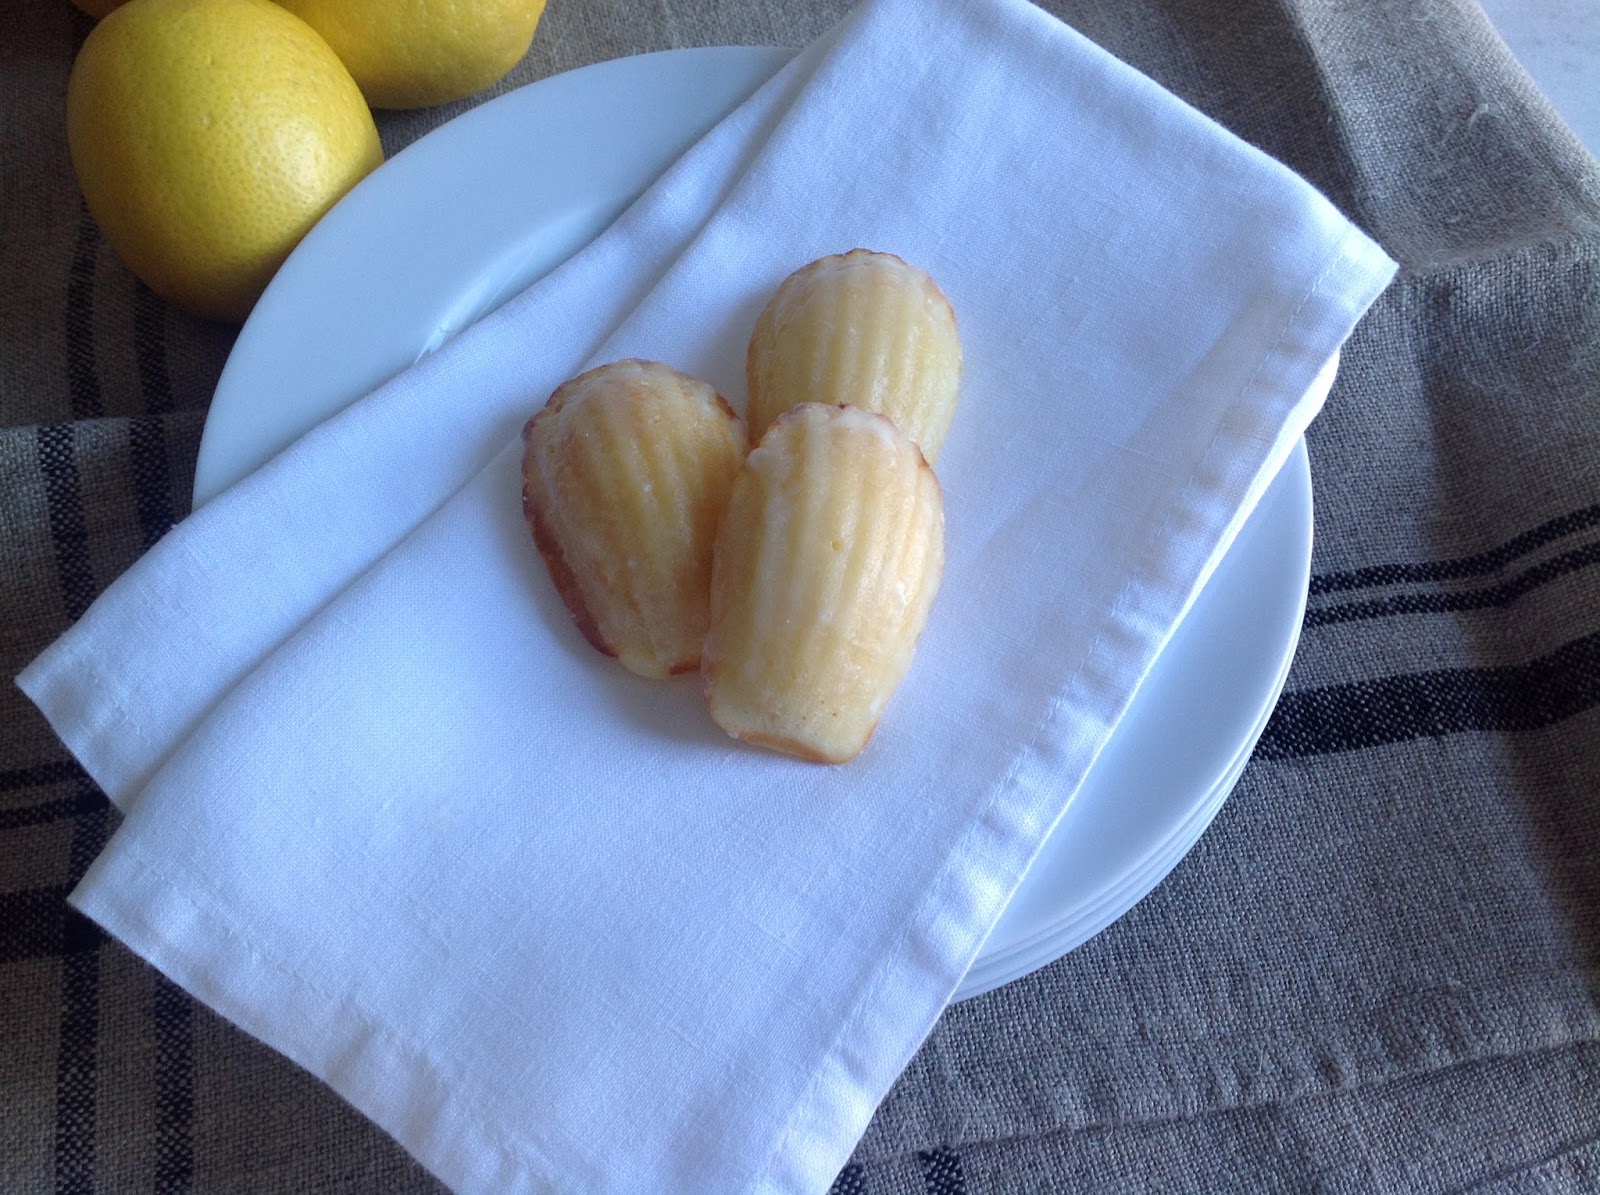
They can be baked with a variety of flavors, but I love the buttery-lemon ones the best. A perfect touch to end a meal. Fabulous with fresh fruit, sorbet or just by themselves. If you are entertaining, the batter can be made a day ahead. Bake and glaze, minutes before quest arrive, and the house smells heavenly. Certainly a lot of oooohs and ahhhhs will come your way. A warm welcome for your quests. And so simple, but yet baking a perfect Madeleine is an art form.


Lemon Madeleine Recipe-

3 Large Eggs, room temperature
2/3 Cup Sugar
1/8 Teaspoon Salt
1 ¼ Cup Flour
1 Tablespoon Lemon Juice
8 Tablespoons Butter, melted
Additional Butter, for pans

Lemon Glaze-
1/2 Cup Powdered Sugar
1-2(plus or minus) Tablespoon Lemon Juice
2 Tablespoons Butter, melted
1-2 Packet Lemon Crystals


All you need special is a Madeleine pan. They can be found at most kitchen supply stores. Mine is from Williams-Sonoma.


This is my nesewt Madeleine pan, with heart shaped shells. It will fun to see how they turn out!

To prep, place your Madeleine pan in the freezer (I store mine in the freezer so it it always ready) several hours in advance.


In a stand mixer, beat eggs, sugar and salt until thick and frothy.


By hand, fold flour by small amounts into the egg/sugar/salt.


Add fresh squeezed lemon juice to melted butter, fold into batter.

Cover your bowl with a cloth and refrigerate for at least one hour.

Preheat oven to 425 degrees.


Once oven has reached baking temperature, melt several tablespoons of butter. Remove pan from freezer. Lightly brush the indentations with melted butter. The butter will start to freeze with contact on the pan. Butter, even if you are using a non- stick pan, it will give your Madeleine that golden color.


Make your lemon glaze. Melt butter, add to sugar and lemon juice and lemon crystals. Add a little lemon zest here, if you like.


Place by teaspoon, drop batter into the indentations, fill about ¾’s full. Do not spread.


Bake 8-10 minutes. You will have to judge this step. The Madeleine should be springy to touch, slightly golden on the edges. You should have a nice big “bump” in the middle. This is the trademark for a perfect Madeleine. Please do not over bake.


Once out of the oven, let cool just for a second or two, until you can flip over into the pan, ridge side up. Let cool briefly, and brush with lemon glaze.  Let cool completely.


A beautiful treat. Cake, cookie, you decide. But, fork or finger?


Saturday, February 13, 2016

WINTER GARDENING

0


Winter gardening. Another way to love winter. Or tolerate it. For those of you who long for the warm sunny days, try this little project to jump start your spring and help ease the cold winter days. And you don’t have to leave the comfort of your home. Rosemary Topiaries. If you love the charm of a topiary, this is a project for you. With a few of these fragrant plants gracing your home, thoughts of the winter blues will melt away. Spring and the warm sunny days will be here before you know.


Rosemary topiaries. Growing these topiaries will take time. Months, maybe. But they are easy to grow, and with just a little care, they will bring beauty to your home. Watch and grow.


This is what you need to start your rosemary topiary-

Potting Soil
Seed Starter Pots
Clear Plastic Cups
Bamboo Skewers
Scissor or Small Pruners
String
Rosemary Plant


Clip a few stems of your rosemary plant, if you are lucky to have some surviving, if not, your local nursery’s greenhouse should have stock. Clip a few stems with a pair of small pruning shears or a pair or sharp scissors. Carefully remove the bottom leaves, leaving about 1 1/2" to 2” of clean stem.


Place a small amount of fresh water in the plastic glasses and place your new stems into the water, keeping the top leaves out of the water.

Place in a warm spot, out of direct sunlight. You will have to change the water every couple days.


In about two weeks small roots should start forming at the bottom of the stems.


Time to transfer your stems into a seed starter. Fill pot most of the way up with potting soil, and carefully place your stem in a pot. Fill the rest of your pot with soil. Place inside small clear plastic cup. Trim a bamboo skewer and place alongside your stem. With care, tie a small piece of string to support the stem, tie the knot on the skewer.


Find a sunny spot and water. Water regularly, but do not let plant dry out or sit in water.


In time, as your mini topiary start to grow, you will need to transfer to larger pots.


Here are a couple of mini topiaries I started a few months ago. Nice to see something grow right before your eyes. Every now and then you can prune the leaves to encourage a ball shape. These are ready for their first pruning.


Before you know, they grow into these! For the winter, find a sunny spot and enjoy the simple beauty of growing something so elegant. When the weather warms, you can take outdoors.


 But for now, a very nice project to keep your mind of the winter chill.