
Summer porches start in spring. But this porch is the star
of spring, summer, fall and winter. It is all about the star planter box. This all-season charmer will turn heads and add 'I want that house' curb
appeal. Simply change the plant and floral by removing the pot inside and you
have a new seasonal look. A statement
staple addition that will be the talk of the neighbors and have your doorbell
ringing asking where your celestial planter came from. They may want their
porch to be the star of the neighborhood too. Heavenly.

Hard to believe, but today is the second day of spring in
Northern Virginia. I have this project well underway and who would guess we
would have snow…

This is what you will need for one star planter-
1 Sheet 4’ x 8’ x ½ Cabinet Grade Plywood
6’- 2” x 2” Wood
35'-2" x 1/2" Wood Trim
35'-2" x 1/2" Wood Trim
Wood Glue
Wood Filler
Clamps
2" Countersink Drill Bit
1 ¼” Wood Exterior Screws
Nails
Latex Caulk
Sand Paper
Always use safety goggles when working with tools.


Cut four 17 ½” x 17 ½” squares from the plywood. Cut four 18” long supports from the 2 x 2.

Find the center of one square of the plywood. Mark.


I used my star cookie cutter to make a paper template for the cut out.


Trace your star in the center of the wood.


Use a 2 1/2" circle to trace a circle inside the star.


Drill three holes very close together on the circle.


Place a jig saw in the little opening to cut the circle out.


Line your saw up and cut out each of the angles of the star,
one at time.


The kitchen sink is a very good place to sand smooth the
rough edges of the star.


If there are little jagged spots where the saw left
splinters, sand with medium grit sandpaper and fill with wood filler. Let dry
and sand smooth.


Glue one support to the left side of the plywood. Have the
top edge of the support even with the top edge of the plywood. The bottom of
the support will extend ½” beyond the plywood. Glue a second support to the
right side of the plywood, making sure you have the top edge even with the top
edge of the plywood. Clamp together. Let sit about 30 minutes.
Remove clamps. Repeat above directions on a second square of
plywood.


With your countersink drill bit, drill three holes
along each side side through the plywood into the 2 x 2 support. Repeat for remaining
2 x 2 supports.


Replace drill bit with Philips drill bit and attach screws
into each of the holes.


Glue the third square of plywood to the two sides. Clamp.
Let sit 30 minutes.
Repeat for the fourth side. Clamp and let sit 30 minutes.
Replace the countersink bit back into the screwdriver and drill three holes on each of the remaining sides. Attach screws.
Repeat for the fourth side. Clamp and let sit 30 minutes.
Replace the countersink bit back into the screwdriver and drill three holes on each of the remaining sides. Attach screws.


Now you have four sides that will stand on its own.

There is no bottom on this planter for a reason. A wood
bottom on a planter will get wet and start to rot. It also takes more time and
more materials to add a bottom to the planter. No thanks, I'll pass. And then they become very heavy. This
is a “planter sleeve”. It just fits right over the pot. Any moisture or water
will run off away from the planter. If you need to adjust for different heights
of your pots as you seasonally change them, simply add a brick or two to the porch and
place your pot on top of the brick(s) then slide your star planter "sleeve" right over the pot.
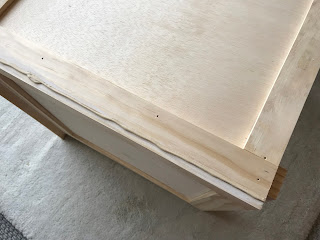
Cut (8) 17 1/2" lengths of trim.


Glue and place one piece of trim along each of the vertical edges (right and left side). Clamp and let sit 30 minutes.
Repeat for all remaining sides.

Measure the horizontal space between the two vertical pieces
of trim.
Cut trim.


Lay trim in space to make sure it fits. Then glue in place
and clamp. You will have to measure and cut each of the openings between the vertical trim pieces. Two per side. Sorry. Mine all were
slightly different. This is tedious, but it is the only way to ensure a
nice tight finish with little as possible gap where trim meets trim.


With a nail gun attach trim. It makes a tiny little hole that is easy to fill.
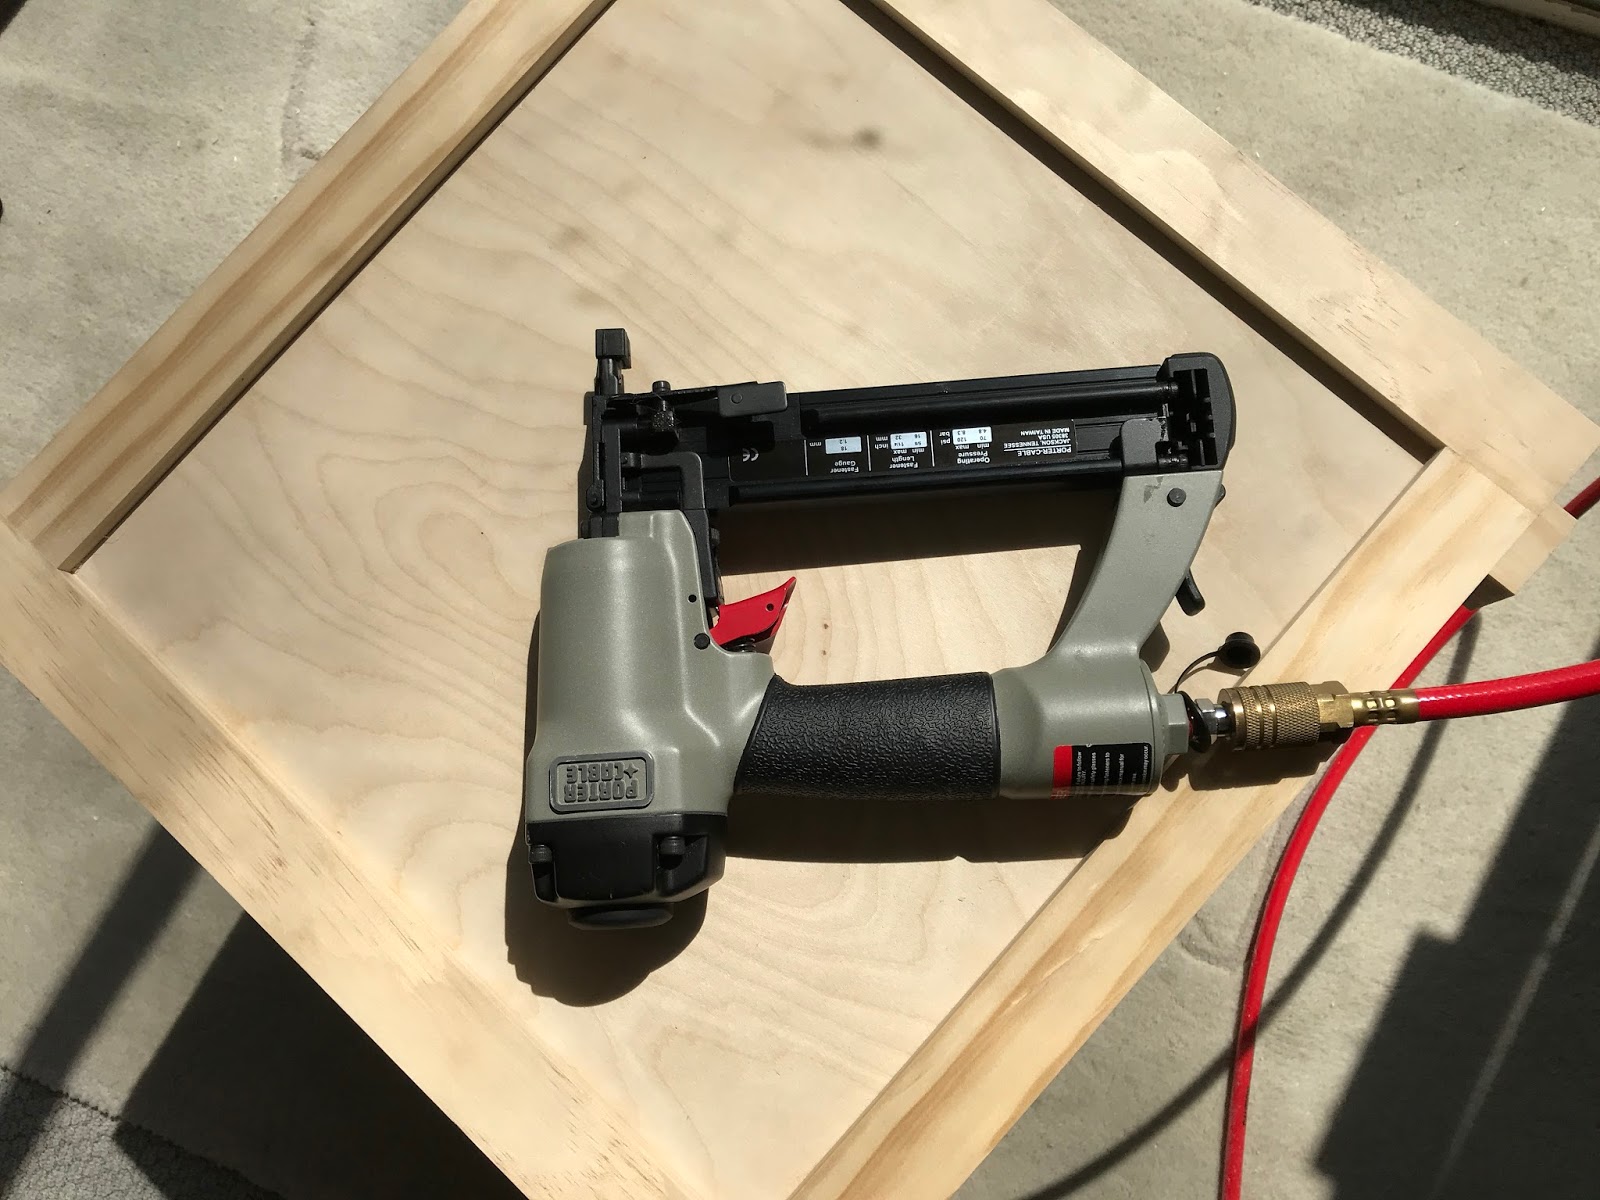


With a nail gun attach trim. It makes a tiny little hole that is easy to fill.

Move your saw blade so it is at the 45-degree mark. The caliber of mine is
slightly off, you just have to know your tools.
Cut one miter from scrap wood trim. This will be your guide.


Cut one miter on left side of trim.


Line this piece of trim on the top edge and hold in place to mark the right side cut. Mark on the ¼”
edge where the cut will start. Take you scrap miter guide and lay it on top of your
trim piece and line up the guide with the mark. Draw a line where the cut will
take place.
Follow the mark and cut the trim. Now you should have a
piece of trim with a miter cut on the right and left side.


Lay your trim on the edge, inspect fit. Remove trim, add
glue then nail in place with a nail gun.


Repeat this step for the next two sides for the trim.


For the last side of trim, repeat the same steps until you
get to the last cut. Lay the trim on top and mark as best you can the last
miter. Cut trim and place on last edge to inspect. Glue and nail in place.
I would like to add a note that this is not a fine piece of
cabinetry you are making. You are making a planter for outside. It will
weather. It may not be perfect. Don’t beat yourself up with perfection.
Sometimes it goes together smoothly and sometimes it does not. I will share
this with you, I learned a very valuable lesson long ago that wood has its own
way sometimes and knowing that, you just have to “caulk the !*&#! out of
it” and walk away. A little caulk and paint can work miracles. Sage advise. Fond memories.


Speaking of caulk, add a fine line along the edge where the
trim butts up to each other at the corners. Smooth with your thumb and wipe off excess. Let dry. Apply caulk to any place where two boards meet that have a gap. Caulk will become your best friend for this project.


Fill all the little nail holes and any spots that there are
spaces between the wood. Let dry. Sand lightly.


Use wood filler over caulk if needed. Sand smooth.


Sand entire box with sandpaper, by hand or with a sander.


Use wood filler over caulk if needed. Sand smooth.


Sand entire box with sandpaper, by hand or with a sander.

Brush off all sanded dust.

Ready to finish. First layer should be painted with a primer coat. I chose to
use spray primer. Saving a little time is everything.
Sand lightly when dry.
Paint two coats of paint with exterior semi-gloss
latex paint. Let dry between coats of paint. Sand lightly, if needed when dry.


Definitely the star of this porch. Heavenly.

