Your home can be an art gallery. A museum, if you like. How
nice it is to admire your favorite photos showcasing those beautiful eyes,
priceless smiles or magic moments of your life with a custom oversized frame. Even better
when you are the artist. Three simple frames, or design your own. Follow these
simple steps and your house too can be an art gallery. No power tools needed.
This is what you will need for your oversized frames-
Words Stencil- you can purchase this
here
Dot Stencil
20” x 20” Canvas Frames
Two Colors Latex Paint
2” Painters Tape
Paint Brushes, Rollers
Stencil Spray Adhesive
Scissors
X-Acto Knife
Straight Edge Ruler
Pencil
Sharpie Marker
Vinyl Plastic, by the yard (purchased at Jo-Ann Fabric, $9.00/yard)
Hot Glue Gun
3/4" Ribbon, Washi Tape
Modge Podge
The paint colors used in these frame projects are Benjamin
Moore Dove White and Benjamin Moore Silver Lake. I purchased sample sized
paints, cost about 6.00 each. They came in eggshell finish.
Prep your canvas by painting two coats of the Dove White.
Let dry between coats.
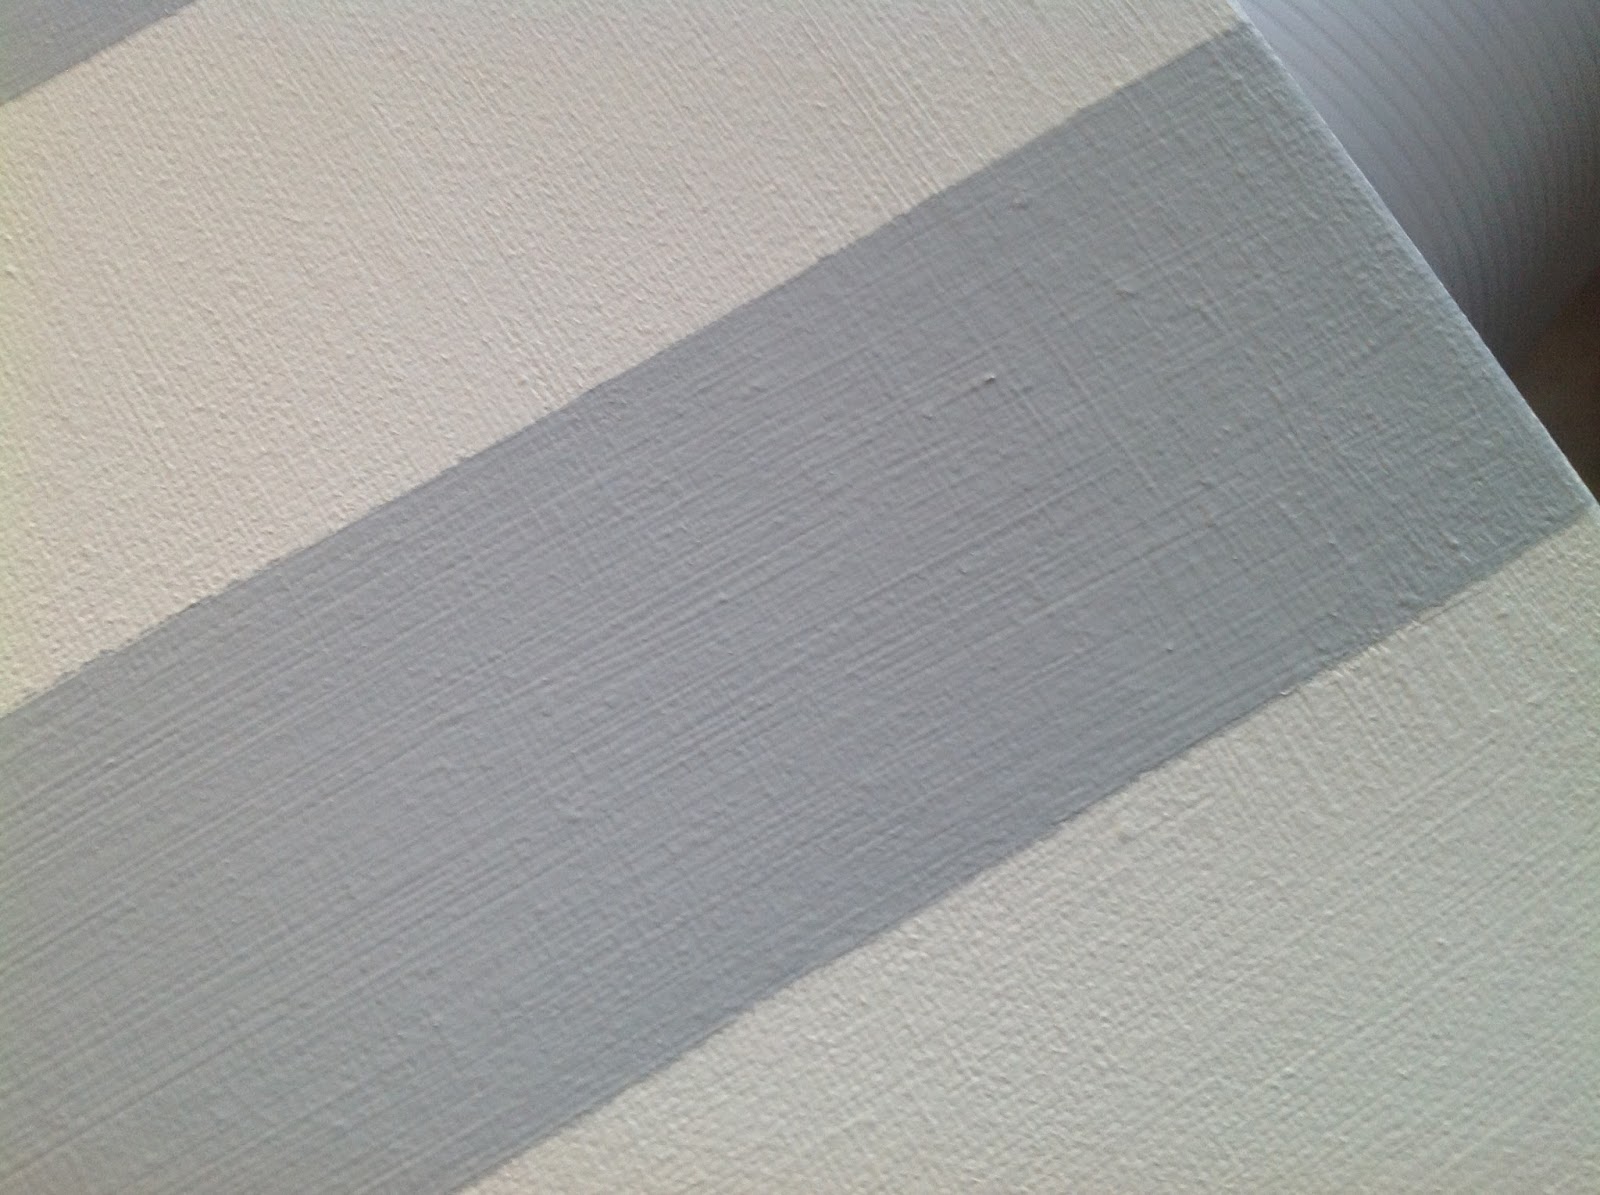
Stripe Frame
For the stripe frame, measure 2” increments the length of
the frame.
Use your straight edge ruler and lightly draw horizontal
lines.
Position the painters tape on the line, one stripe every
other line. Secure the tape by gently rubbing the tape. I run my finger along
all edges to secure a tight seal.
Paint your Silver Lake blue on ever other stripe, where
there is no tape.
As soon as you are finished painting, carefully remove each
stripe of tape. Let dry.
Script Frame
To make the Script frame, on the reverse side of the
stencil, lightly spray the stencil adhesive in a ventilated space. Let dry.
Place the stencil so the first letter on the first line (d)
is ¾” from the left edge and (the top loop of the d) is 1” down from the top of
the frame. This will keep the words balanced.
Using the brush of choice (I love a good brush), dip in
paint then blot out excess paint using a circular motion on a paper towel. This
will spread your paint evenly on the brush for better control of the paint.
Begin applying the Silver Lake paint on each word lightly. I
gently applied three or four layers of paint on each word. I wanted a light,
soft, hand painted look. Not a machine finished print. I would suggest you
practice on a sheet of paper with your stencil until you are happy with the
finished look you want. Best to start with a few light coats than one heavy coat of
paint.
Polka Dot Frame
For the polka dot frame, apply stencil adhesive on the back
side of the stencil. Let dry,
Repeat paint stencil technique from above script frame.
I randomly placed the dots all over the frame for a less
structured, free form look.
To make opening for a 4” x 6” photo, cut a template 3 ¾” x 5
¾” on a piece of paper.
Measure and place paper in center of frame. Lightly trace a
line around it with a pencil.
Using your straight edge as a guide, carefully cut out the
opening with the X-ACTO knife. Because canvas is a woven fabric, you may have a
few short threads, snip. Dip you finger in Modge Podge (or any clear drying
glue) and run your finger around the opening. This will keep any further
fraying of the opening.
Flip over the frame and measure the space between the wood
frame (roughly 17” x 17”).
Measure the vinyl plastic and cut to fit the back of the
frame. This will give stability and support to the back of the frame.
Make sure it fits.
With you hot glue gun, run a thin bead of glue around the
opening. Secure the vinyl. Then run a bead of glue around the perimeter of the
vinyl and secure.
Next, measure and cut a second piece of vinyl 6 1/2” x 4 ½”.
Run a bead of hot glue on three sides of the opening and place second piece.
Leaving the fourth side open allows you to slide your photo in between the
vinyl.
Finish off the edge of the second piece of vinyl with a
decorative tape. I used this Washi tape from a previous project.
Now just slide your photo in. Secure with acid free tape if
you like.
To finish the edge of the frame, run a bead of glue and
spread evenly. Place ribbon over, smoothing as you go on all four sides. I used
white grosgrain ¾” ribbon. Let dry.
Now your frames are ready to hang. The hardest part of this
project is where you are going to place them! How beautiful it is to enjoy the
magic moments of your life, gracefully hung on your home’s walls. Take a step back and enjoy the view!