
Children grow. And it is amazing how fast they do. My mother
recorded my and my sibling's height with a pencil mark and the date, on a vertical
strip of trim in the kitchen each year. I believe there are some of our childhood friend's heights recorded there to. As the years went by, the paint wore thin, but
the marks remained. We carried that tradition on with our two sons with an
oversized ruler. A ruler that could move from house to house. History recorded
and kept. Saved. Treasured. Loved. If you too are the sentimental type, this
could be the perfect keepsake project for you!
This is what you will need for your oversized growth ruler-
One 1” x 8” x 78” Select Pine Board
Medium Grit Sandpaper
Primer
Semi-Gloss Paint
Paintbrush
Ruler Decal, to purchase…link here
Wall Hook
Wooden Spoon or Credit Card
Scissors

I purchased select pine for my board because the wood has
few (if any) knots, slight grain lines and is relatively light weight. Home
Depot happily will cut your wood to any length you desire. I wanted my growth
chart to go beyond 6’, so I had them cut it 78” long. And it fits nicely in my
car for transport home.
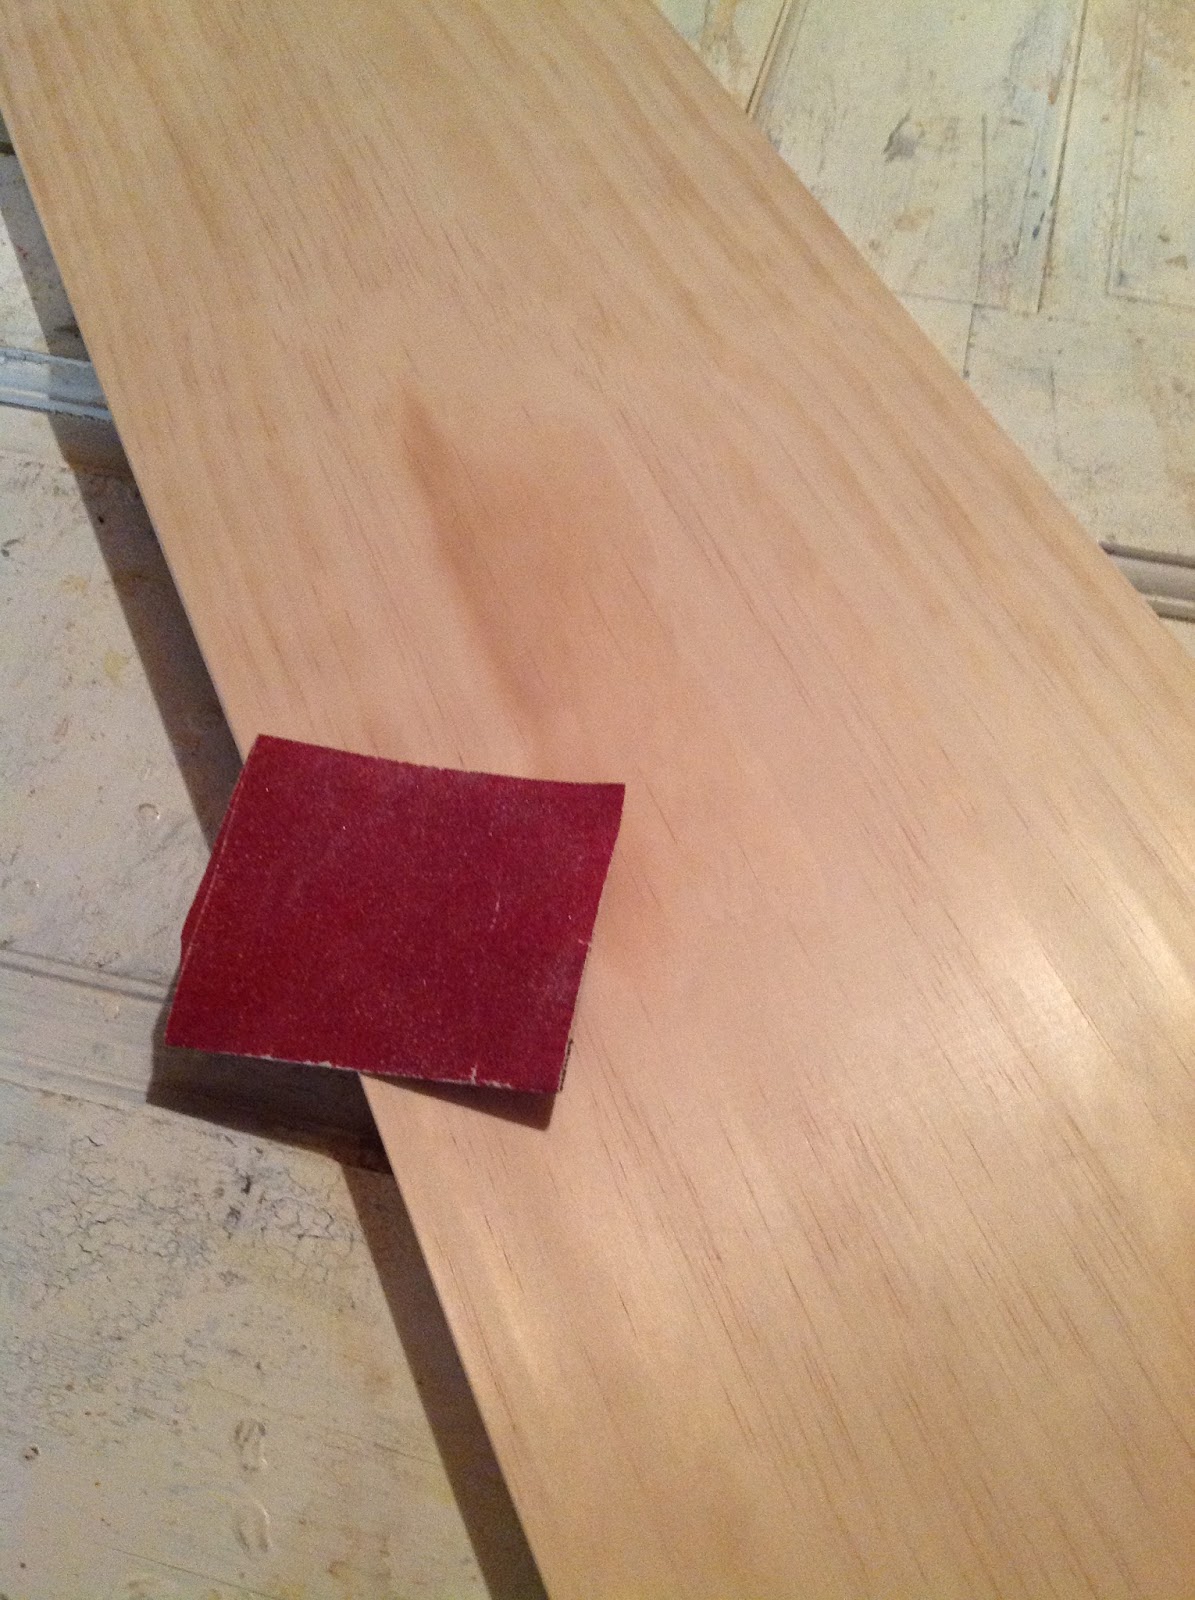
Sand by hand to smooth all edges and sides. You may have to
fill the cut edge with wood filler if it is too rough.


Paint one light coat of primer on all sides and edges.
You can also skip the painting step by purchasing a primed
and painted white board if you don't like to paint. You will still have to paint the cut edge.
Lightly sand the board when the primer is dry.
Apply a coat of your semi-glass paint to all sides and let
dry overnight.
Lightly sand the first coat of paint.
Paint a second coat of paint. Let dry. Sand lightly.

Unroll your decal.

Flip your decal over. On the back there is a printed grid.
Make sure this has been cut straight. Mine was slightly wavy, so I had to trim
with scissors the entire length to make sure the edge would be even when the
decal was applied.

I cut the decal into roughly three pieces. This will make it so
much easier to handle a shorter length when you are applying the decal.


Start with the lowest part of the ruler (the first foot) and
carefully remove the paper on the back (the thicker side with the grid). Watch so it does not curl up, it will
stick to itself. It is good to have a second set of hands to help you with this
part.


Once the paper back has been removed, your decal is ready to be
placed onto the board. With care line up the side and the bottom of the board with the decal.

Softly press the inch lines and numbers onto the board, one at a time,
starting at the bottom and working your way up. Press each line from the
outside edge to the middle of the board


It will be alright if you get air bubbles or wrinkles on the
paper. Just DO NOT get any wrinkles or bubbles on the black decal.
Remove the back paper off the second segment of your decal.

Line up the second segment to the first segment. Repeat
attaching and pressing.
Remove the back paper of the third segment.


Line the third segment to the second segment. Repeat
attaching and pressing.
Double check your decal. Look for wrinkles and bubbles on the black numbers and inch lines, and
gently smooth the entire length with your fingertips.

With the back of your wooden spoon, gently, but firmly rub
the decal onto the board. You could use a credit card too, if you like.

Once you are sure all the decals have been rubbed onto the
board, remove the paper by SLOWLY pulling it off at an angle.

Pull all the paper off the first segment.

If part of the decal is still sticking to the paper,
just press the paper back down, and rub with the spoon to get the decal to
stick back down onto the board. That is ok if that happens, the lines will still adhere to
the board.


Repeat until all the paper has been removed.
With your fingertips smooth the decal on the board, checking
to see if it is perfect.

Flip the board over and attach a hook to the back. I placed
my hook about 4” down from the top edge.


