Saturday, October 31, 2020

PUMPKIN SPICE MUFFINS

2

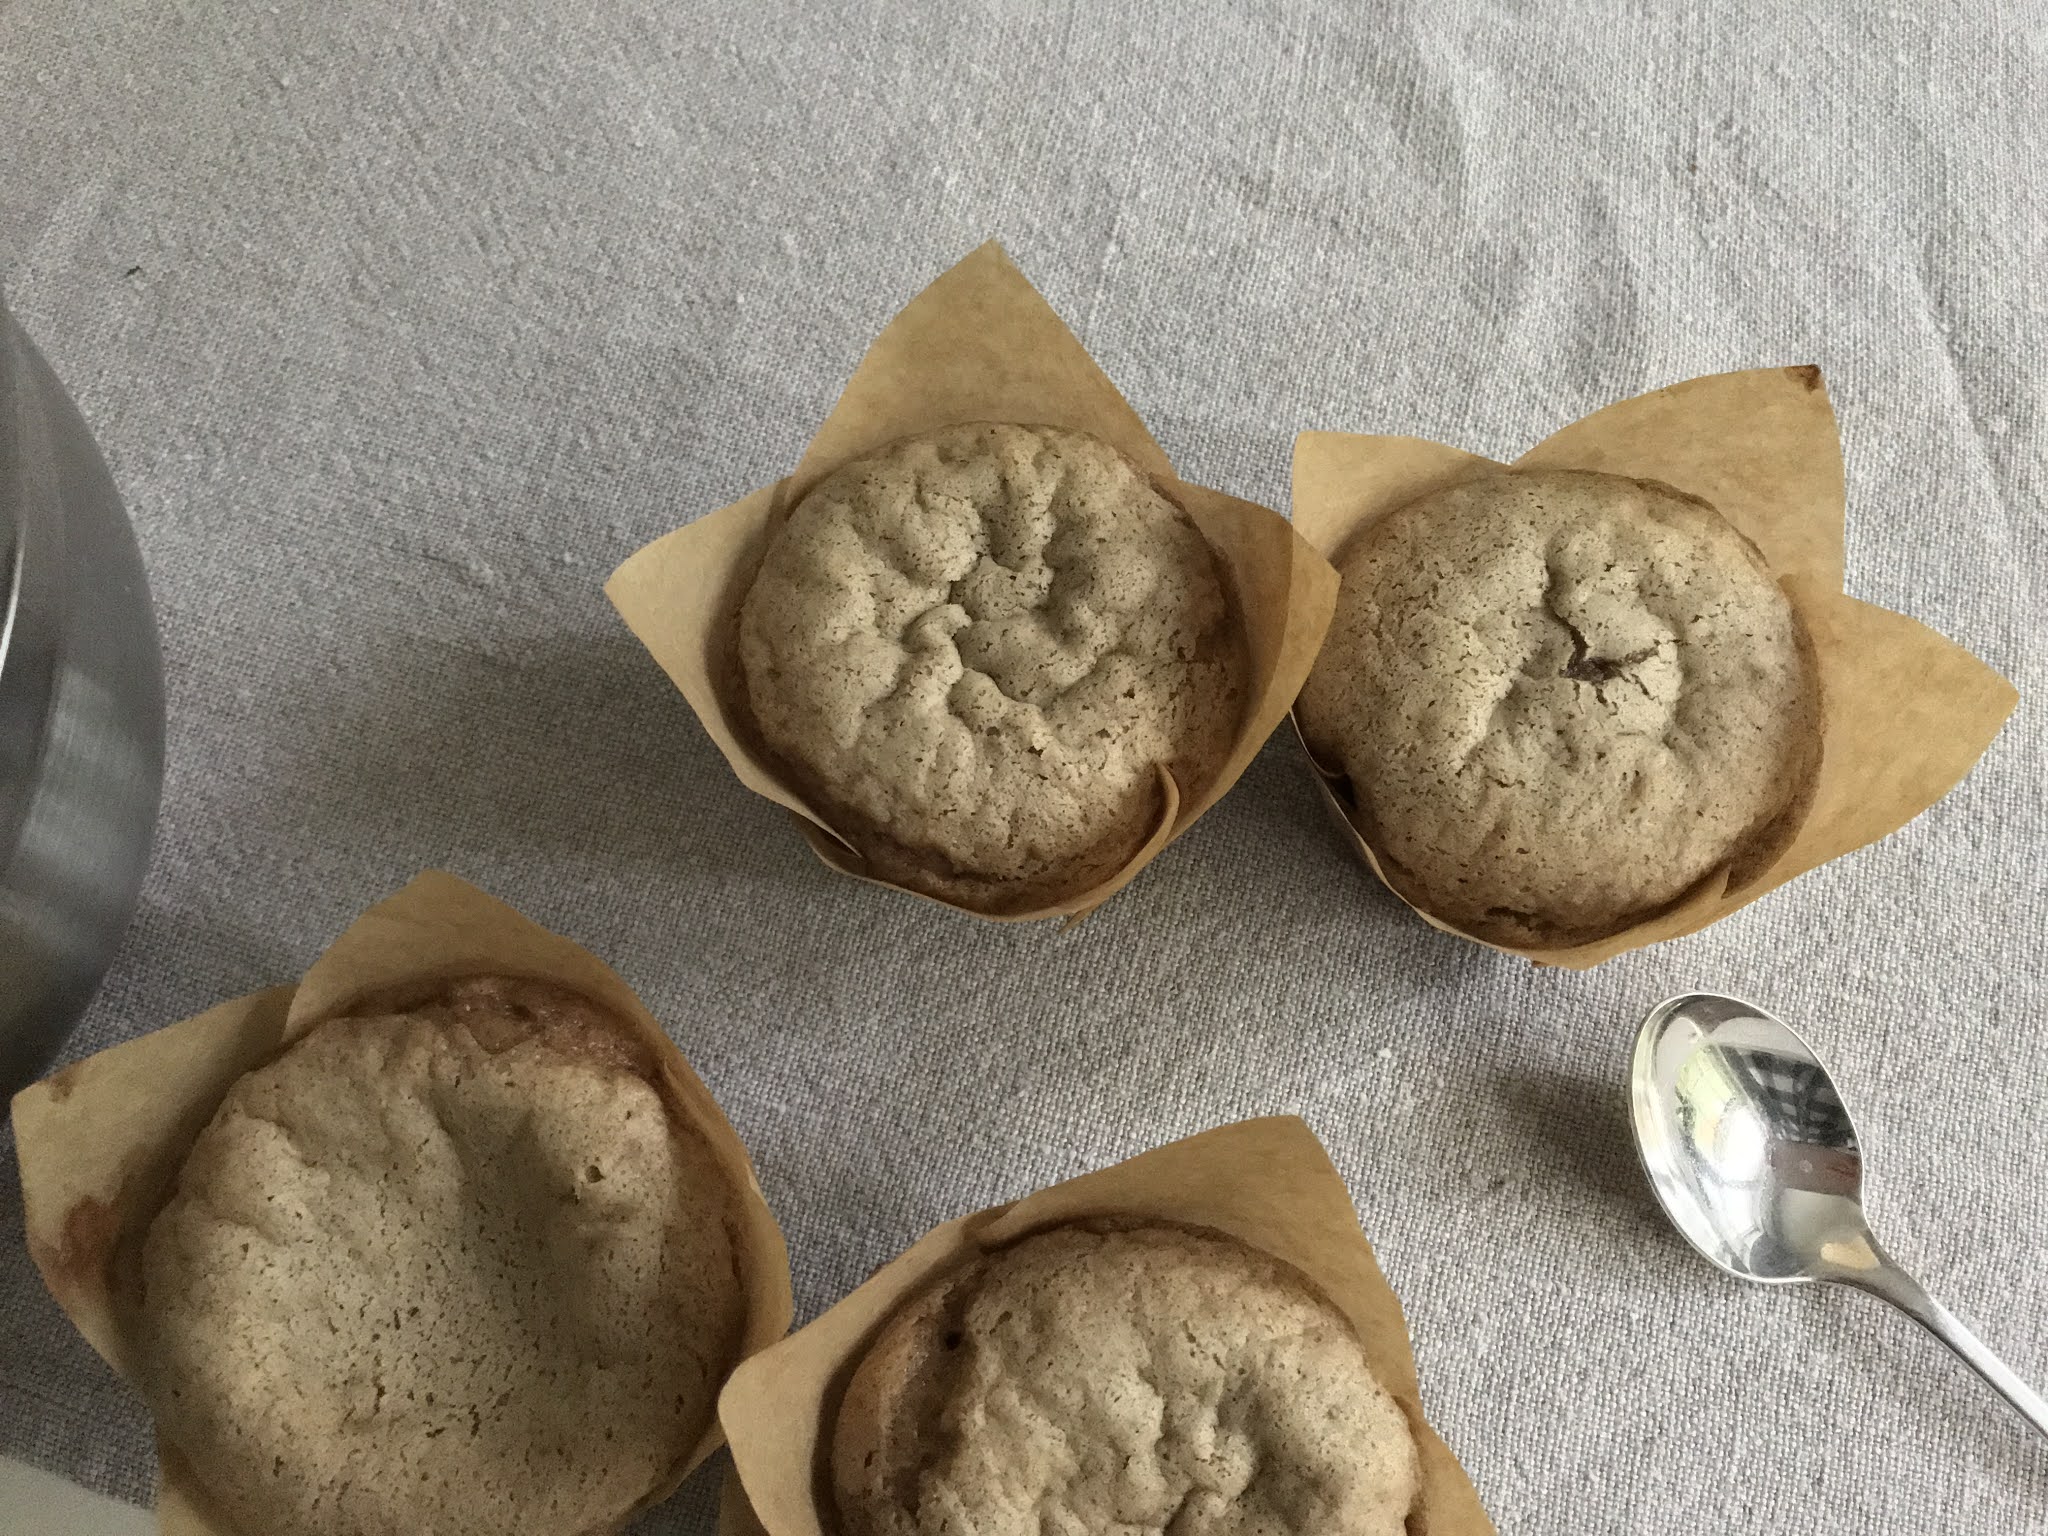
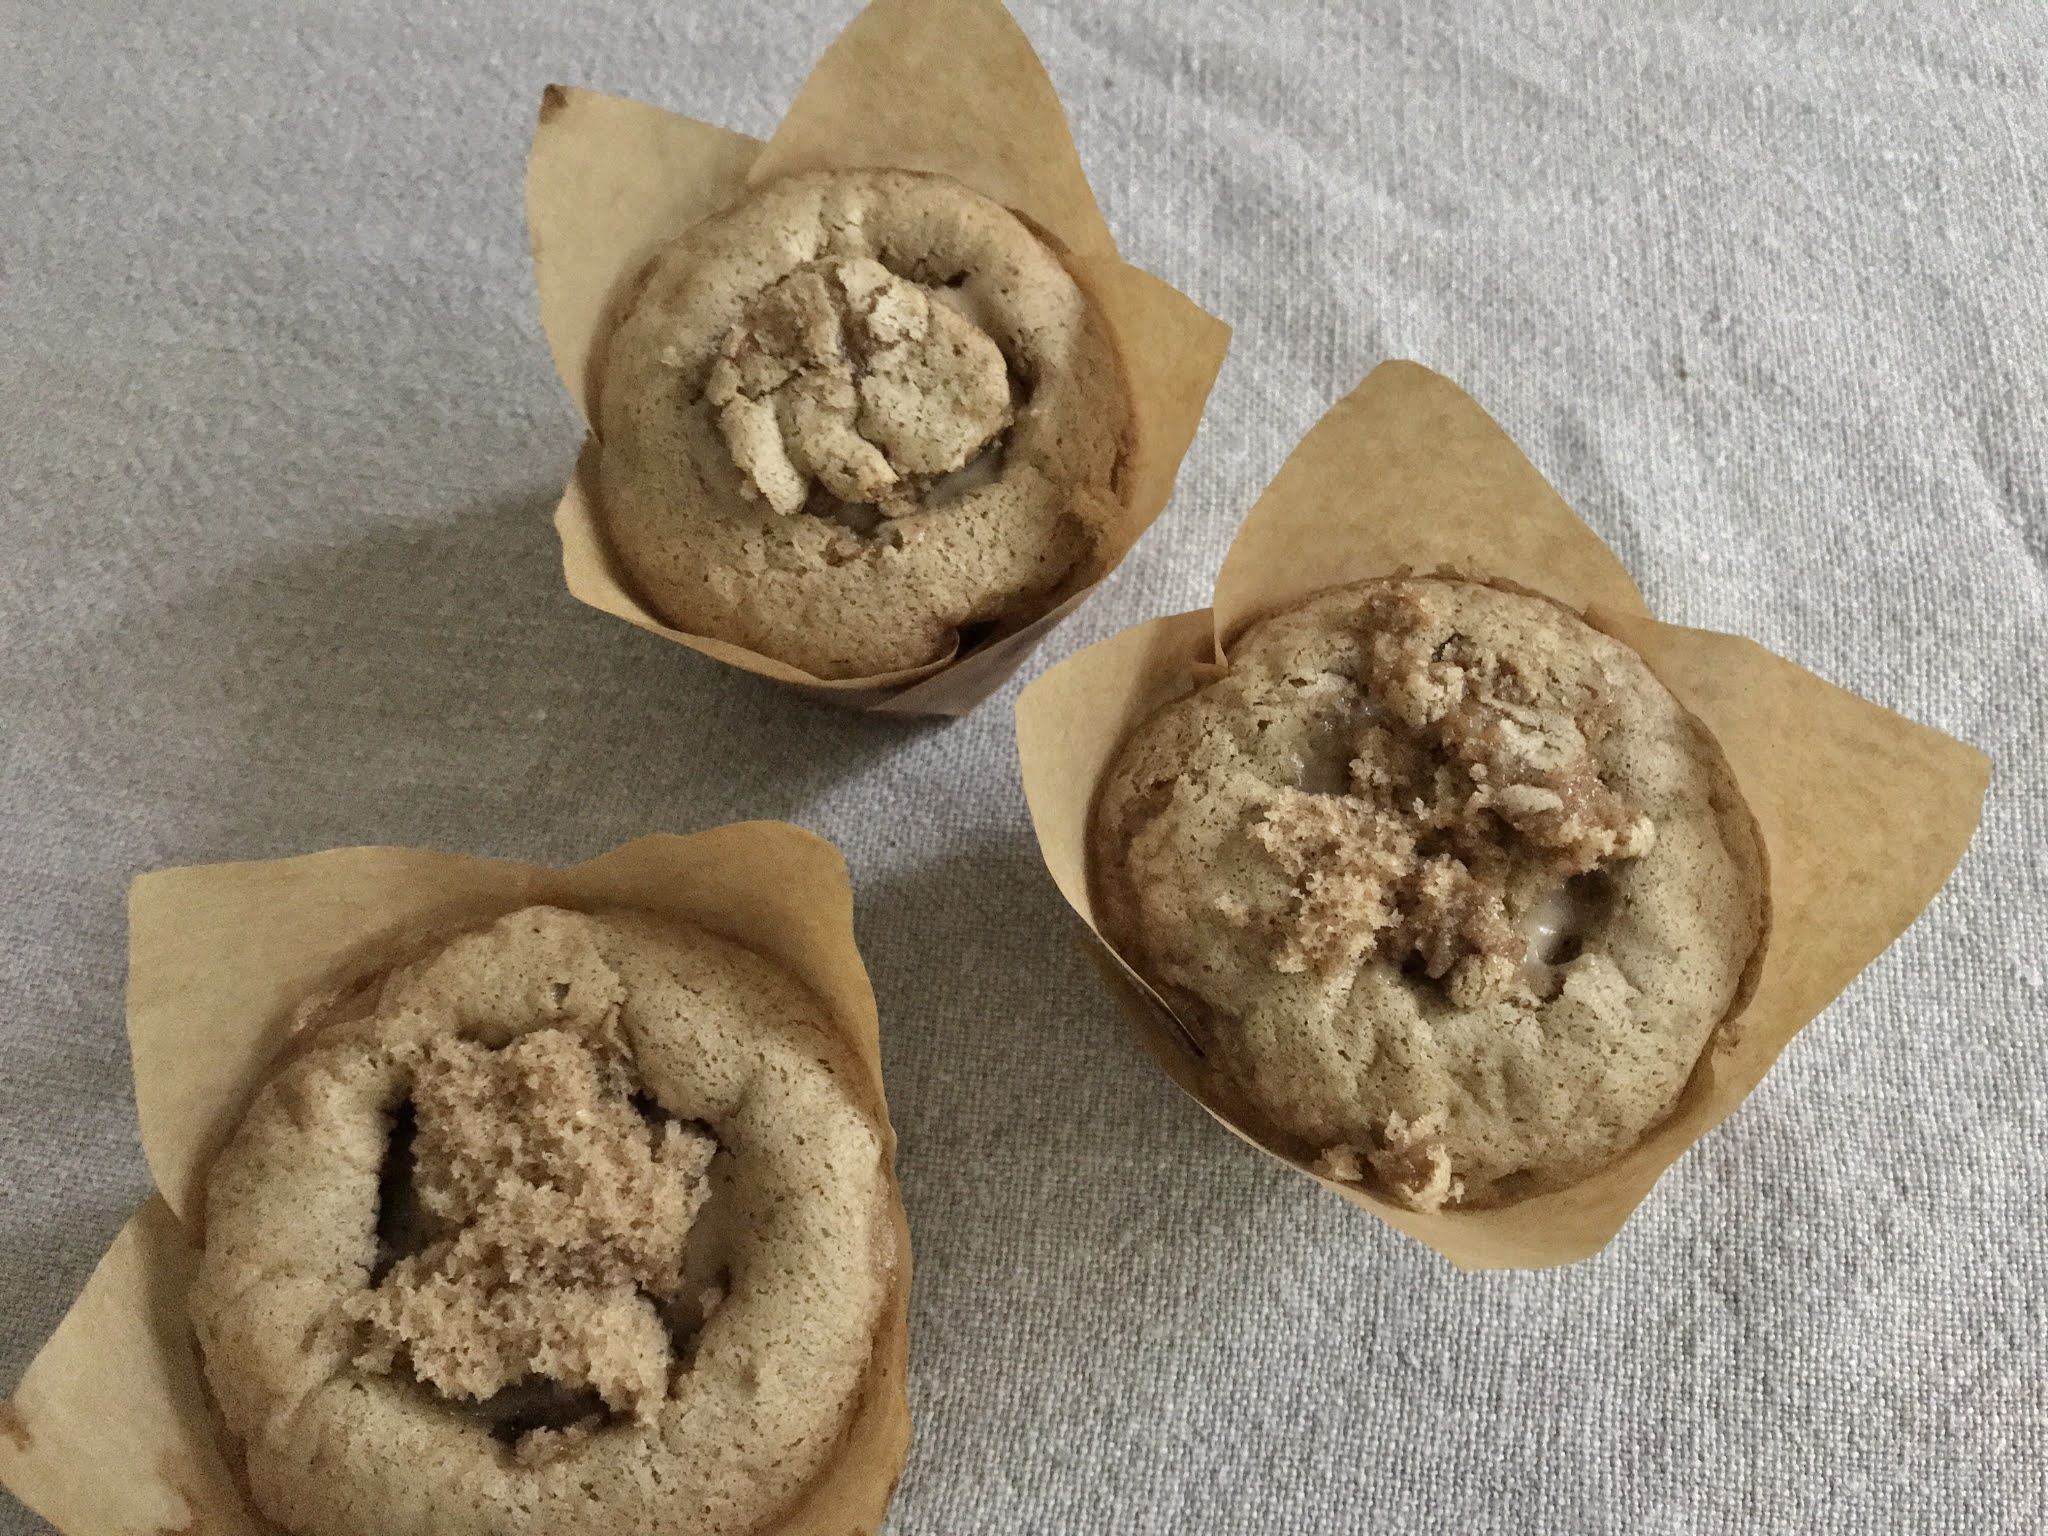
Is it a muffin or a cupcake? Do you eat it with a spoon or a fork? Maybe just with your fingers? One bite and you can decide for yourself. For sure they are a yummie fall treat. These muffins are super easy and quick to make. Just mix, pop in the oven. Pour a cup of coffee, put on a sweater and rake some leaves just for the fun of it. Then share your autumn love. Don’t be confused, they are not another pumpkin muffin, they are pumpkin pie spice muffins. Light, fluffy with all the pumpkin pie spice memories you adore. Autumn. The perfect way to start your day, every fall day.


I think I will use a spoon. 


This is what you will need-


Muffin

1 Box Spice Cake Mix (I know, don't judge, but sometimes you just need a mix)

½ C. Water

½ C. Vegetable Oil

3 Room Temperature Eggs

1 ½ Tsp. Pumpkin Pie Spice


Filling

4 Oz. Soft Cream Cheese

1/3 C. Sugar

1 Tsp. Vanilla Extract

1 Tsp. Pumpkin Pie Spice


Crumb  Topping

¾ C. Flour

¼ C. Sugar

½ C. Brown Sugar

1 Tsp. Pumpkin Pie Spice

6 Tbs. Soft Butter

English Toffee Bits


Preheat oven 350 degrees F.

Mix the spice cake mix, water, oil, pumpkin pie spice and eggs. When completely mixed, turn speed up to medium and beat for two minutes. 

Fill cupcake liners (I like tulip liners…Link here) half full of batter. 

Place in oven and bake for 12 minutes. Check with a toothpick to see if if completely baked. Do not turn off the oven yet.


While the muffins are baking and cooling…

Make filling. Combine cream cheese, sugar, pumpkin pie spice and vanilla together with a wooden spoon. Set aside.


Make crumb topping. Mix flour, sugar, brown sugar, pumpkin pie spice and butter together with a wooden spoon. Set aside.


When the muffins are baked and cooled, use a spoon to scoop out a small amount of muffin. Set the crumbs aside.

Place a small amount of the filling into the opening of the muffin.

Place some of the crumbs back on top of the muffin.

Spoon the crumb topping onto the top of the muffin.

Sprinkle the English Toffee Bits on top.

Place muffins back in the oven for 2 minutes.


Yum....

Ahh, autumn...


Saturday, October 17, 2020

MINI PUMPKIN VOTIVE

0


Somethings just go better in pairs. Peanut butter and jelly. Wine and cheese. Pumpkin and candles. These perfect pairs, mini pumpkin votives are exactly what you need for your fall decor. A warm way to cozy up the table or light up a snuggly spot around the house. So adorable. So fall. A show stopper. Make a few and spread them around. Like nature, they will only last a few days, the but the beautiful memory will last forever.


This is what you will need-

Mini Pumpkins-White or Orange

Beeswax Pellets ...Link here

Wicks ...Link here

Coconut Oil

Cookie Cutters

Rubber Mallet

Bamboo Skewers

Spoon

Glass Measuring cup

Double Boiler

Hot Glue Gun and Glue

These pumpkin votive can be made a few days in advance of an event and stored uncovered in the refrigerator. The skin of the pumpkin may become moist when removed from the refrigerator, just dry with a paper towel and place. Once used, toss out, they will spoil quickly.

Prep by washing your pumpkin.

Center your cookie cutter on the top of the pumpkin. 


Gently tap the cookie cutter with the mallet, just enough to break through a little bit of the top layer of skin.

Flip the pumpkin over (the cookie cutter should stay in place without holding onto it).

Tap the bottom of the pumpkin with the rubber mallet. Keep tapping until the cookie cutter goes almost all the way through.


Pull the cookie cutter out. Sometimes I had to use a pair of pliers to help with this step. Use a sharp knife to lift the top out if needed.


Clean out the inside of the pumpkin. A spoon is a great tool for removing the insides and the seeds.

Once clean, rinse the inside with cool water. Place a paper towel inside to help dry out the inside.


Glue a wick inside of each pumpkin with hot glue.

Pour 2 cups of the beeswax pellets into a glass measuring cup. Two cups of beeswax will make approximately four pumpkins.

Place the measuring cup into the double boiler with the heat on medium to low. Stir the pellets with a spatula (one that you can part with) to help melt the beeswax.


Once all the wax has melted, add ¼ cup of coconut oil to the hot wax. Continue to stir until all the coconut oil has melted.


Place a skewer (toothpick can be used too) to hold the wick in the center.


Carefully pour the hot wax into the opening of the pumpkin. Make sure the wick stays centered in the middle of the pumpkin.


Let sit, do not move the pumpkin. It could take a day or overnight for the wax to harden.


Trim the wick 1/2" to 1/4" in length.


A star is a nice shape too, although the opening was a little smaller it took a little longer to scoop out.


Happy fall...