
Somethings just go better in pairs. Peanut butter and jelly. Wine and cheese. Pumpkin and candles. These perfect pairs, mini pumpkin votives are exactly what you need for your fall decor. A warm way to cozy up the table or light up a snuggly spot around the house. So adorable. So fall. A show stopper. Make a few and spread them around. Like nature, they will only last a few days, the but the beautiful memory will last forever.


Mini Pumpkins-White or Orange

Beeswax Pellets ...Link here
Wicks ...Link here
Coconut Oil

Cookie Cutters

Rubber Mallet
Bamboo Skewers
Spoon
Glass Measuring cup
Double Boiler
Hot Glue Gun and Glue

These pumpkin votive can be made a few days in advance of an event and stored uncovered in the refrigerator. The skin of the pumpkin may become moist when removed from the refrigerator, just dry with a paper towel and place. Once used, toss out, they will spoil quickly.
Prep by washing your pumpkin.

Center your cookie cutter on the top of the pumpkin.


Gently tap the cookie cutter with the mallet, just enough to break through a little bit of the top layer of skin.

Flip the pumpkin over (the cookie cutter should stay in place without holding onto it).


Tap the bottom of the pumpkin with the rubber mallet. Keep tapping until the cookie cutter goes almost all the way through.


Pull the cookie cutter out. Sometimes I had to use a pair of
pliers to help with this step. Use a sharp knife to lift the top out if needed.

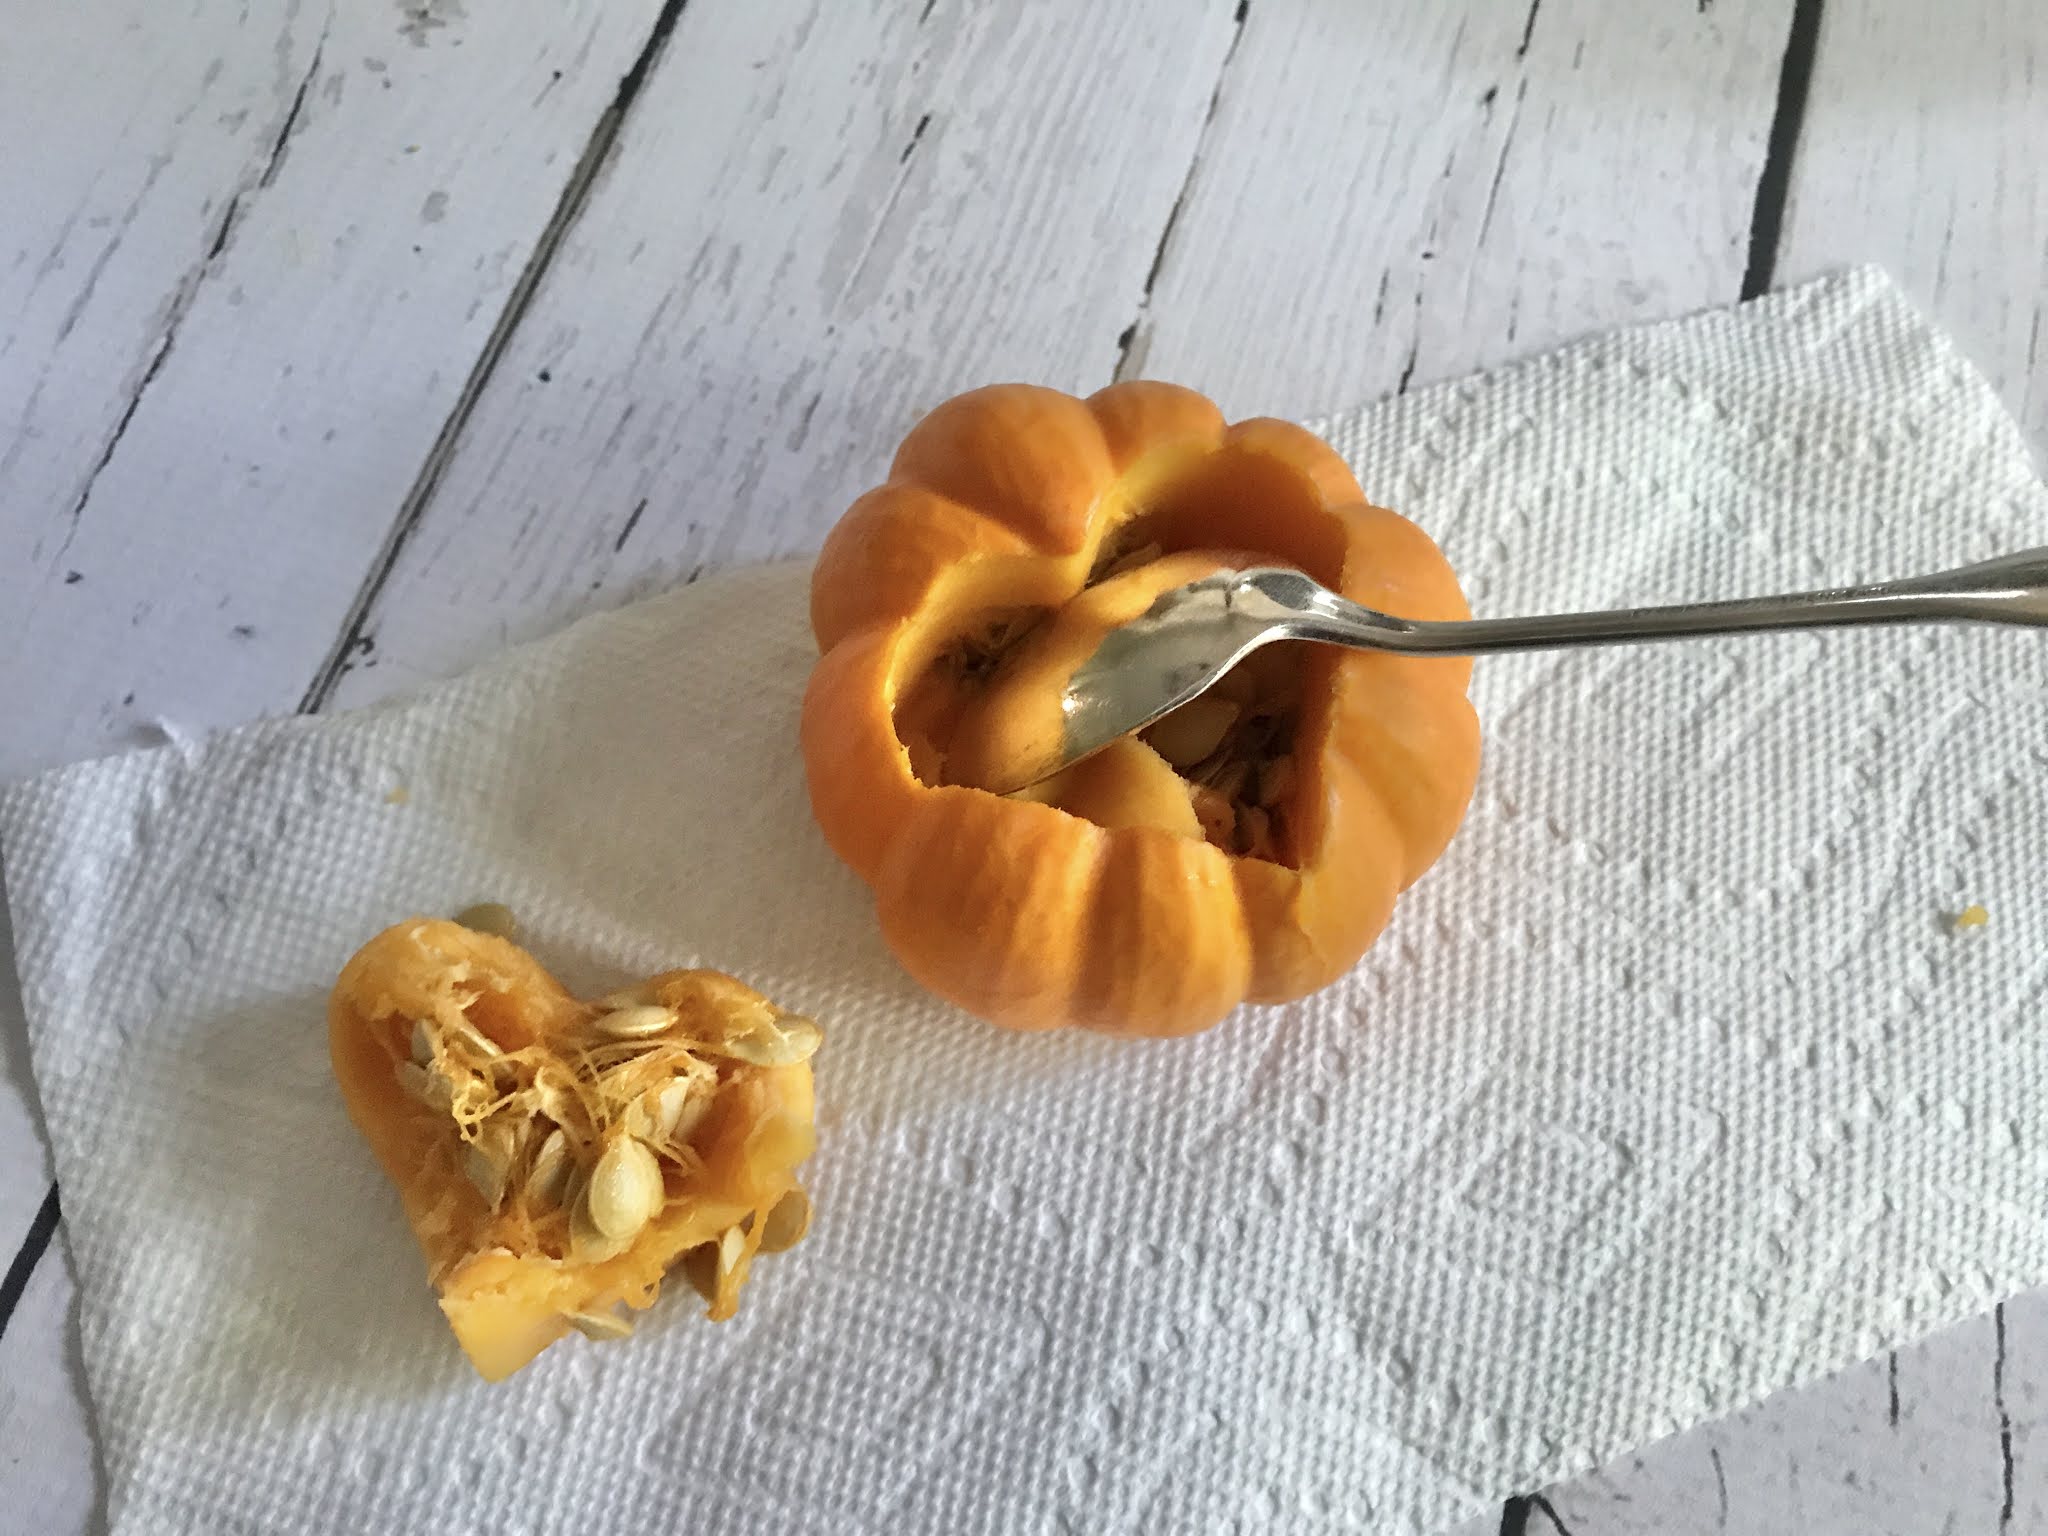

Clean out the inside of the pumpkin. A spoon is a great tool for removing the insides and the seeds.

Once clean, rinse the inside with cool water. Place a paper
towel inside to help dry out the inside.


Glue a wick inside of each pumpkin with hot glue.

Pour 2 cups of the beeswax pellets into a glass measuring cup. Two cups of beeswax will make approximately four pumpkins.

Place the measuring cup into the double boiler with the heat on medium to low. Stir the pellets with a spatula (one that you can part with) to help melt the beeswax.


Once all the wax has melted, add ¼ cup of coconut oil to the hot wax. Continue to stir until all the coconut oil has melted.


Place a skewer (toothpick can be used too) to hold the wick in the center.


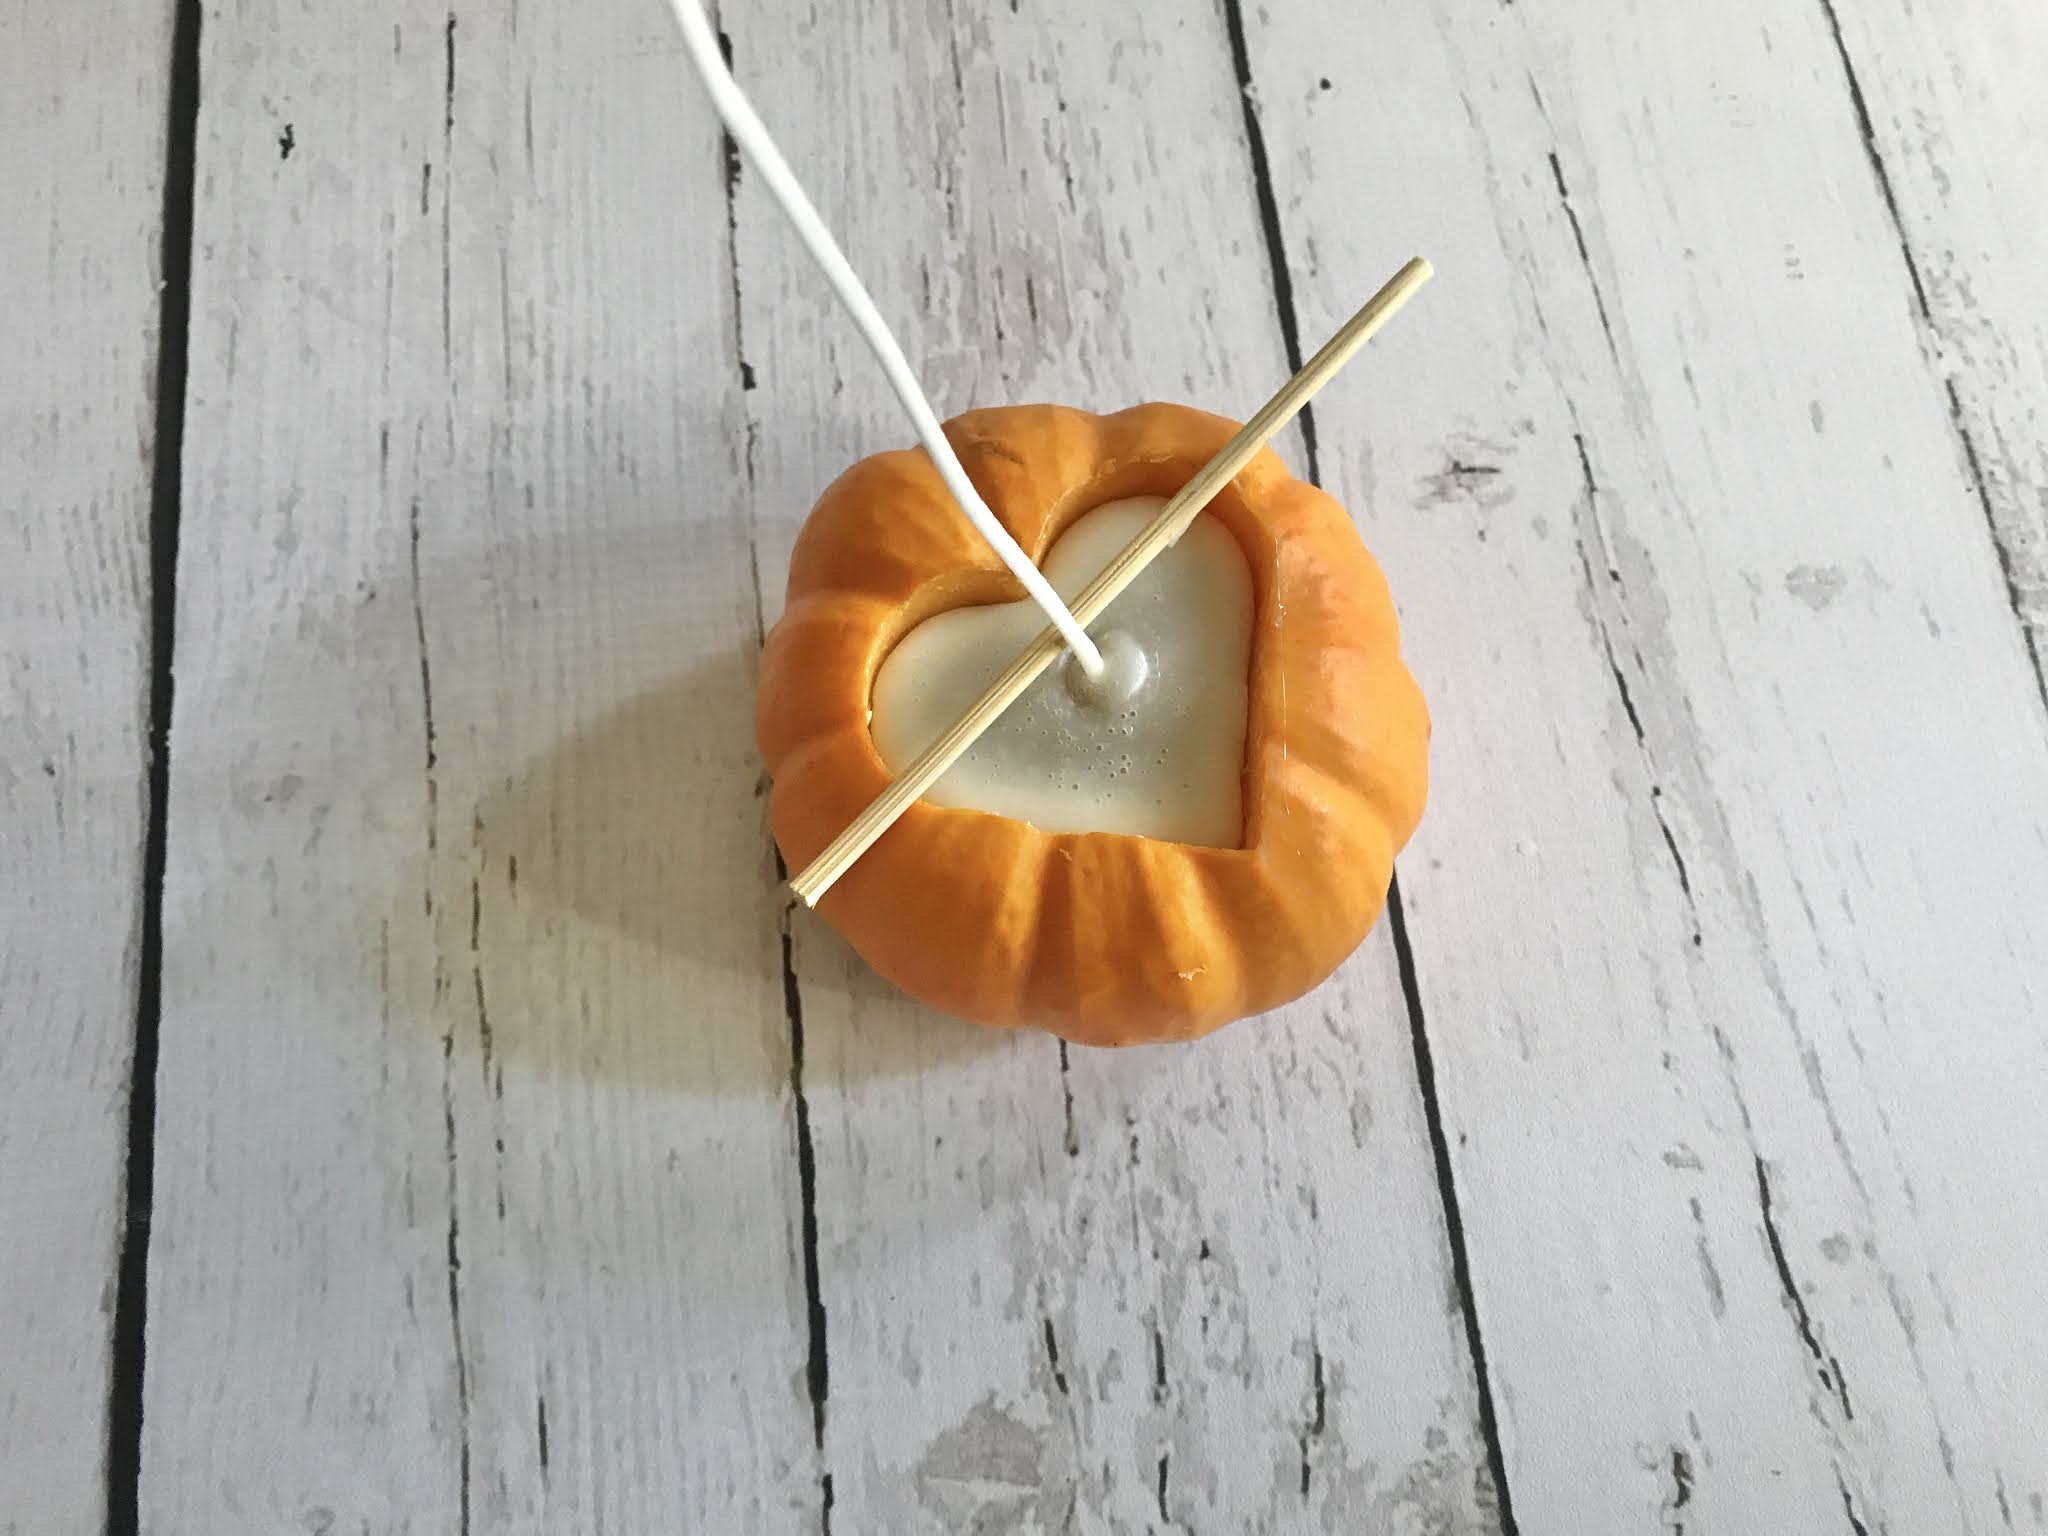


Let sit, do not move the pumpkin. It could take a day or overnight for the wax to harden.


Trim the wick 1/2" to 1/4" in length.


0 comments:
Post a Comment