
Your home is your castle, so to speak. Whether it is large
or small, old or new, Contemporary or Traditional, it is your living space. It
is where you eat, sleep, grow, work, raise a family, share with friends, relax
and come home to at the end of each day. Also for me, a place to dream. And that dream includes looking at my home
and wondering what I can do with a space to make it more livable, more
organized, more home. Or, as I am constantly being reminded, another place to
feather my nest. This nest has unlimited potential for improvements, I’ve been
dreaming for a long while about some of these nooks.

Right Dormer...

Left Dormer... Yes, an embarrassing spot in need of a little love. No judging, please.
One, or actually two of these nooks are the two dormers in
my loft/home office/workspace. They are an invitation just waiting for a party.
I think the perfect solution would be window seats with a removable lid for
storage. You don’t need a dormer to make a window seat, just a little space and
if you are lucky, a window. Take a second look around, you may find several
micro spaces just waiting for your attention. What space do you have that is
waiting to be transformed? Dream, create, build and live. Start here.

This is what you will need to build your window seat-
Frame:
2” x 4” Wood Boards
Front:
½” Cabinet Grade Plywood
Lid:
½” Cabinet Grade Plywood
Trim:
½” x 2” Select (no knots) Wood
Power Drill
Nail Gun or Hammer
Jig Saw
Counter Sink Drill Bit
Screws
Wood Glue
Finishing Nails
Felt Furniture Guides
Tape Measure
Pencil
Primer Paint
Paint
Paint Brush
Wood Putty
Fine and Medium Grit Sand Paper
Safety Goggles
Measure your space and determine the size of your window
seat. Mine will be 43” wide, 27” tall
and 24” deep.
My local hardware store happily cut my large pieces of plywood
to they would fit in my car. They will also cut your smaller pieces too, if you
ask.


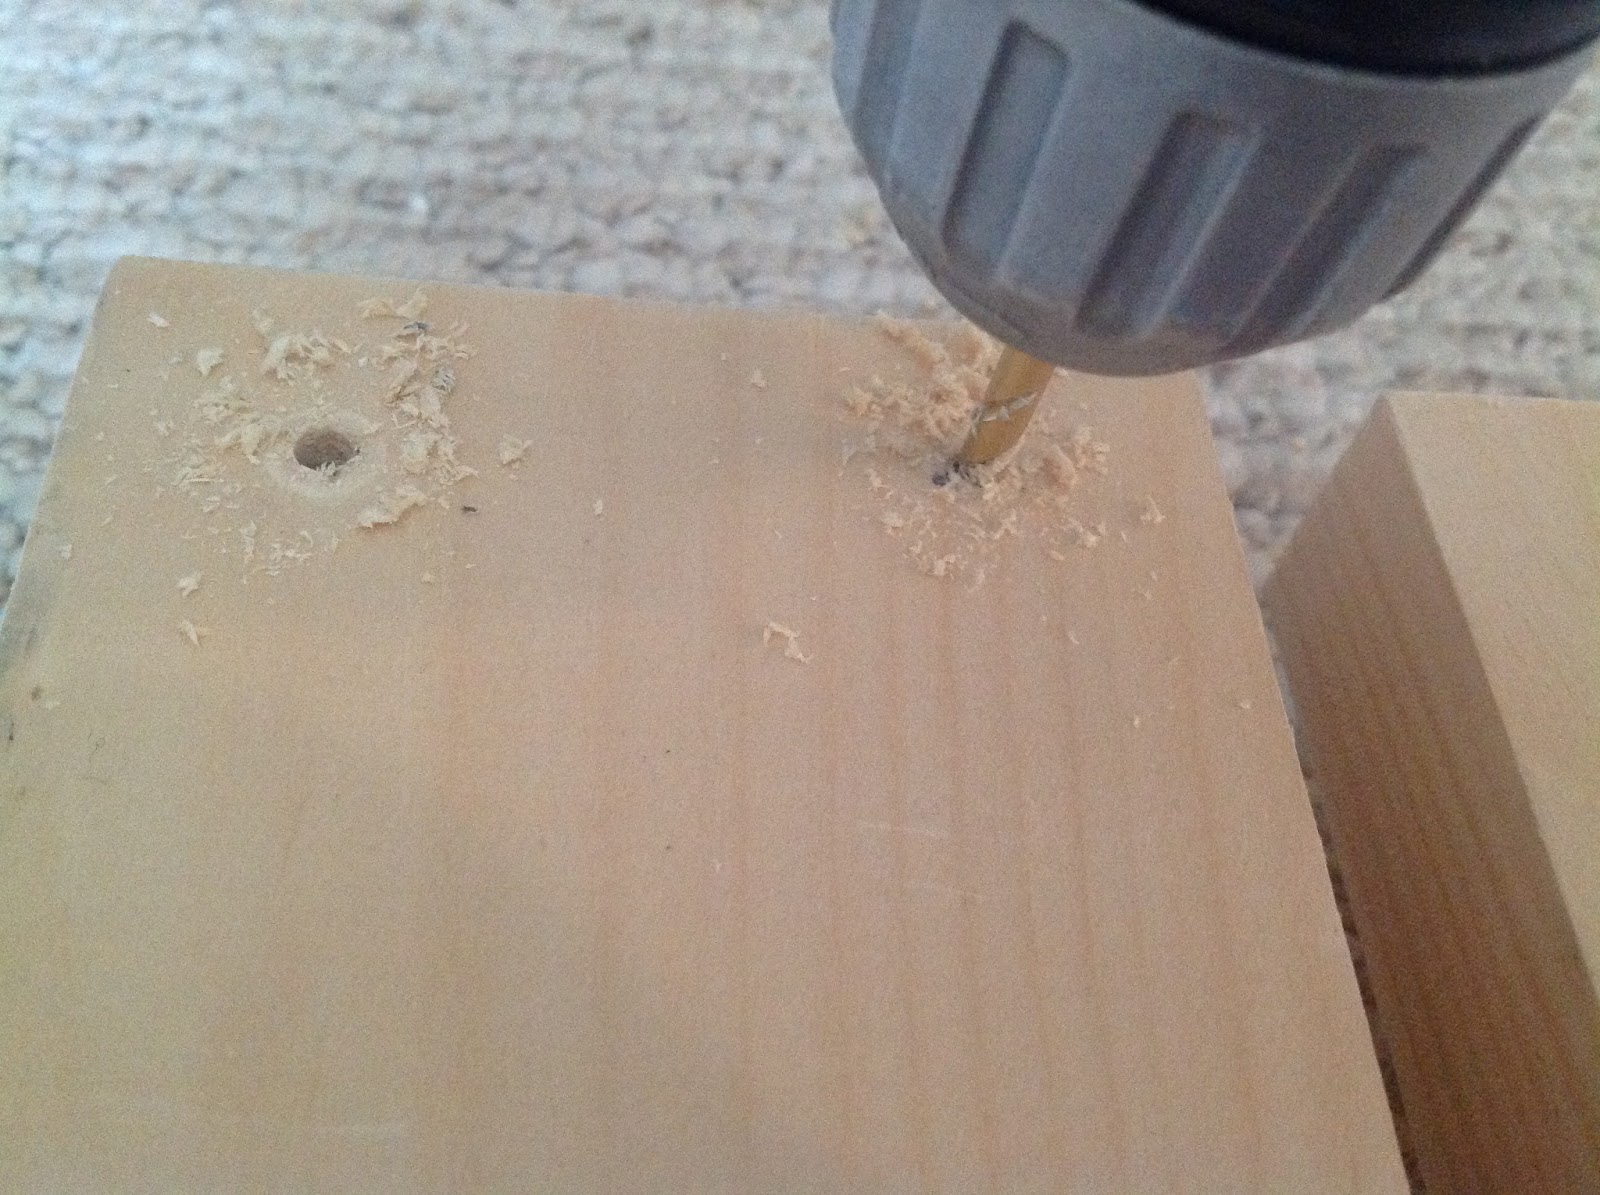


Cut and assembled the bottom frame. Pre- drill (pilot
holes), glue then screw together. Note the orientation of the boards.

I placed the bottom frame on the floor to make sure it will
fit nicely in the space. I did not want a snug fit because I do not want this
window seat to be permanent.

Add your felt furniture guides to the bottom of the frame.


Measure and cut 8 boards to glue and screw together to form
four “legs” or the corners.


The legs need to be attached to the bottom frame with screws
using a counter sink bit, at an angle.


Cut and assemble the top frame. Note the board orientation
is not the same as the bottom frame orientation. This placement of the boards is to give the top
additional support.
You will have to use the countersink drill bit to attach the top frame side boards to the top frame front and back boards.


Attach the top frame to the four corner legs. Using the counter sink drill bit, pre -drill the holes to make sure the head of the screw will be below the surface of the frame so the top will lay smooth and even.

Measure your front panel of the plywood and cut with the jig saw.

Sand all edges with medium grit sandpaper. Watch out for
splinters!

Apply glue to the front panel.

Attach the front panel to the frame. I used a nail gun, but a hammer will work nicely too. Just
make sure you pre-drill your holes and use small finishing nails if you use a
hammer.


Measure, cut, glue and place the top horizontal
trim piece up 1/2” from the top edge of the front panel. This is to hide the
cut edge of the plywood top. Nail in place.
Measure, cut and glue the bottom horizontal trim piece for the front. Nail in place.

Measure and cut the two vertical trim pieces. Glue, then nail in place.

I added a third vertical trim piece, but only glued it in
place. I used painter's tape to hold the trim piece in place until it was dry.


Fill nail holes with wood putty and sand smooth when the putty is
dry.

Paint first coat with primer. Let dry and lightly sand with
fine sandpaper.
Paint a finishing coat with semi-gloss paint. Let Dry.
Paint a second coat of the semi-gloss, if needed. Sand lightly between coats.
Place lid on top. And dress.

Right dormer...

A better feathered nest.


0 comments:
Post a Comment