
Getting organized is work. Sometimes keeping organized is
harder than it should be. And no fun. At all. So finding a simple tool that just makes life a
little easier is a huge lifesaver. I found this ladder to be most helpful for keeping life in order and most needed belongings at eye level. Simple.
Clean. Practical. Good looking. And...at eye level. You don’t have to start at the bottom rung
to guarantee climbing to the top of the most organized home in your
neighborhood. Immediate success. You might even sleep better at night.

To make this ladder, it takes no special skills, just a few
tools and a little wood and a little time. So, grab your tool belt, put your
hair in a ponytail and set up the workbench.
Here is what you will need-
Two 1” x 4” x 72" Select Pine Boards
Three 1” x 4' Wood Dowels
Tape Measure
Pencil
Miter Saw
Power Drill
1" Spade Drill Bit
Nail gun
Wood Glue
Square
Wood Clamps
Sand Paper
Semi- Gloss Latex Interior Paint
Safety Goggles

This is all the wood you need.

Mark a line ½” up from the bottom of both side rails as
shown. Use your square to draw a tapered line to the edge.

Change your saw setting to 5 degrees to the right. Place the length of your boards to your left.
Safety Goggles.

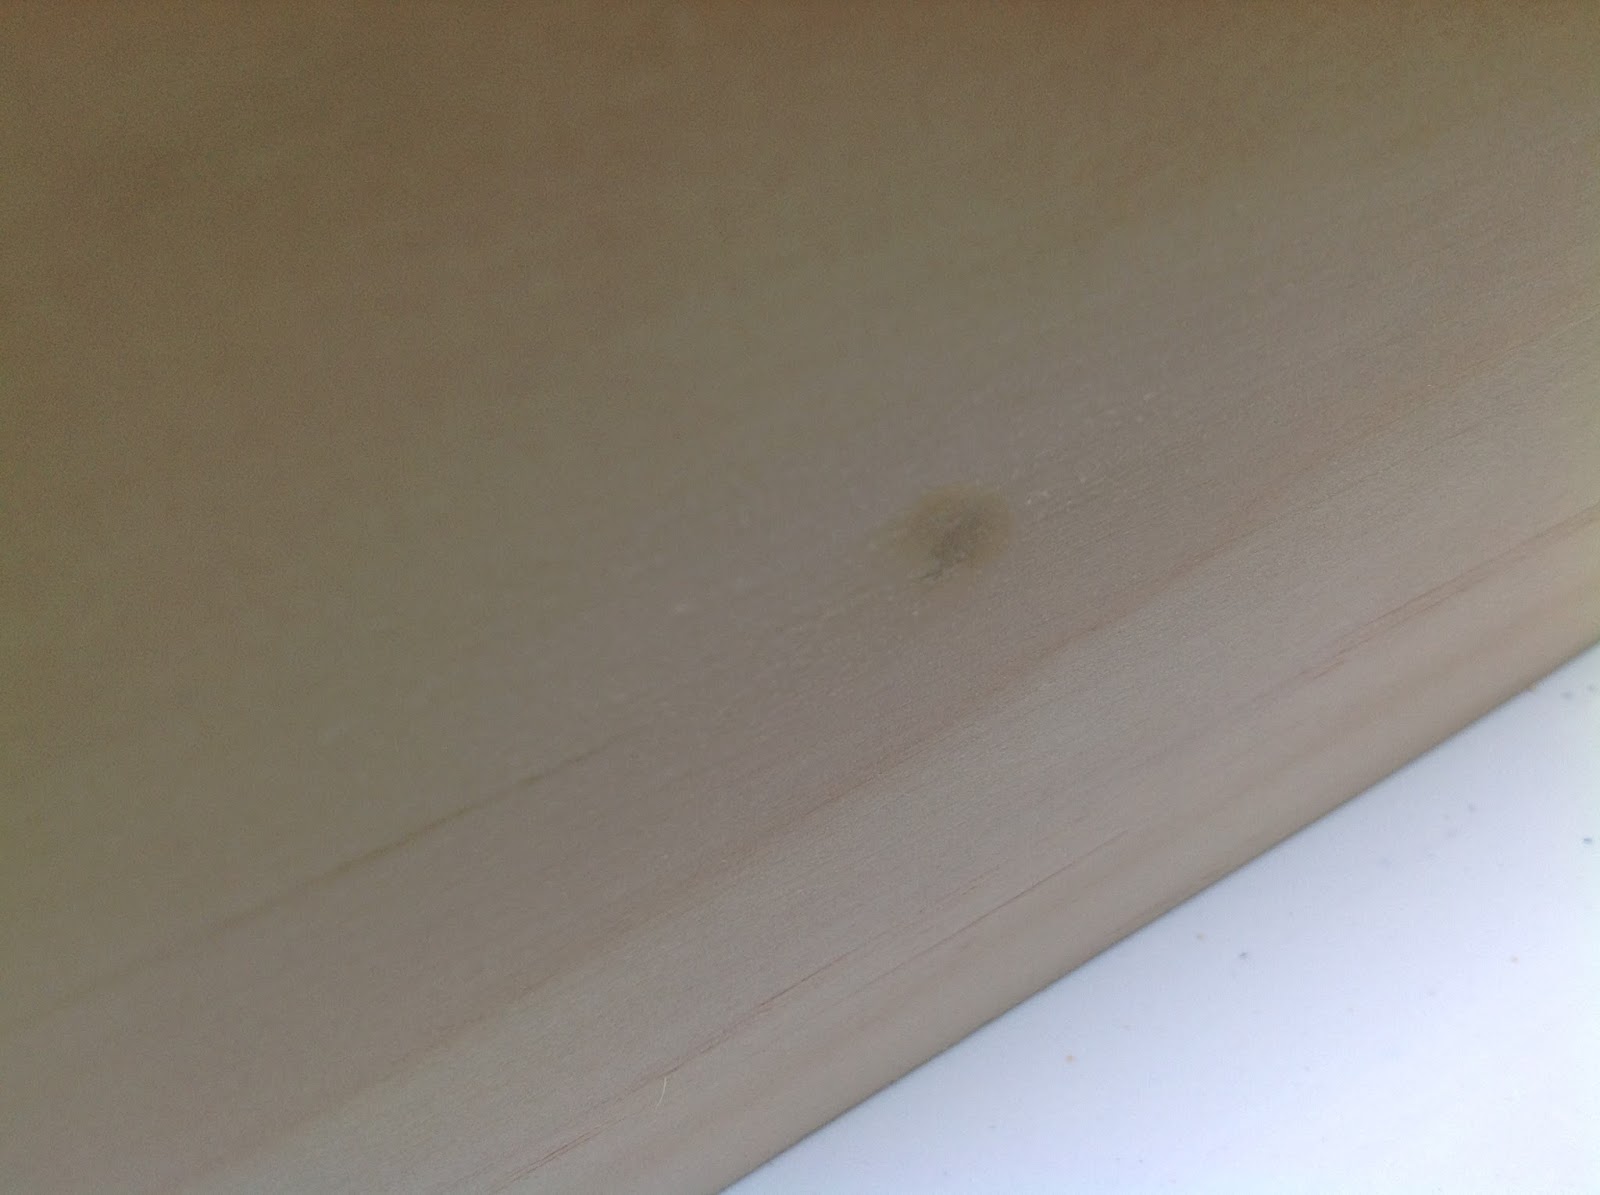
Cut both bottom edges. This will give your ladder a flat
resting edge on the floor when it is leaning on the wall. Small detail, big touch.

Change your saw setting back to 0.

Measure the side rail to finish at 72" and cut.


Sand all edges.
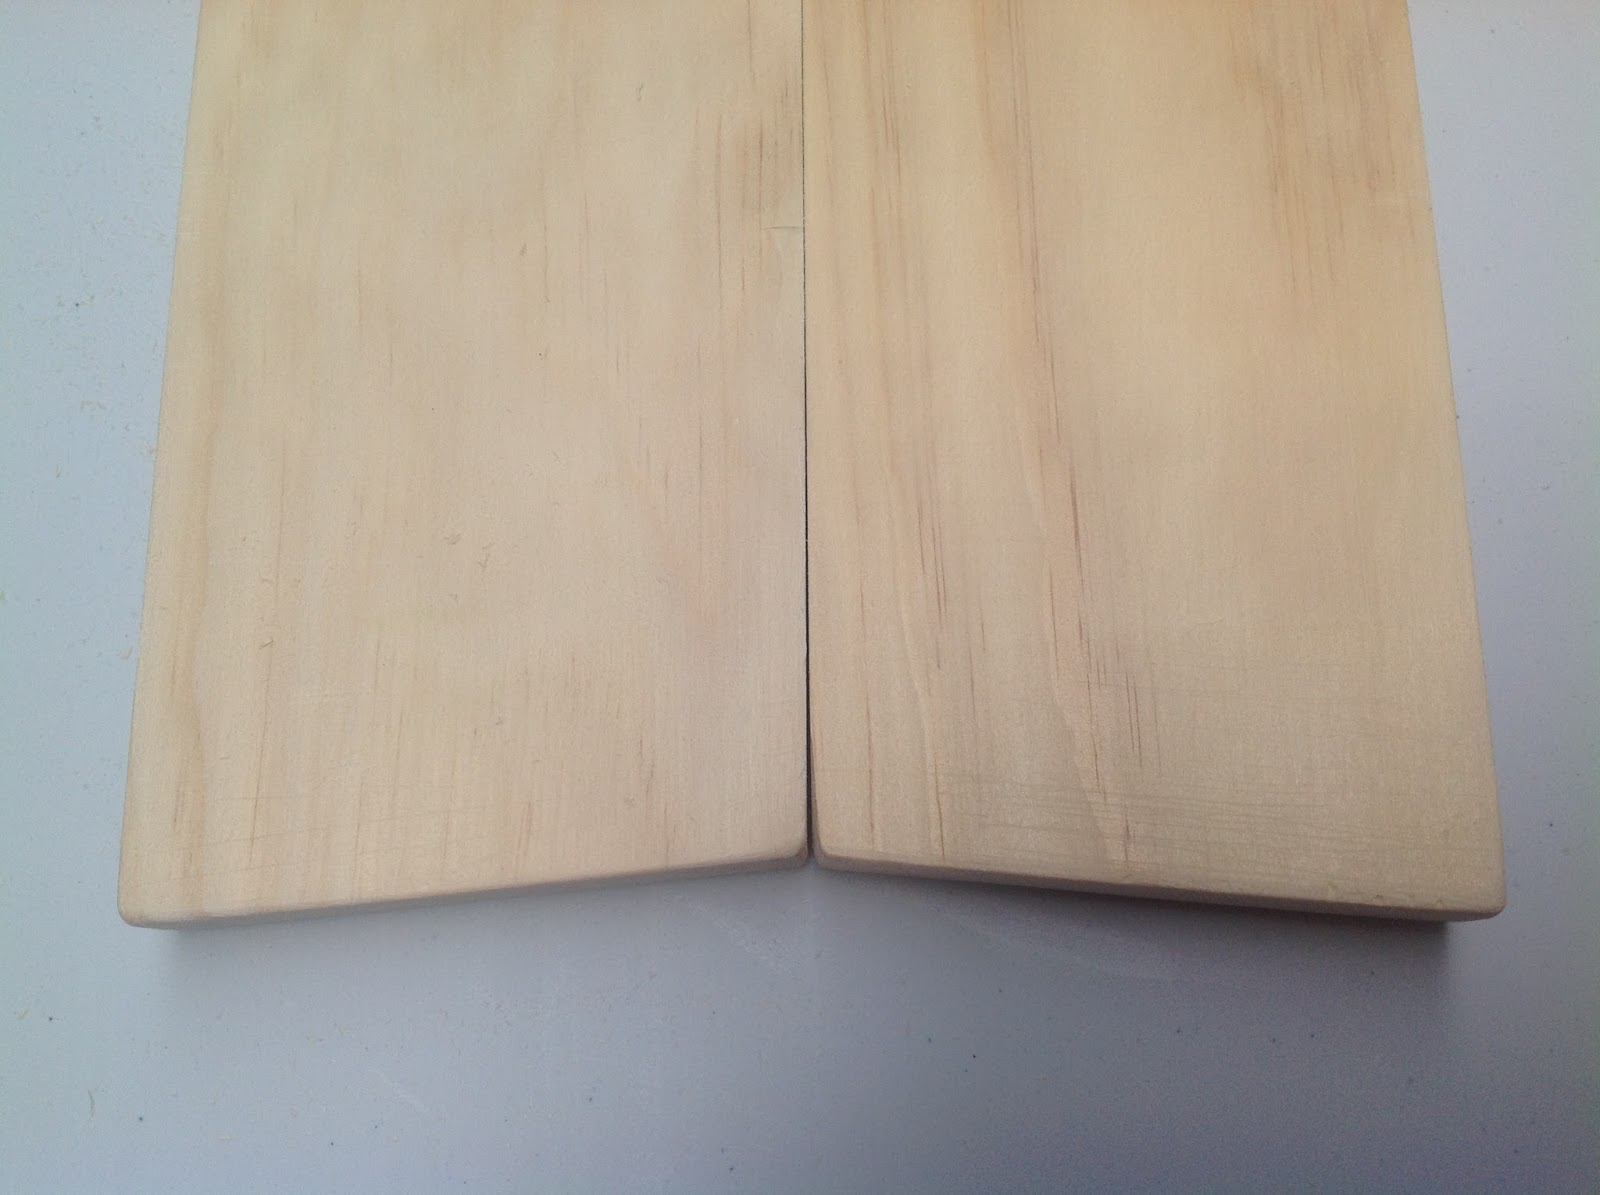
Lay both rails together as shown. Make sure they are both
the same length and they are perfectly lined up together. This step is
important to ensure the rungs will be parallel.

Starting at the bottom of the side rails measure up and mark
15”. This will be the placement line for your bottom rung.


Use your square and draw a line across both rails as shown.

Now measure 14” up from the existing line and make a mark.

Measure up 12 ½” from that line. Mark.

Measure up 12” and mark.

Again, measure up 12”, and mark.
Use your square and draw a line across each mark onto both rails.

Find the middle of each line and make a mark, this will be
the middle of the side rail, placement for each dowel. Mine measures 1 3/4". This will be the center mark for rung placement.
Mark all centers for rung placement.


Measure the dowels at 19” and mark. Cut five rungs.

Clamp your side rail to your work surface.


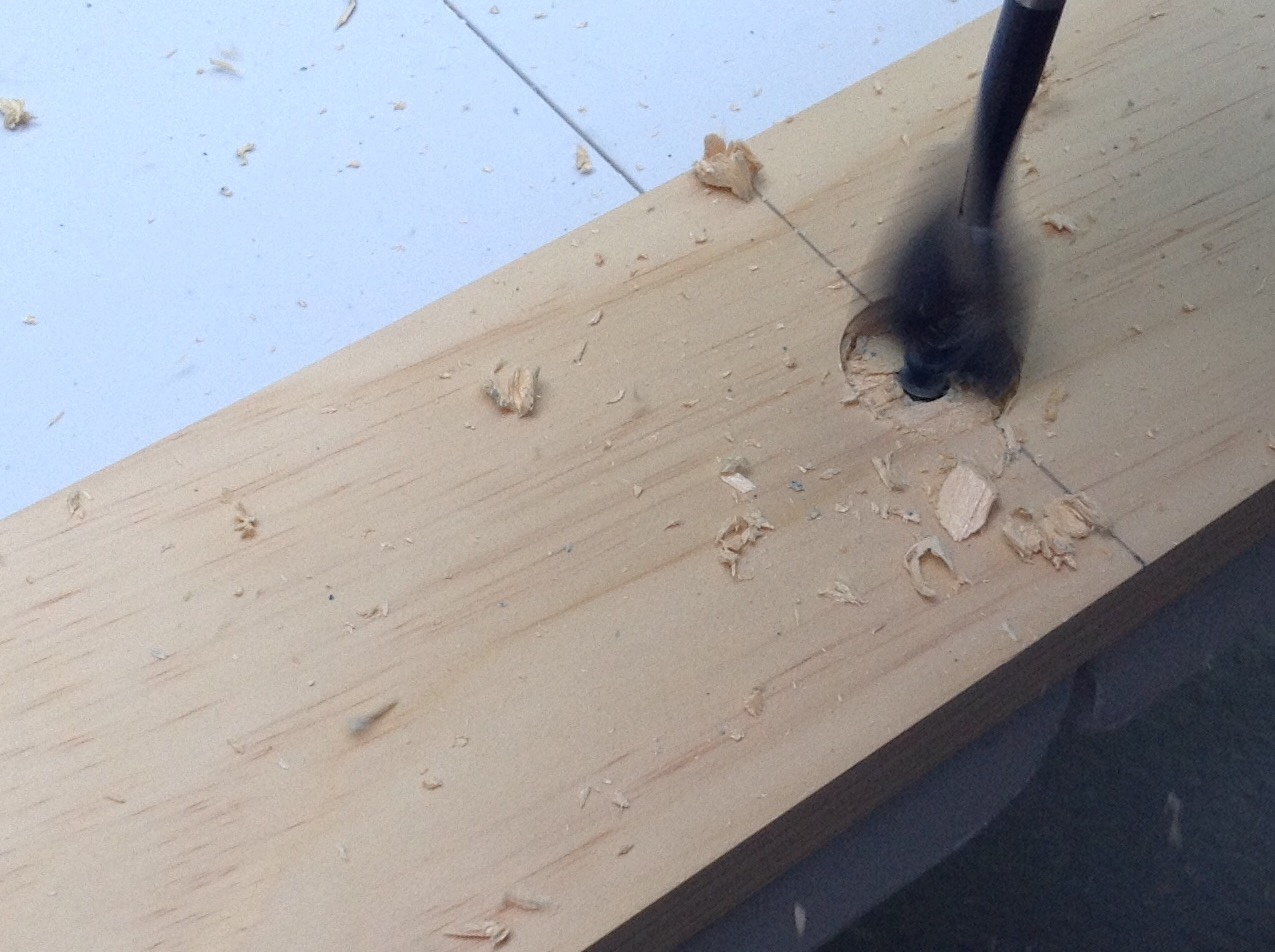

With your 1” spade drill bit, make a hole into the side rail about
½” deep. Repeat for all rung placements.

Sand all holes smooth.


Make a dry check with your dowels, place one into each newly
drilled holes to make sure you have a snug fit.


With one pair of holes at a time glue and place dowel. Repeat for
all dowels. You may need an extra set of hands to help so they don’t pop out.


Secure with clamps. Use a square to make sure the dowels are
all perfectly in line. Wipe away any excess glue the might spill out.
Let dry.

Once the glue is dry, secure each rung with a nail on the
outside of the rail and into the dowel as shown.


Sand all rough edges and surfaces smooth.


Paint one coat of latex primer, and let dry overnight.
Sand lightly with fine grit sandpaper.

Paint two coats of your semi-gloss latex paint. Let dry
between each coat of paint.
Sand to smooth if needed.

You could use one in the family room...

One in the baby's room...

One in the exercise room...

One in the bath...


0 comments:
Post a Comment