
How does that expression go, “easy as pie”... Baking a pie from scratch? Yes, it is (sorry to borrow that euphemism) easy. And nothing is yummier than summer fruit baked into a beautiful simple pie. This is my raspberry pie, a take on my Great Aunt Genevive’s red raspberry pie. Many wonderful memories of her house filled with yummie raspberry treats- jams, cakes, breads and pies, all grown from her garden and made from scratch with her loving hands. This is where some of my favorite childhood memories have become our family traditions. Honoring those memories. For this recipe you can substitute any berry in its place. But the crust…it is magic. Buttery, flaky and soft. A crust worthy of anything you can think of to fill it with. Run to the farmer's market, put your favorite apron on and create some magic of your own. Simple as ....

2 C. Flour
2 Tbs. Sugar
¾ C. Butter
¼ C. Ice Water
Filling-
5 C. Red Raspberries
¾ C. Sugar
2 Tbs. Cornstarch
2 Tbs. Lemon Juice
2 Tbs. Butter
1 Egg White + 1 Tsp. Water
Baking tools-

Pastry blender/fork, rolling pin, ramekins/mini tart pans, cupcake pan.
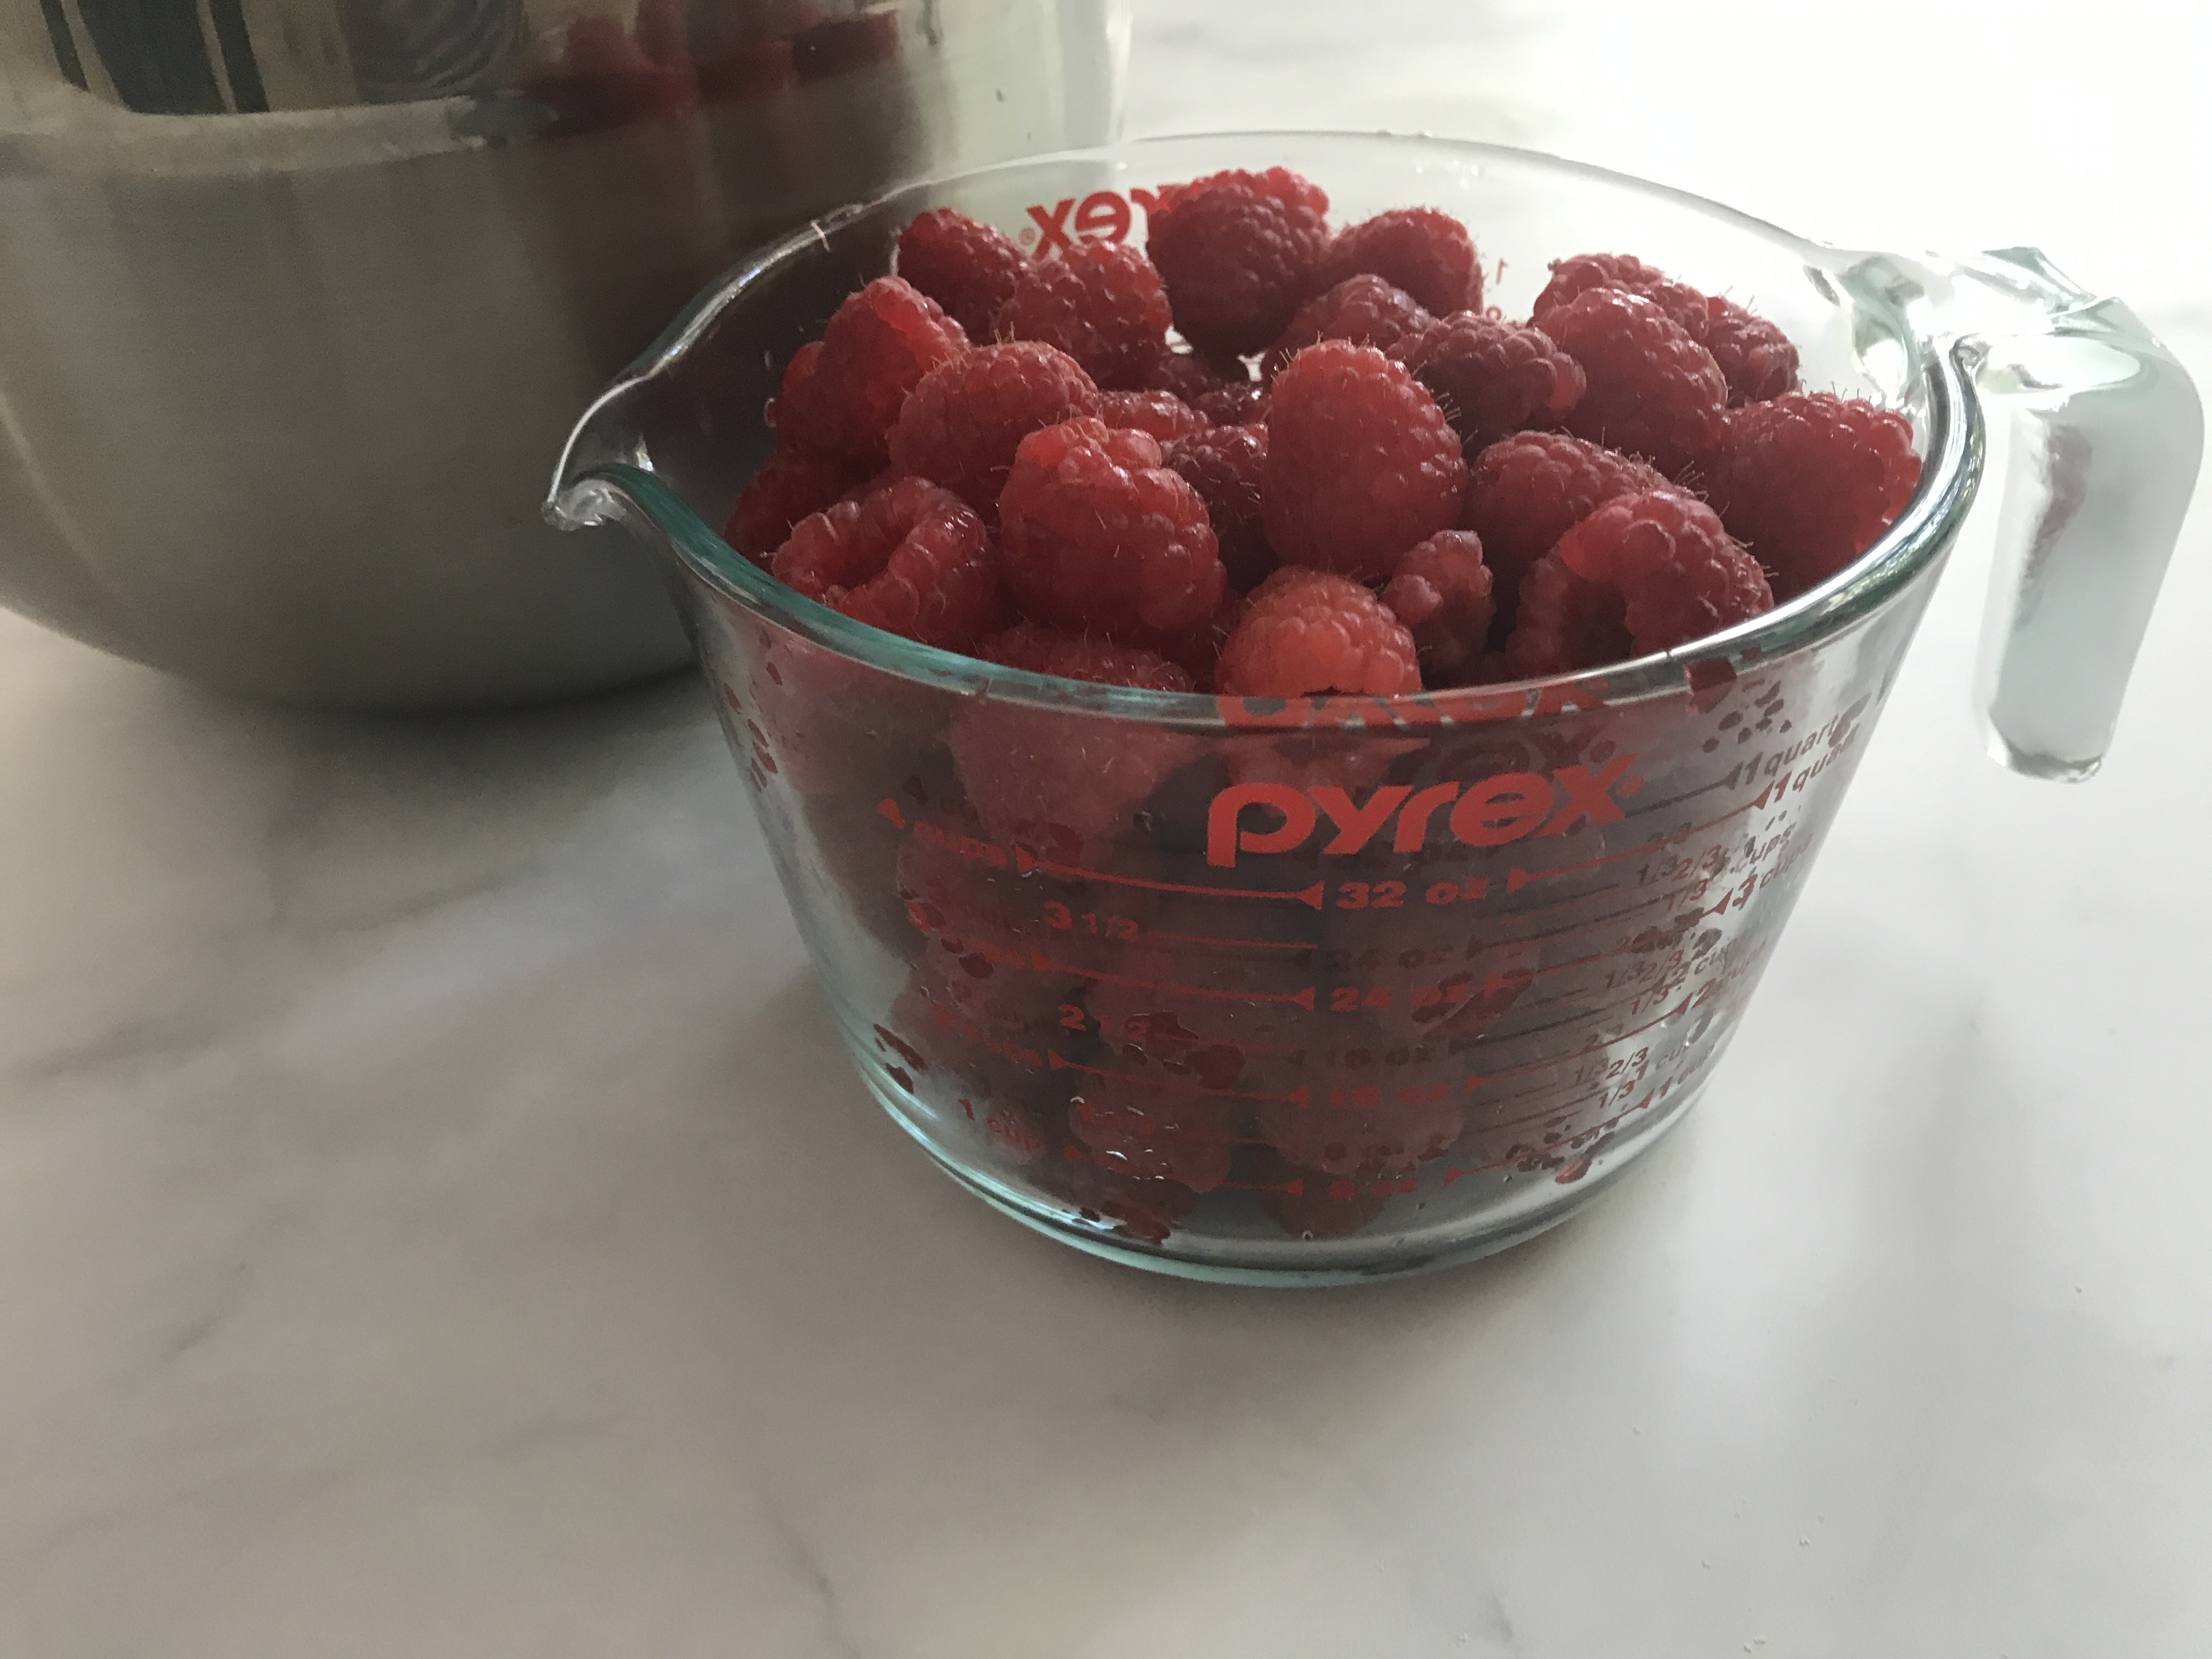


Wash raspberries. Combine berries, sugar, cornstarch, lemon juice in a bowl. Chop 2 teaspoons of butter into small bits. Add to berry mix. Set aside.
Preheat oven to 350 degrees F.

Add flour to a large bowl.


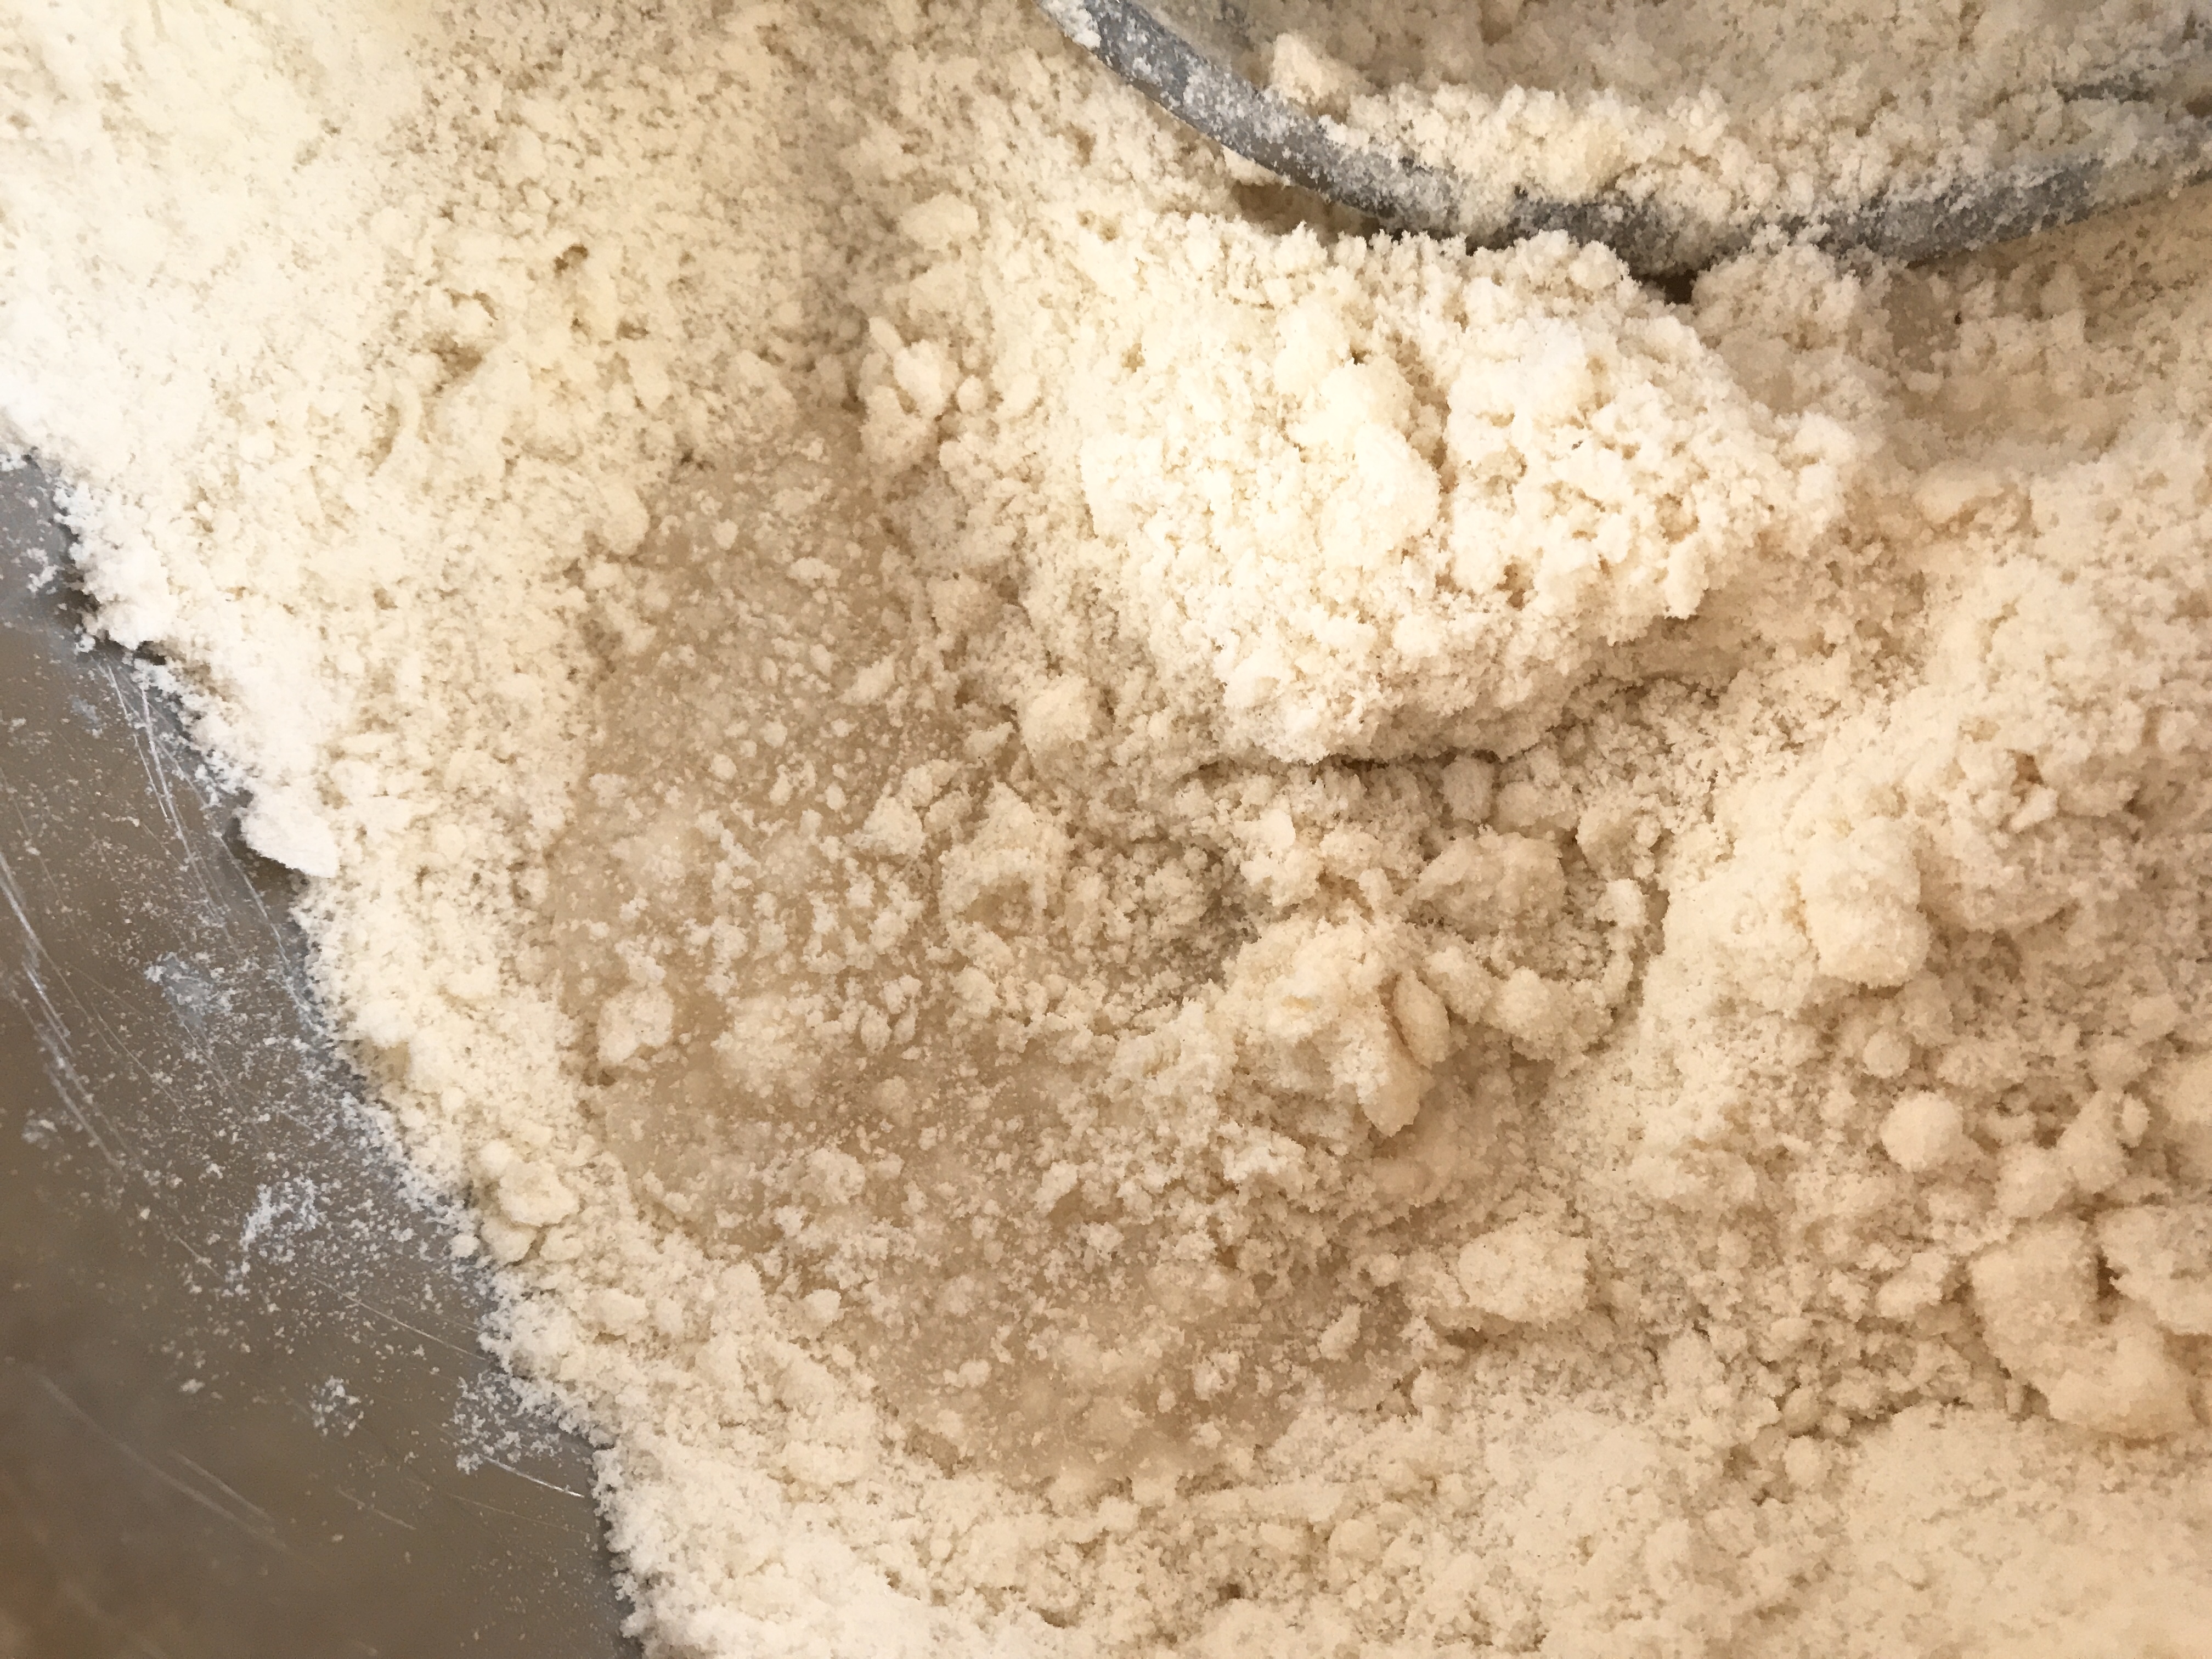
Cut butter, stir in flour, cut butter, stir in flour, cut butter, stir in flour....Continue until all the butter has been cut and combined into the flour.

It should resemble course cornmeal.

In a large measuring cup fill with ice and add water. Let stand until water is chilled. Pour 1/4 cup of ice water into a measuring cup.
Add a little ice water a little at a time to the butter/flour, combining with the pastry blender.

Once the dough starts to cling together, it will form little
pea size balls. You may not need all the ice water.
Divide the dough into four portions.


On a floured surface, roll one of the quarters of dough to about 1/8” thick.


Spray the inside of the ramekin with baking spray.


Lift the newly cut crust by placing over rolling pin to transfer and place inside the ramekin.

Using your thumbs, press the crust down into the space where the side meets the bottom. You can pierce a few holes in the bottom with a fork if you have some air bubbles under the crust.

Press the crust all along the sides until you have a uniform
crust that covers the entire ramekin.


Fill the ramekins with the berry filling.

Reserve a little of the pie dough and cut shapes with cookie
cutters for the “top” of the pie.

Place cut out on top of each pie.


Whisk the water and egg white together and brush on the top
of the pies.


Bake at 350 degrees F for 35 minutes or just until they bubble and the crust just starts to turn golden. Do not over bake.


0 comments:
Post a Comment