
At the top of my stairway, there was a big blank wall just
screaming for attention. In my mind, I was thinking of placing a collection of
my favorite family photos, a wall gallery.
Searching through countless photos books, photos boxes and
photos randomly tucked here and there, I found what I was looking for. Endless
photos I love. But there were so many. Time to edit. I ended up with 24 framed
photos. Now I was faced with how to hang so many, perfectly (well best I could)
and to end up with a result that was something I could love and be proud of.
And not put a million holes in the walls.

So I laid awake one night trying to come up with a painless
plan. I think I did. I have tried it and it works. One of the nice outcomes is
it lets you “visually see” what your gallery will look like before you put one
hole in the wall. So follow along on this journey and you too can create a wall
gallery showplace like a pro.
This is what you will need-

- Photos (or art)
- Frames
- Hammer
- Small nails (about 1 ½”)
- Painter’s Tape
- Acid Free Tape
- Tape Measure
- Level
- Awl
- Marker
- Scissors
- Hallmark Brand Wrapping Paper
A little note on getting started with choosing your frames.
I suggest starting out simple if this is your first attempt. A good start is to
work with one type of frame (same size and same color of frame) or same
type of frame with several sizes of frames. Perhaps using either all color
prints or all black and white prints. This will result with a pleasing cohesive
overall look. However you can use this method with multiple styles, shapes,
sizes of frames and photos too. The beauty is you get to “see” what your wall gallery will look
like before you get the frames up. It is all about being happy with the look.
And you want to love it.
You can start with either gathering your frames or gathering
you photos. I like to start with the photos or art I like to display.


I changed my photos from color to black and white prints.


To determine how much of an area to use, look at the wall
and mark off with painter’s tape the area that you think you want your frames
to fill. Place a small strip of the Painter’s Tape top, bottom and left and
right. Stand back and look. It doesn’t have to be exact, just enough to give
you a feel where the frames will go.


Next, roughly measure the length and width. This area is
about 60” in length by 40” in depth.


Key element, Hallmark wrapping Paper. It doesn’t have to be
beautiful. We will be using the backside of the paper. Check to make sure you have
a one inch square grid on the entire back of the paper. This will save you all
kinds of time and frustration. What a nice little perk, thank you Hallmark.

Cut the paper the length you need for the wall.


This roll of paper was not deep enough to cover so I had to cut a second length to join together. I needed to add about 10” to the depth of the paper so I cut it about 14”, so there could be a little overlap when I attach it to the first cut length.
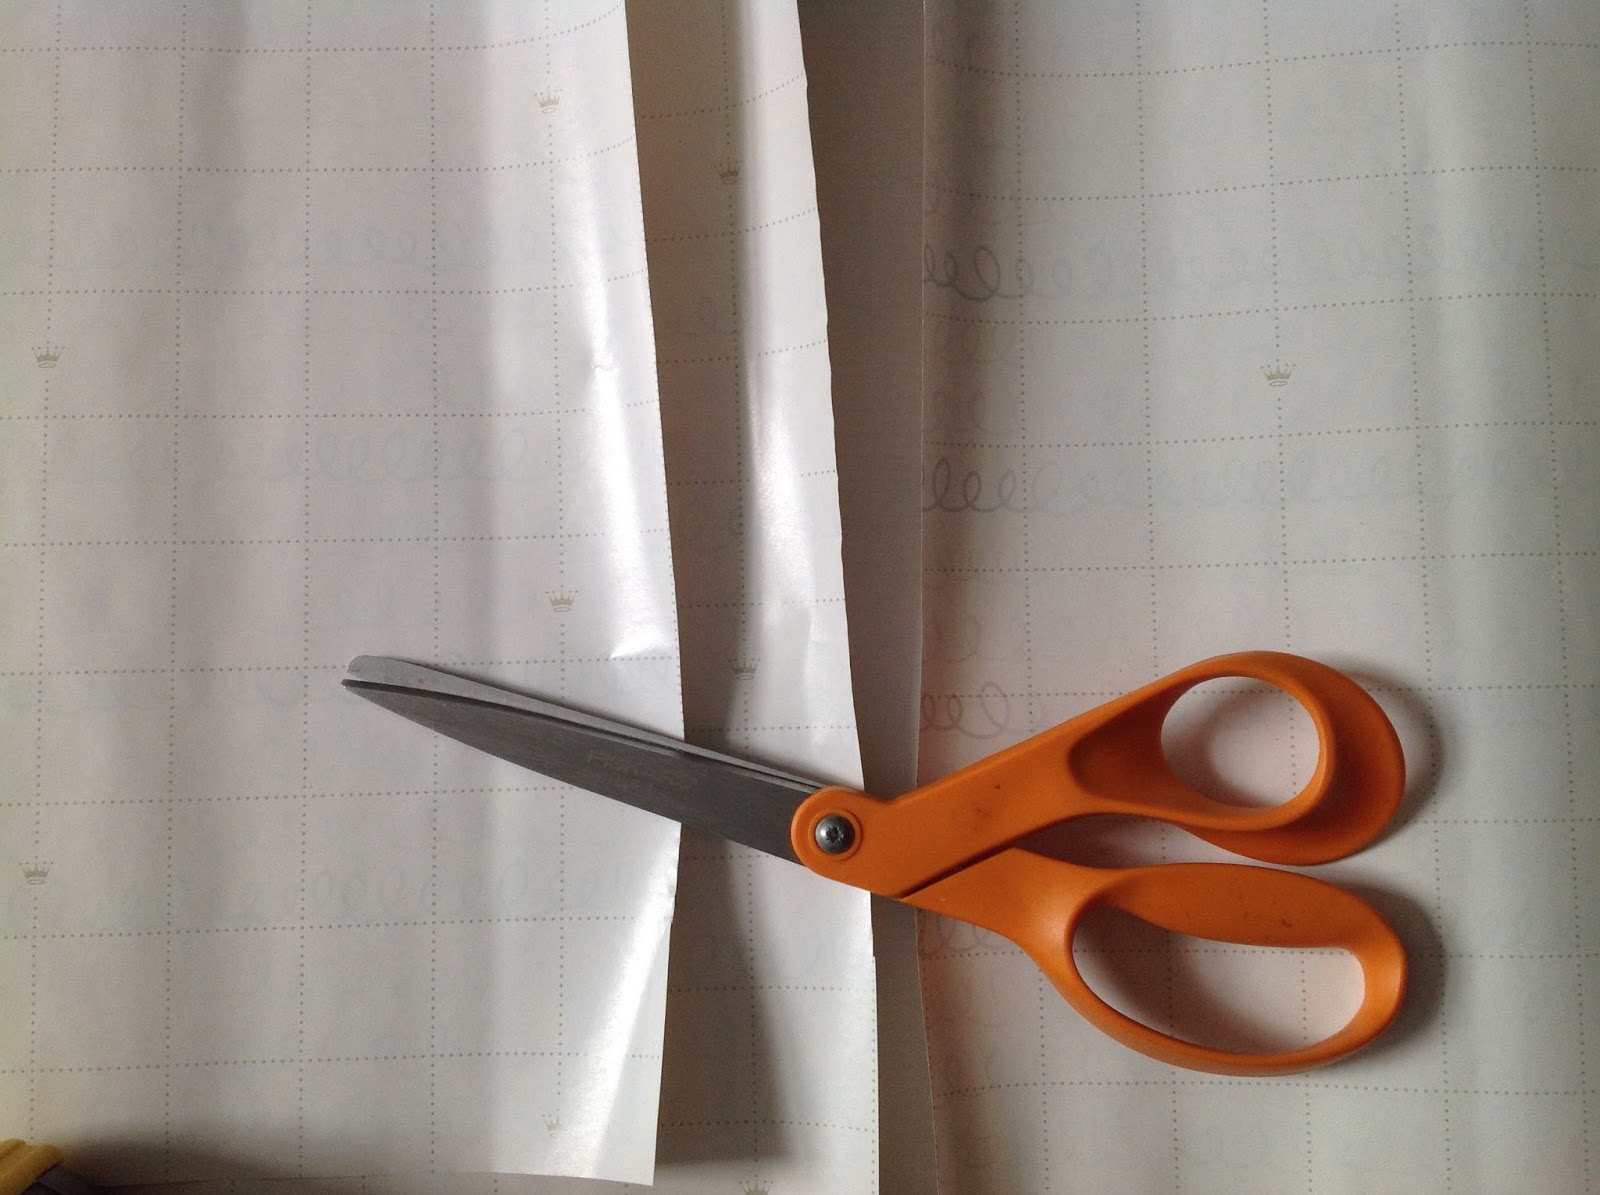

This roll of paper was not deep enough to cover so I had to cut a second length to join together. I needed to add about 10” to the depth of the paper so I cut it about 14”, so there could be a little overlap when I attach it to the first cut length.

Lining up the two cut lengths so that the grid lines meet
both vertically and horizontally. Take care with this step. The grids need to
be as perfect as possible where you attached the second cut piece. Lucky you if
your future wall gallery area is less than 30” deep so you need only one sheet.

Tape the two sheets together the entire length. The tape is hard
to see in the photo so I scribbled on it to make it visible.


Stretching out on the newly created grid, place your photos,
art on the paper. You can scramble them around over and over, until you like
the arrangement.


I laid the frames over the prints and then stood back. I
wasn’t in love with the look. Edit. So I purchased additional frames in several
sizes. Then I placed them on the paper. I scrambled them around until I was
happy with the look. I had to print out a few of the photos in a larger size to
fit the new frames.
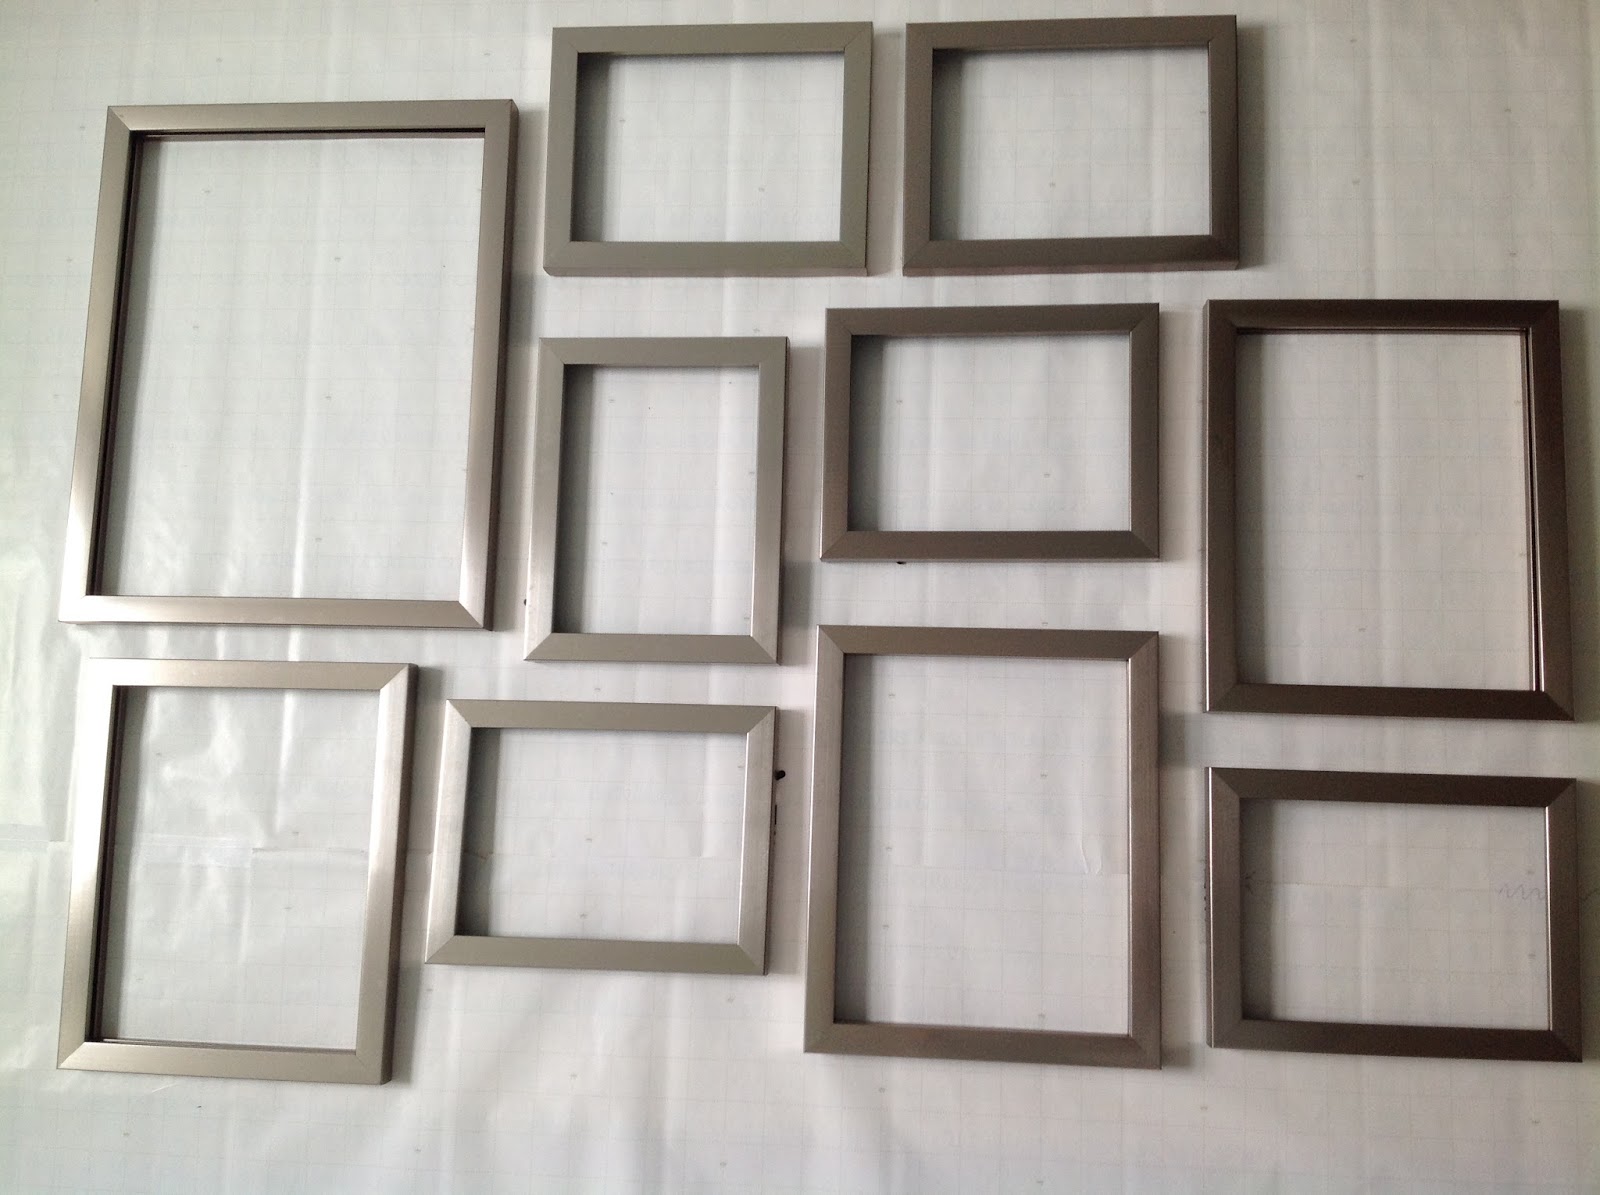
Carefully line the frames up on the grid.


Aim to have the upper left and upper right corner on the top of the grid with the corners at the grid intersections. This will keep your frames level. It also helps to keep an eye on the space between the frames to ensure even spacing.


Aim to have the upper left and upper right corner on the top of the grid with the corners at the grid intersections. This will keep your frames level. It also helps to keep an eye on the space between the frames to ensure even spacing.


Once the frames were where I wanted them, I placed little
dots on each of the corners of all the frames.

Then I removed the frames, and connected the dots with a
line to form an outline of each frame.

Tape your newly created frame outline sheet to the wall
where you plan to hang the frames with Painter’s Tape.
Stand back and look at the sheet. You can move it up, down,
left, right until you are happy with the placement. This will give you an idea what your gallery will look like. You can make changes if you like.

Once you are happy with the placement, check to see if it is level. Important step. Run the level
all across the top of the sheet.

The “bubble” should look like this.

The “bubble” should look like this.

Time to clean the frames and glass. The type of frame I
chose has no matt. The photo “floats” between two layers of glass. The wall
color will show through. It is a nice look.

Once clean, I took an inch or so of acid free tape and made
a loop.

Then I placed the loop on the back side of the photo.


Carefully center the photo onto the glass and press it down.
Then cover it with the second layer of glass and put it in the frame, secure
the back.

On the back of my frames there is a sawtooth hanger. It has
a zig zag appearance. It is easy to hang frames and to keep them level.

Now you need to measure the back of the frame to find the
middle of the top, 4 ½”.

Put a dot on the top of the corresponding frame outline.

Measure down from the top of the frame to the exact spot the
nail will hold the frame, ¼”.

Put a dot ¼” down from the first dot. This where the nail
will go.
Repeat for all the frame outlines. Measure each frame. Just
because the frames may all look the same the measurements may not be. Always
double check. That old expression comes to mind, measure twice, cut once. Well,
you get the point.

One last check, test to see the top line for each frame is
level.

Make a small impression with the awl on the dot through
the paper and into the wall where the nail will be placed.

It should look like this.
Repeat for all dots that are for the nails. Remove the grid paper.

Hammer one nail into each impression.

The head of the nail should be about ¼” away from the wall.
Hang your frames and you are done. Stand back and admire! There is no limit to what you can do now with a wall gallery. Enjoy the journey!
So simple, so perfect.


0 comments:
Post a Comment