
It’s might be that time. Time for an assessing look. Yes,
open the front door, step outside and walk all the way to the curb, turn, and
look. A good, long, slow look. Ask yourself, does your front door scream
“I JUST LOVE MY DOOR”?... Or is it, well, (cringe), could use a little
something? Maybe it is time to update your home’s most important accessory…the
front door. The gateway to all that lies inside. It's all about the front door. How many favorite homes you do
always look at every time you pass by (or go out of your way) just for a
glimpse? Want your house to be “that house” too? If your answer is absolutely,
well than this could be just the quickest accessory change for you. Change the door color. And you know what they say about
first impressions…

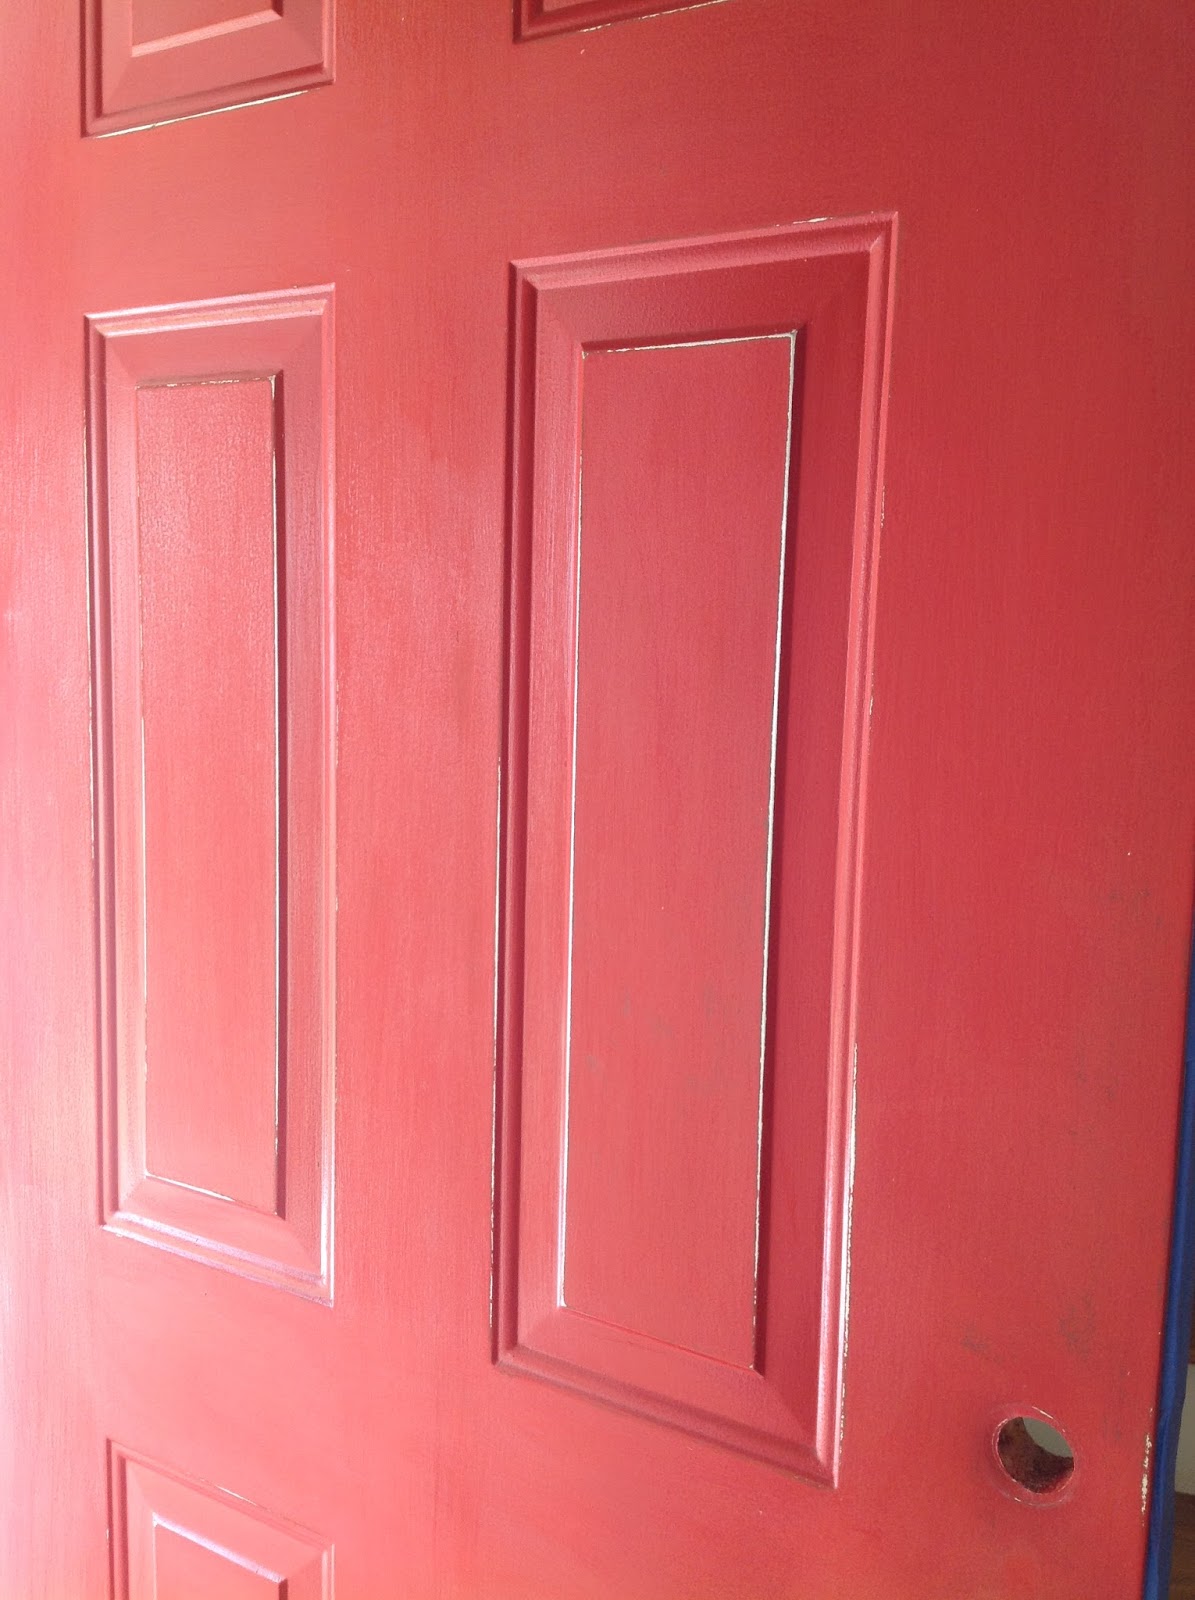
I have a red front door. I love red. Red is a very exciting
color. Red is a great color. But my door has been red for years. And years. The
door may not be ready for a change, but I am. Because I live in a neighborhood
that has a required “paint color chart” I have a limited, but tasteful choice
of colors…blue or green or black. I have a black roof, black shutters, black
light fixtures, white trim, and a neutral brick color. That wasn’t so hard…so black
it is. And I love black, more than I love red! It Is a classic. Black is the
new black. I just made that up. One color that is timeless and classic. So,
black it is.

I think all entrances to your home should be beautiful and interesting. This is the way into our home from the garage. A fun welcome home.

As you can see, this is the paint color chart I have to work with...
This is what you will need to paint your front door-

Exterior Latex Semi-Gloss Paint
Paint Tray
Small Paint Brush
Small High Density Foam Roller and Handle
Painter’s Tape
Rough and Fine Grit Sandpaper
Drop Cloth
New Hardware (optional)


The roller I use for painting surfaces that need a super smooth finish is high density foam. If used carefully it will leave your project fairly smooth, and most importantly, with no brush strokes.
I suggest using exterior semi-gloss paint. A soft luster finish. High gloss paint is beautiful, but you need to have a perfect surface to work with. And flawless technique. High gloss will highlight any flaws, bumps, etc. Best left to a professional, if that is your desired look.


Start by removing all the hardware off the door. Don't even think you can use painter's tape and paint around the hardware. It has to come off.


Give your door an all over sand with the rough sandpaper,
smooth out any imperfections or previous brush marks. This sanding block has a nice edge for sanding bevels.
Wipe or vacuum entire door (and surrounding area) to remove
the paint dust. It goes everywhere! Use a wet cloth and wipe the door clean.
Let dry.


Run painter’s tape around all edges if the door. Color goes
only on the front of the door.
We are going to paint two (or maybe three if you need) light coats of paint, with no
primer. This is not bare wood, there are several layers of previous paint, and I
am painting a darker color over, so no primer is necessary. You will have to
assess your door if your need to start with a primer. If you are not sure, a
coat of primer is always a good thing and will never be a bad choice. Just
remember, I am painting TWO coats of black paint, not one. No shortcuts here.
My door is a six panel Colonial, a very easy style door to
paint. You can adapt these painting techniques to most style of doors.


Start at the top and work your way down. Take a small amount
of paint on your brush (it should not be dripping) and paint the two top
squares around the bevel.

Run your foam roller into the paint and run the roller back
and forth on the tray to distribute the paint evenly on the roller. We are
applying a light coat, so you do not need the roller to be dripping with paint.


With the roller, roll the raised areas and inside the bevel
to cover brush strokes. We are trying to achieve a uniform, smooth look, with no brush
strokes at all on the door. Always be on the lookout for drips.


Paint and roll the six raised panels.


Run the roller across the top, down the middle and sides
just to the top of the next set of raised panels until all the sides and centers are covered.


If you were wondering, paint always dries darker. This paint looks very much like charcoal grey when wet, but dries to a perfect black.
Roll across the bottom and cover with paint even if you are
covering the bottom with a kick plate.
Check all over for drips. Remember, the first coat should be a light coat. You may see bits here and there of the paint your are covering. With the second coat it should cover all the earlier door color.

Let dry overnight. This is the hardest part for me. Way too
hard to wait.

A quick tip is to wrap your roller and brush (before cleaning
them) in a zip lock bag and keep in the fridge overnight. The next day
take your brush and roller out and they are ready for you to paint.
Use your fine grit sand paper and give the
door an all over. Wipe down to remove any paint dust.
Give your door a second coat of paint, follow the previous
paint pattern and techniques.


Let dry completely. Add a third coat, if needed. This roller will leave your door smooth and (can I say this?) close to perfect!

Add your hardware. I purchased a new lock set and kick
plate.

Add a new wreath...
Or use a old classic...


Yes, I want to peek inside! Please post photos 🤓
ReplyDelete