Time flies! In a blink of the eye the seasons change so
quickly. The beach towels and bathing suits were just put away and I turn
around and we are well into another season. How do you keep up? If you are like
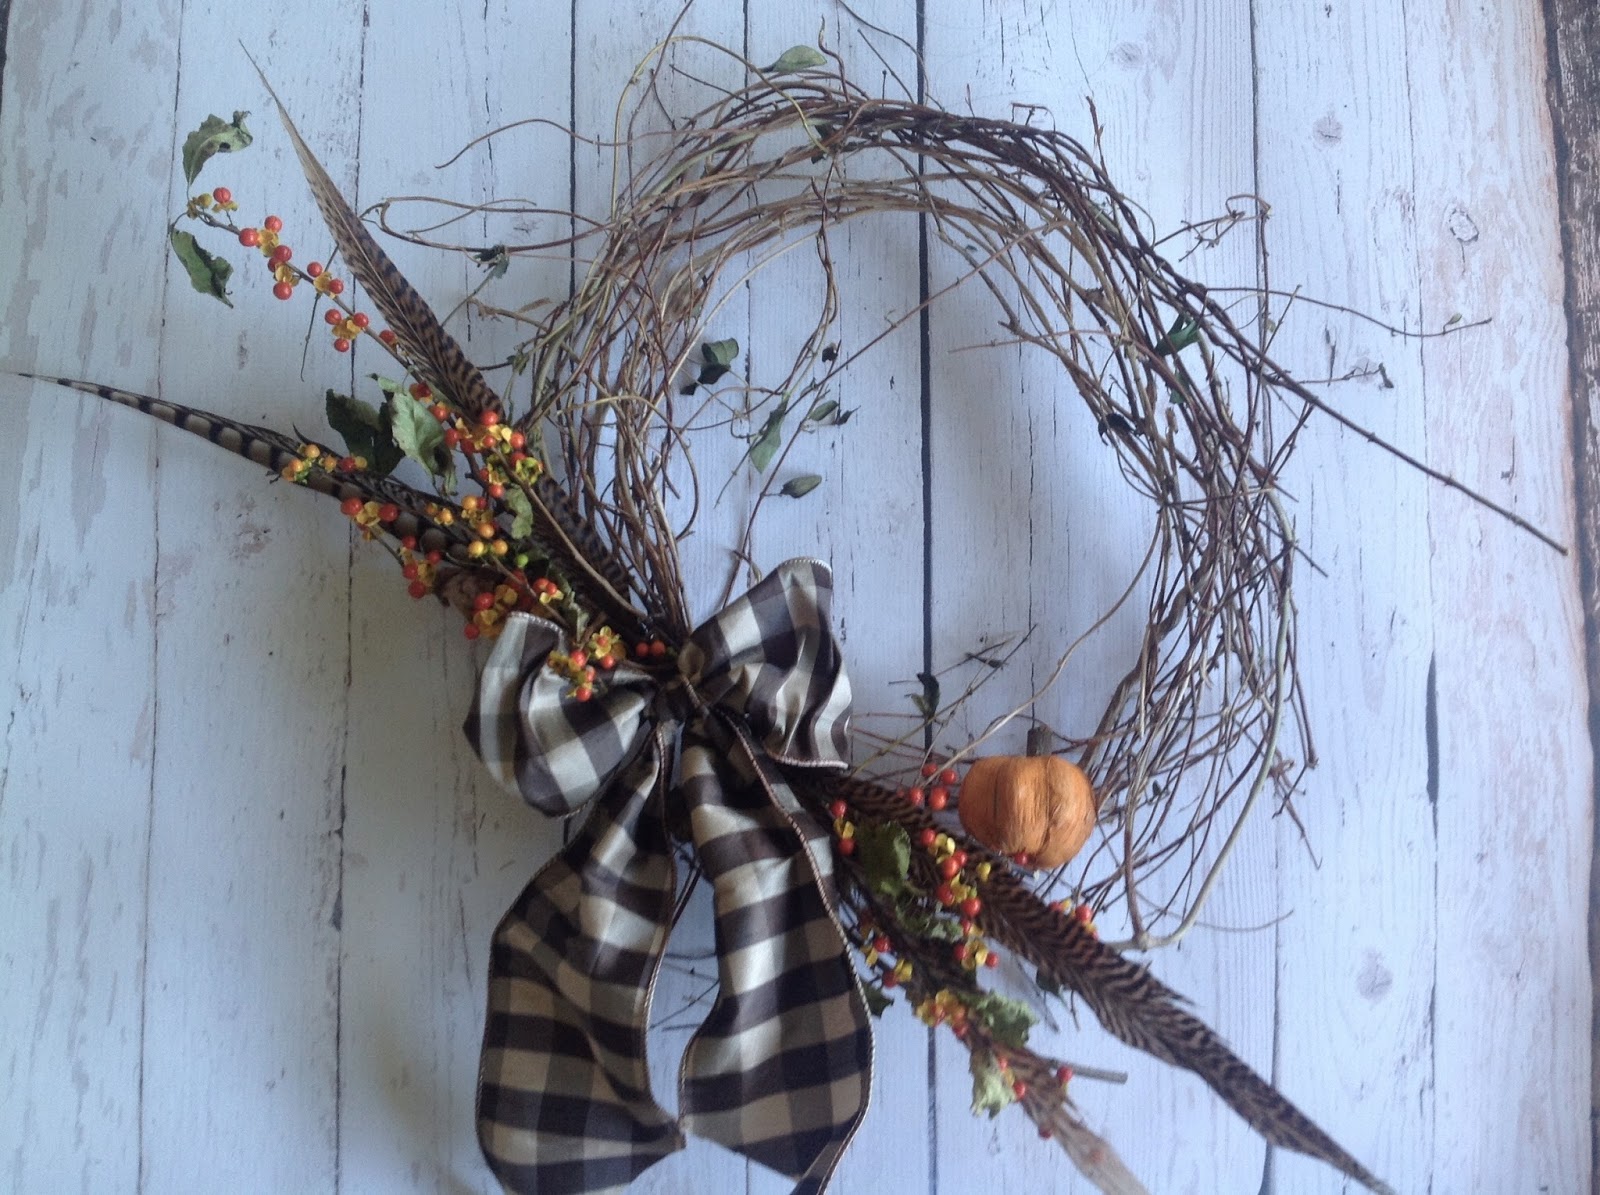
most, it is all you can do just to get a wreath on the door. What about the
table? Sometimes it feels like you have to schedule your calendar to change the
table. Wouldn’t it be nice to set the table once and just leave it? How about
setting a table that transitions from one season to the next with a simple
change from season to season? Kind of like that little black dress (LBD),
switch out the shoes, scarf, jewels and you have a completely new outfit. Dress
that takes you from day to night, a table that takes you from season to season,
effortlessly. You can do that with your table. Set your table, the switch out
the “accessories” and you have transitioned into a new season without spending
much time. Here’s how…
First you have to start with the LBD, or BTD (basic table
décor) the first layer that stays on your table season to season. The BTD
consists of one neutral runner and a neutral wood board. Two staples that
remain on the table.

The neutral runner I like to use is white, white linen my
favorite. I love the look, texture, simplicity and it is complementary for most
table settings.

The neutral wood board is a layer added on top of the runner
that frames or highlights your accessories. It is stained a light grey and then finished
with a white wax that protects and highlights the grains in the wood.
Start by measuring the length of your table. The finished
length of the board should be approximately 40” shorter than the table length
to leave room at both ends. My table is 100” long and my board is 60” long by
10” wide. I have 20” at each end that the board does not fully cover the runner. So, yes, the runner is longer than the board.


I used clear select pine for my board. It has a nice grain
and no knots. Not too expensive. I wanted an aged look, slightly Farmhouse,
slightly Contemporary and Classic. All in one board. I did not want a board
that looked like it just fell off the barn.

To make the stain you will need equal parts of apple cider
vinegar and water. You will need a jar with a lid. I used a Mason jar. Then add
to the mix one pad of steel wool. Tighten the lid and wait a few days. After a
couple of days, take the lid off and wait a few more days.

When your stain is ready, apply a thin, single coat of stain
to all sides. The stain will look very light, almost like it has no color. Once
the stain dries, it will darken up to a perfect silvery gray.


This is the white wax I used. You can buy it here…Link


With a soft cloth apply small amounts of the white wax along
the length of the grain. I worked in small areas, then smoothed the wax before
I moved on to another area. Once the board was completely covered, I buffed the
wax with my cloth, then let it dry overnight.

This finish seals the board and leaves a soft, beautiful
patina.

Next, set the linen runner on the table. Sometimes I will
layer one or two linen runners, removing the top layer if it gets soiled. The
underlying layer is fresh and pressed, saving you time.

Center your new board on top of the cloth runner.


I am smitten with white pumpkins. Add a few pumpkins, a pair
of silver candle holders, white candles and a soft silvery garland to the wood
board. Simple. A table that can last all fall.

Looks so soft and clean, the white dishes and white napkins
complement the overall neutral feel.

Switch out the pumpkins, add your Christmas look and your
table is set ready for holiday entertaining.

For New Years, simply remove the red and the green to make
way for silver and black to celebrate.

Then add an icy garland, some birch candles for a winter
woodland look.

Add a little lavender and a few moss balls and you are ready
for spring.

So simple.
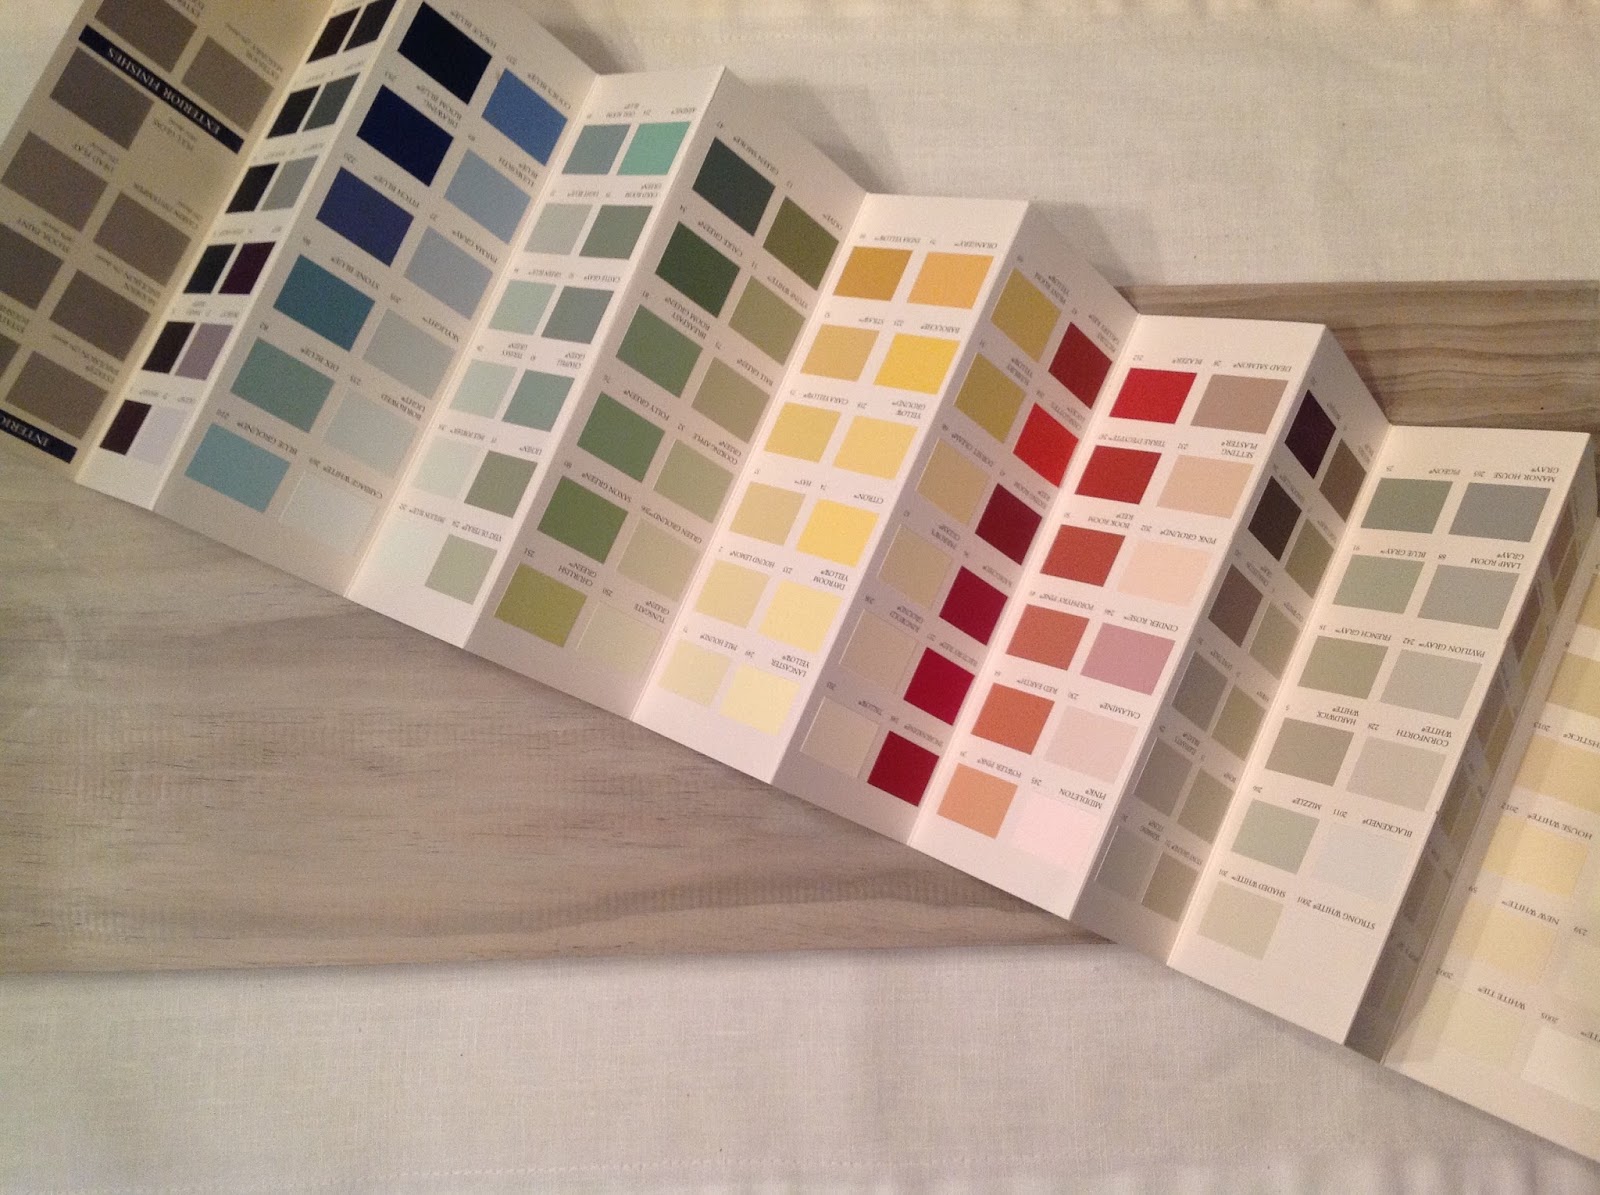
Look at all the colors that work well with the BTD. Endless table settings. Endless seasons. Endless possibilities.

And you thought you didn’t have time to change the table…