When "Deck the Halls" was written, no one could have guessed that there would soon be a chapter in the decorating manual dedicated just for garlands. Garlands are no longer exclusive to railings any longer. They are found everywhere, from topping mantles, woven into trees, over mirrors, above doorways, across headboards and even spilling down the middle of dining tables. They can be grand or refined, festive or understated, dazzling to delightful. The most easiest decorating tool
that adds attention and excitement to a single space. Now that the holidays are
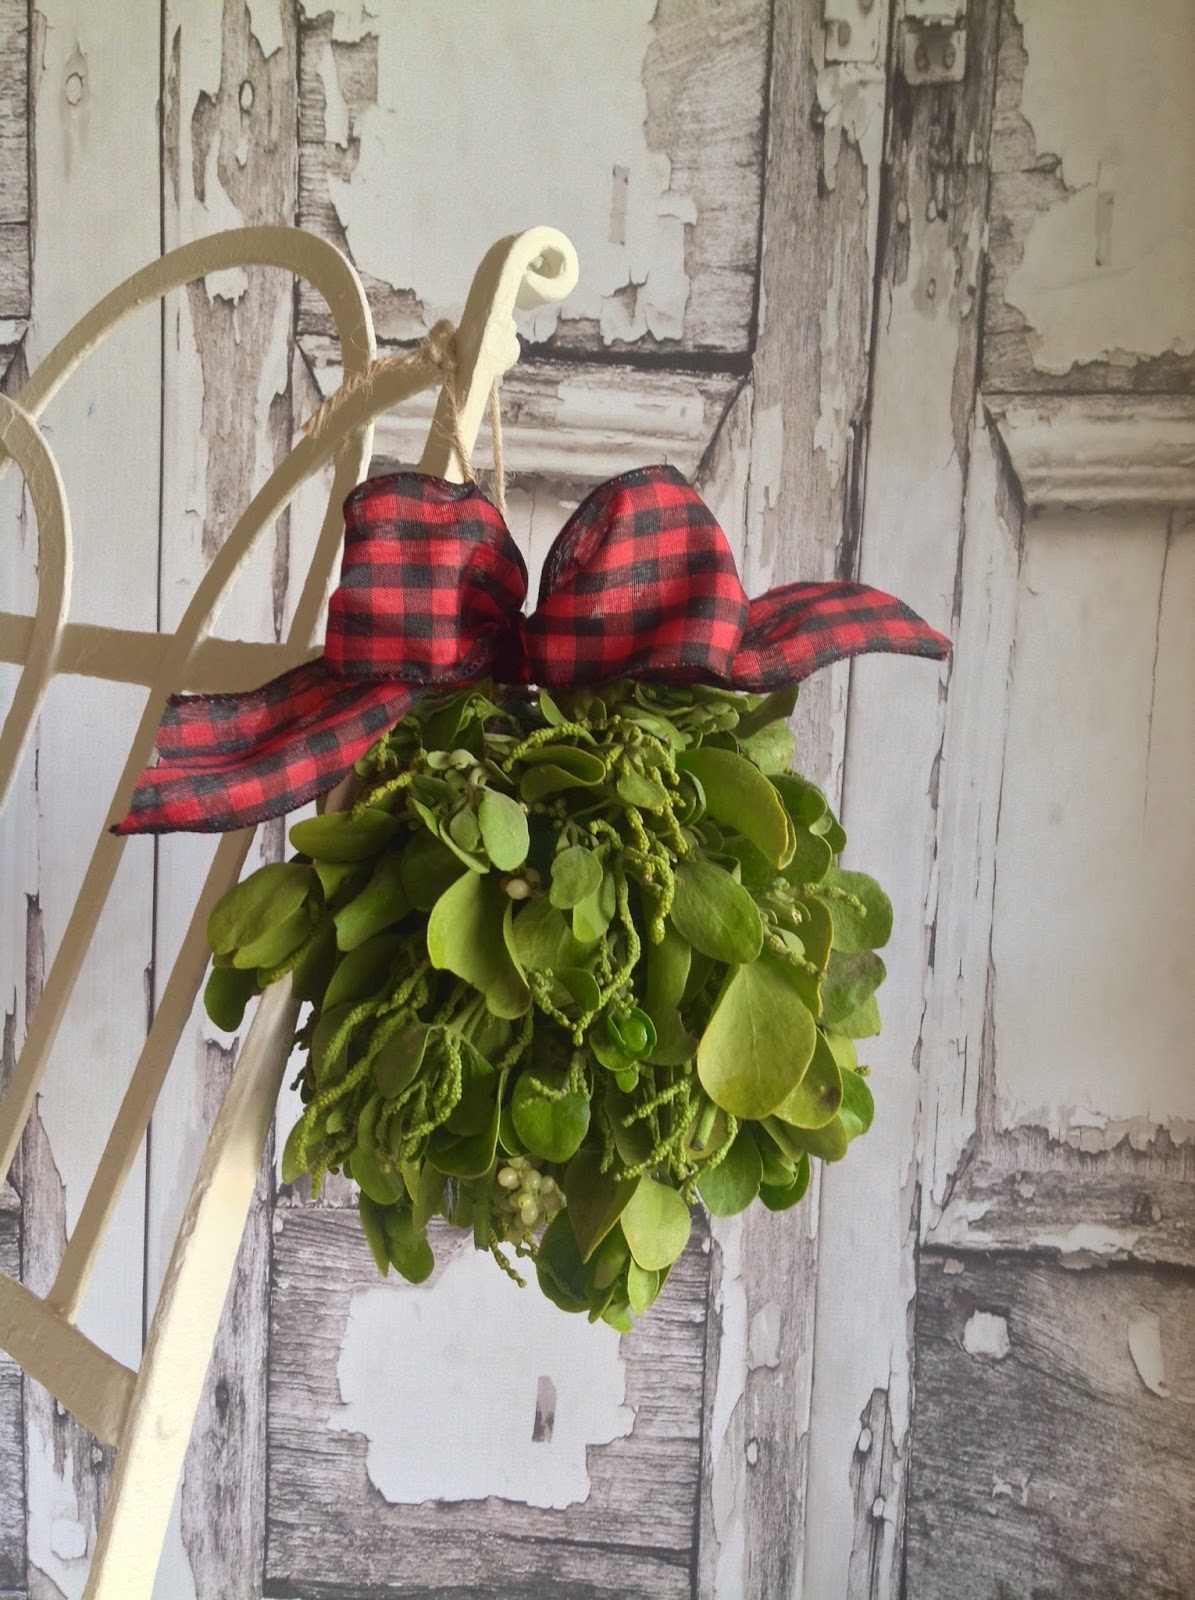
right around the corner, here are three little garlands that can grace any space where a little holiday magic is needed. Handmade holiday here. Simple and beautiful.
Fa la la la la...
 |
| SIMPLE STAR |
This is what you will need-
Baker's Twine
Star Cookie Cutter
Rolling Pin
Darning Needle
Bamboo Skewer
Remove the clay from package and place on a smooth surface.
Kinda looks like a big chunk of cream cheese. It is incredibly easy to work
with, lightweight and smooths out easily.
Split in half or smaller bits.
Roll out with rolling pin like you are making cut out
cookies. Roll until it is about 1/8” thick.
Cut out with star cookie cutter. I used a little less than
half a package of the clay to make this garland of over 30 stars. Any unused clay can be stored
in an airtight zip lock bag or container for later use.
Place stars on parchment paper.
Poke two large holes in each star with a bamboo skewer.
Let stars air dry. This may take a day or so. Flip over on the second day so both sides dry evenly. The points of the star may curl up while drying, just press down with your fingertips. Check holes to make sure the opening has not closed or become too narrow for a needle to pass through.
With a darning needle (a large eye), thread stars with baker’s twine.
String them along as close together as you like until you have incorporated all the stars on the twine.
Tie a loop and a knot at each end.
So simple.
 |
| CLASSIC CRANBERRY |
This fun little garland is so
much better made with someone, sipping hot coco by the fire. Perfect for little
hands too.
String fresh cranberries onto dental floss with a needle. Make it as long as you like. I like to make several strings, about 6 feet long each. Easier to handle in short lengths.
So festive.
 |
| MINI GINGERBREAD HOUSE GARLAND |
Follow gingerbread recipe here-
1/2 c. molasses
1/4 c. sugar
1 tbs. milk
2 c. flour
1/2 tsp. baking soda
1/2 tsp. each; cinnamon, nutmeg, ground cloves, ground ginger.
Heat oven to 350 degrees.
In a sauce pan, heat molasses just to boiling. Add sugar and combine. Add milk. Mix flour, baking soda, and all spices together into the molasses.
Roll gingerbread out onto a a prepped surface. I like to use
a little butter rubbed on the counter, then dusted with flour.
Roll gingerbread until about ¼” thick.
Cut with mini gingerbread house cutter…
Link here. I made six houses, but you can make as many as you like.
Make a large (the bigger the better) hole with a bamboo skewer on the roof, one for
each side.
Bake about 7 minutes. Let cool and dry uncovered overnight.
Follow piping recipe here-
2 1/2 c. powder sugar
2 egg whites
2 tbs. vanilla flavoring
2 tbs. milk
Mix all with a stand mixer.
Use a small single hole tip to pipe frosting onto the gingerbread.
Apply a liberal amount of piping to the sides of the house.
Attach house front to the sides.
Attach house back to the sides. Repeat for all six houses.
Let set about half an hour.
Apply piping to sides and along house front and back.
Attach roof. Let set about an hour. Fill in gaps along roof top and sides.
Pipe frosting along roof, sides and door to decorate.
Add a little red candy heart above door. The red candy
hearts came from from Williams- Sonoma.
Let dry overnight.
Carefully paint clear drying glue (I used Mod Podge) with a
small craft brush on piping.
Sprinkle white glitter onto the glue. Shake excess glitter off house. Let dry overnight.
Wrap the end of the twine with scotch tape and clip off tip. The tape will act as a needle to thread the twine through the holes in the gingerbread.
String houses together with decorative twine.
Deck the halls...