
I love the cool look of concrete pumpkins. There is
something so interesting and unique about them, a little bit mysterious. Soft and silent, a velvet like texture, unexpected. Of the many special things I adore about these concrete pumpkins is that you
can keep them outside all year. They become a fixed ornament peeking out
between a perennial garden, maybe tucked beside an annual. Perhaps just in plain sight
perched on your doorstep with a dusting of new snow. Or mixed on your seasonal table. Decorate with
them inside or out, they will capture your heart and become a personal favorite. Simple and fun, they take about 15 minutes to make. Soft and silent.

This is what you need-

Shapecrete
Tights
Twine
Vinyl Gloves
Scissors
Trowel
Scissors
Trowel


Shapecrete is a new type of concrete mix that is simple to use and delivers amazing results. It comes in a 20 pound container with a handle that makes it easy to lift, store and move around. Mix with a little bit of water and you are all set to create. The outcome is a smooth fine soft surface, unlike concrete that has a pebbly, rough finish, fine for a walkway, but not a work of art for your home. To purchase...Link here.
Use a drop cloth to cover and protect your work space.
To make a small pumpkin, measure from the toe of the tight and cut off about a 10" length.

Measure 4 cups of Shapecrete and place in a container.


Pour 1 cup of water, a little at a time while stirring the Shapecrete.

Stir until you have what looks like brownie mix.

Scoop up small amounts of the mix and "pour" into the opening of the tight. Fill the tight up with all the mix.
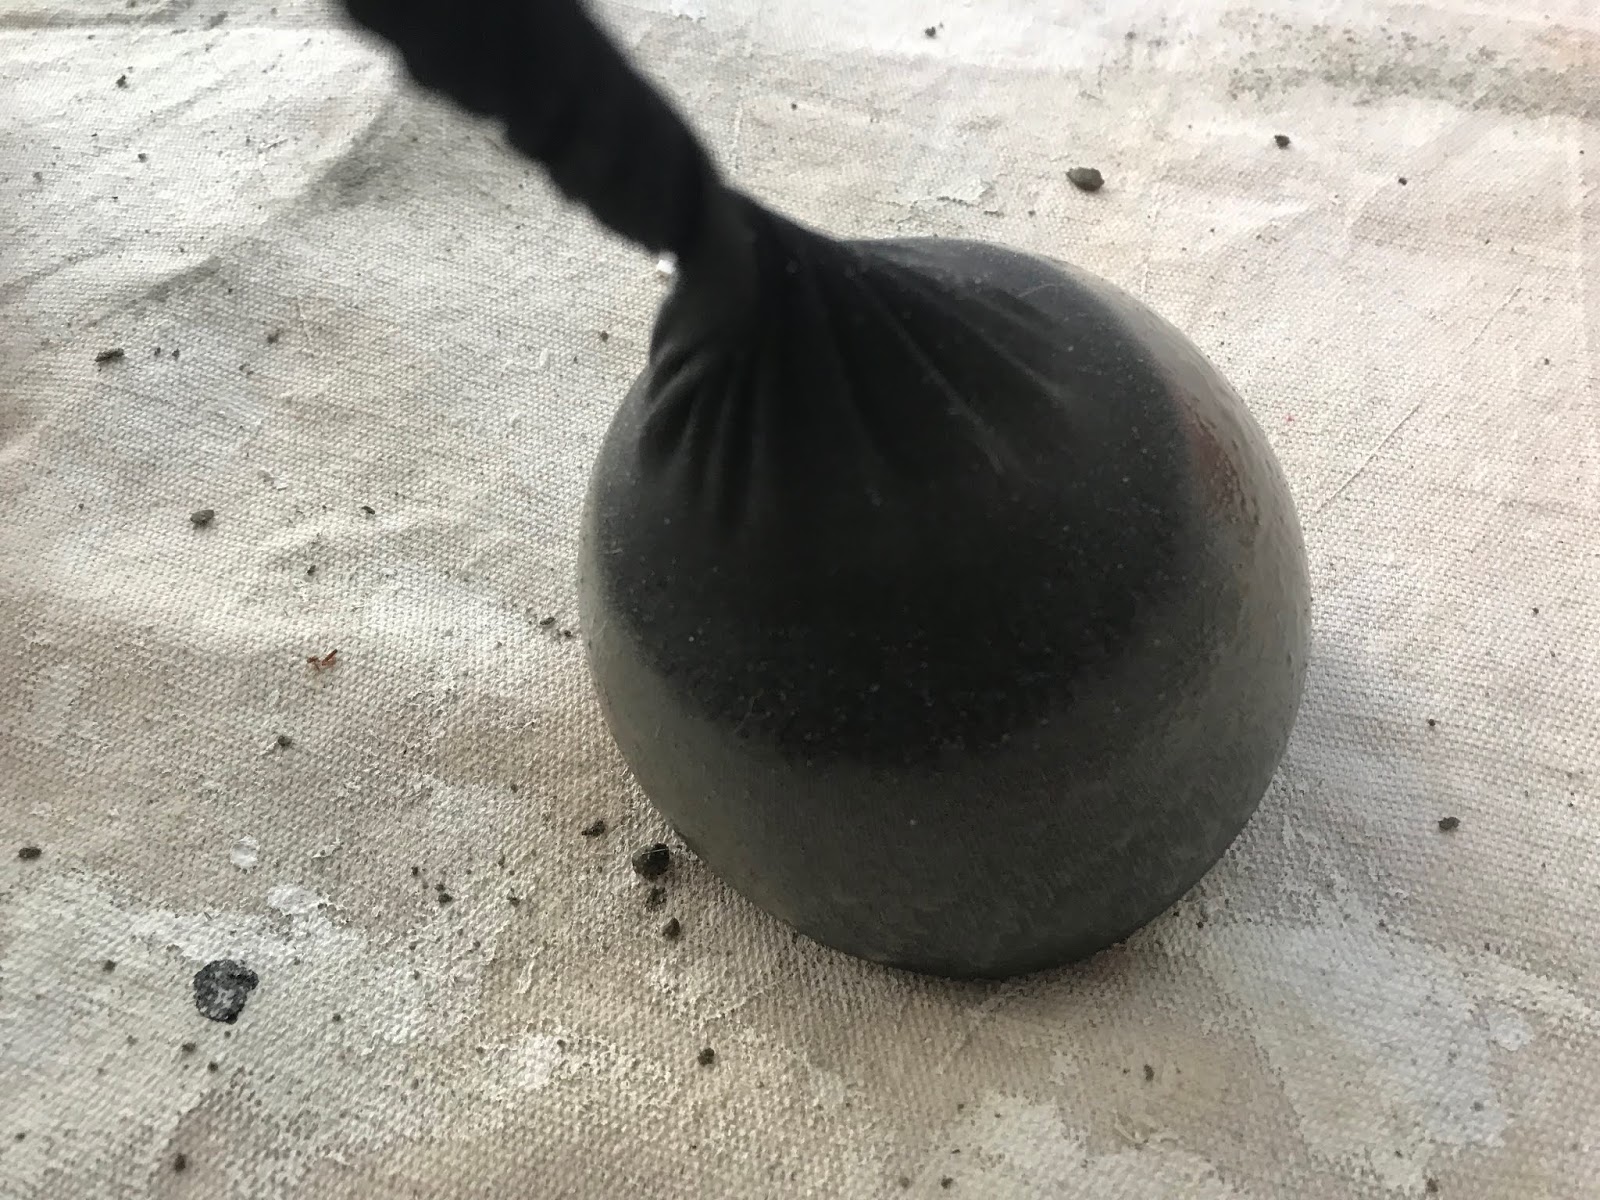
Told the top of the filled tight and slightly bounce the concrete to form a ball and to get any air pockets outs.

Tie a slight knot at the top.

Wrap a length of twine around the pumpkin and tie it in a knot. The tighter you make the twine, the deeper the sections will be.


I tied three strings of twine around my pumpkin, but you can add more if you like. Three looks perfect to me.


Set out in a dry spot to harden. Use a drop cloth under the pumpkins while they set. Wait two days to let dry.


From the bottom of the pumpkin, cut the twine and peal it away from the the concrete.

Snip the tight off following the lines left by the twine.


Peal the tight away from the concrete like you are pealing an orange.

A soft smooth texture for concrete.

If you see a dark area on the bottom of the pumpkin, it has not dried completely. Turn it over and let dry for an additional day.

Snip the tight off following the lines left by the twine.


Peal the tight away from the concrete like you are pealing an orange.


If you see a dark area on the bottom of the pumpkin, it has not dried completely. Turn it over and let dry for an additional day.

To make the stem you will need twine, floral wire and Modge Podge glue and a craft brush.


Measure and cut a length of the floral wire the same length as your twine.

Twist the wire into the twine.

Tie a knot at the bottom of the twine.

Twist the wire inside the twine.

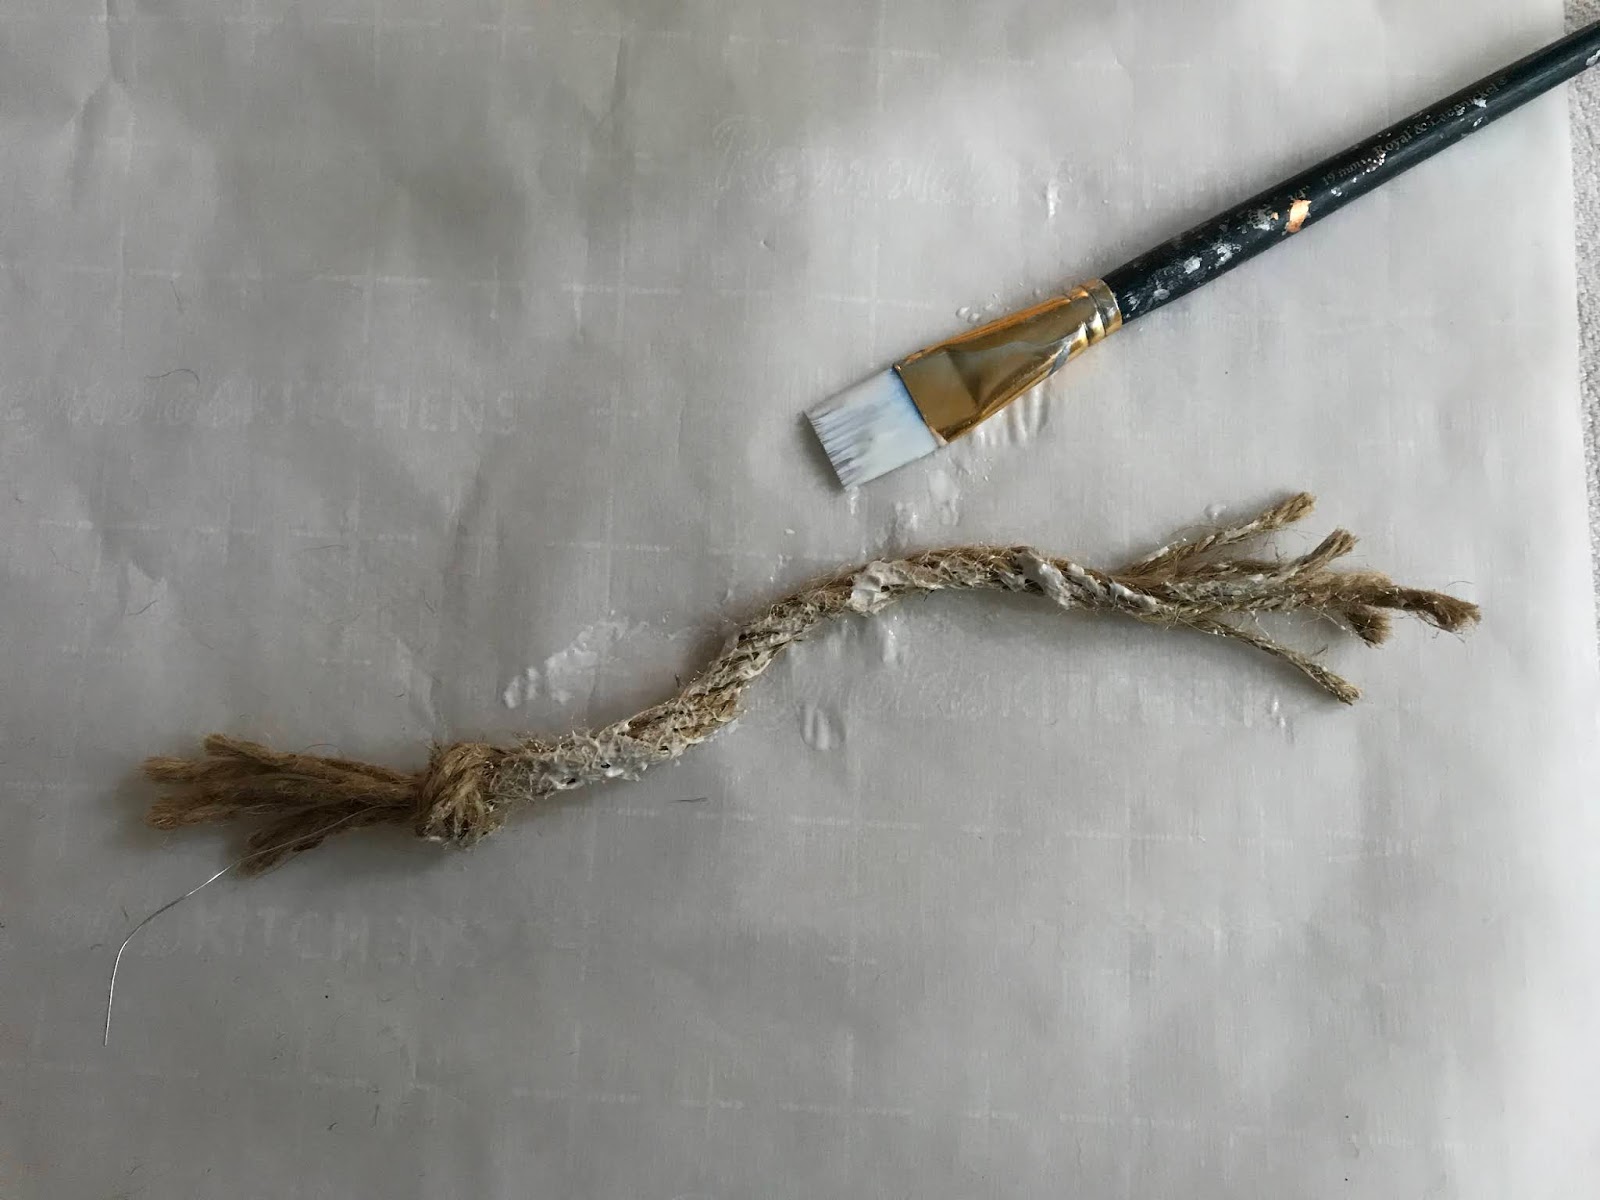

Use Mod Podge sparingly on the twine to help the twine stick together. Let dry.
Glue the stem on the top of the pumpkin.

Peeking out here...

Or here...


Glue the stem on the top of the pumpkin.


Or here...

Or there...

Just beautiful.


