
Remember those long ago days when it was rainy or too cold to play outside? We transformed our sofas by removing the cushions and draping
blankets over the frames to make little tents. Small spaces. The light was soft and the air inside was exciting. Perfect spot for a good book, a quiet nap
or a place just to let your imagination run away. Add a few lights sparkly lights and there is instant magic in the air!

It's so good to be a kid...

Simple to make, endless fun for sleep overs or just a quiet spot to let your creativity flow.

This is what you will need-
(4) 4’ x 1 ½” x ½” Select Pine Wood Boards
(3) 7/8” Wood Dowels
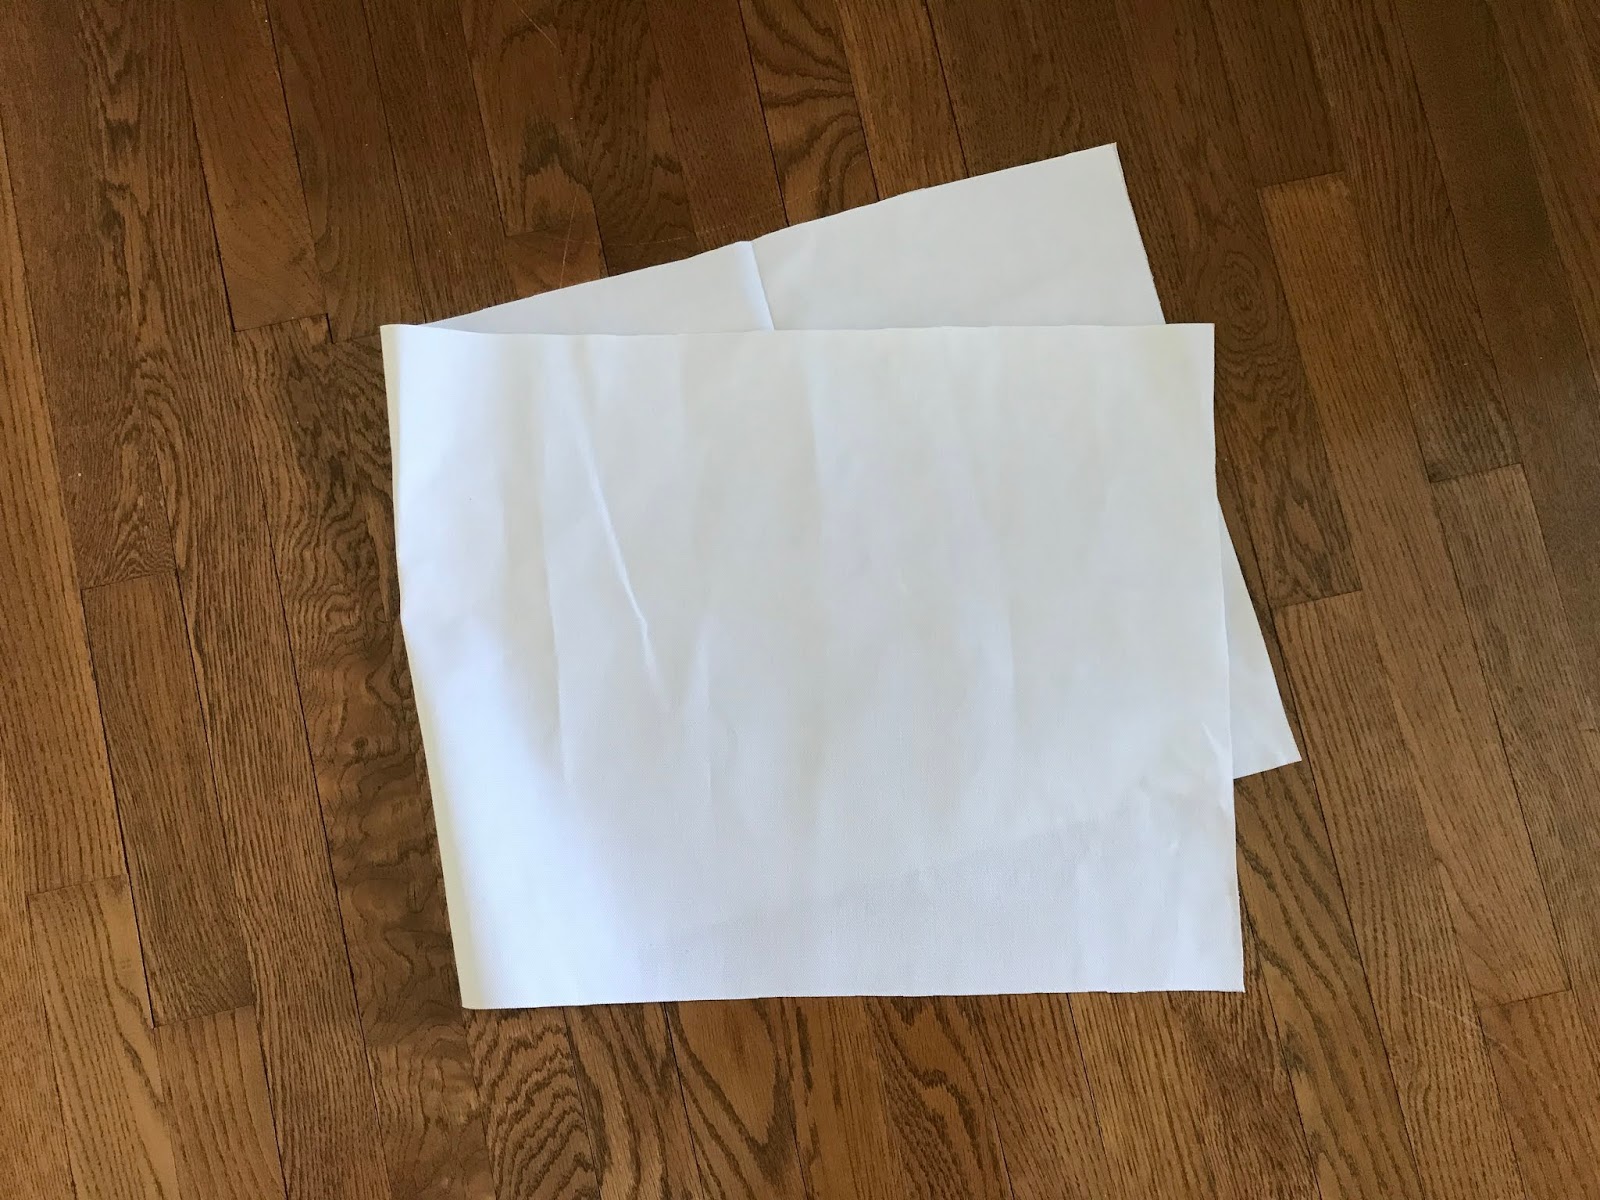
4 Yards Duck Canvas Fabric (50” or wider)...Link here.
3-4 Spools Of 7/8” Wide Ribbon


Sand all edges of the 4’ wood lengths. No splinters allowed.
I like select pine because is smooth,
free of knots and blemishes. It is light weight but makes a nice frame, perfect
for a tent.

Line the ends together of the 4’ boards, use a square to
make sure they are all even.


Mark all four boards 5 ½” from the end.

Find the center, and mark. This will be where you will drill
a hole for the top dowel placement.


Now line all the four boards up at the opposite end, use a
square and measure 2” from the bottom.

Find the center of each board. This will be where you will
drill a hole for the bottom dowel placement.


Drill all 8 holes.


Sand all until smooth.

Assemble the tent frame to make sure it all fits together.
For a nice sturdy professional tent, I choose Duck Canvas because it is practical, durable and a nice weight. On the frame is is taught and not flimsy.
For a nice sturdy professional tent, I choose Duck Canvas because it is practical, durable and a nice weight. On the frame is is taught and not flimsy.
Measure the frame. Run a tape measure from the bottom dowel up to the top dowel then over and down to the bottom of the second dowel. Next measure the distance the length of the top dowel between he two sets of crisscross supports. My measurements are 85 1/2" from bottom dowel up to top dowel then down to the second bottom dowel. The top dowel measures 43" between the two crisscross wood boards. Cut the canvas fabric 45” wide by 92 1/2" long.

On the long side (the 92 1/2") press ½”, then fold over another ½”
and press.
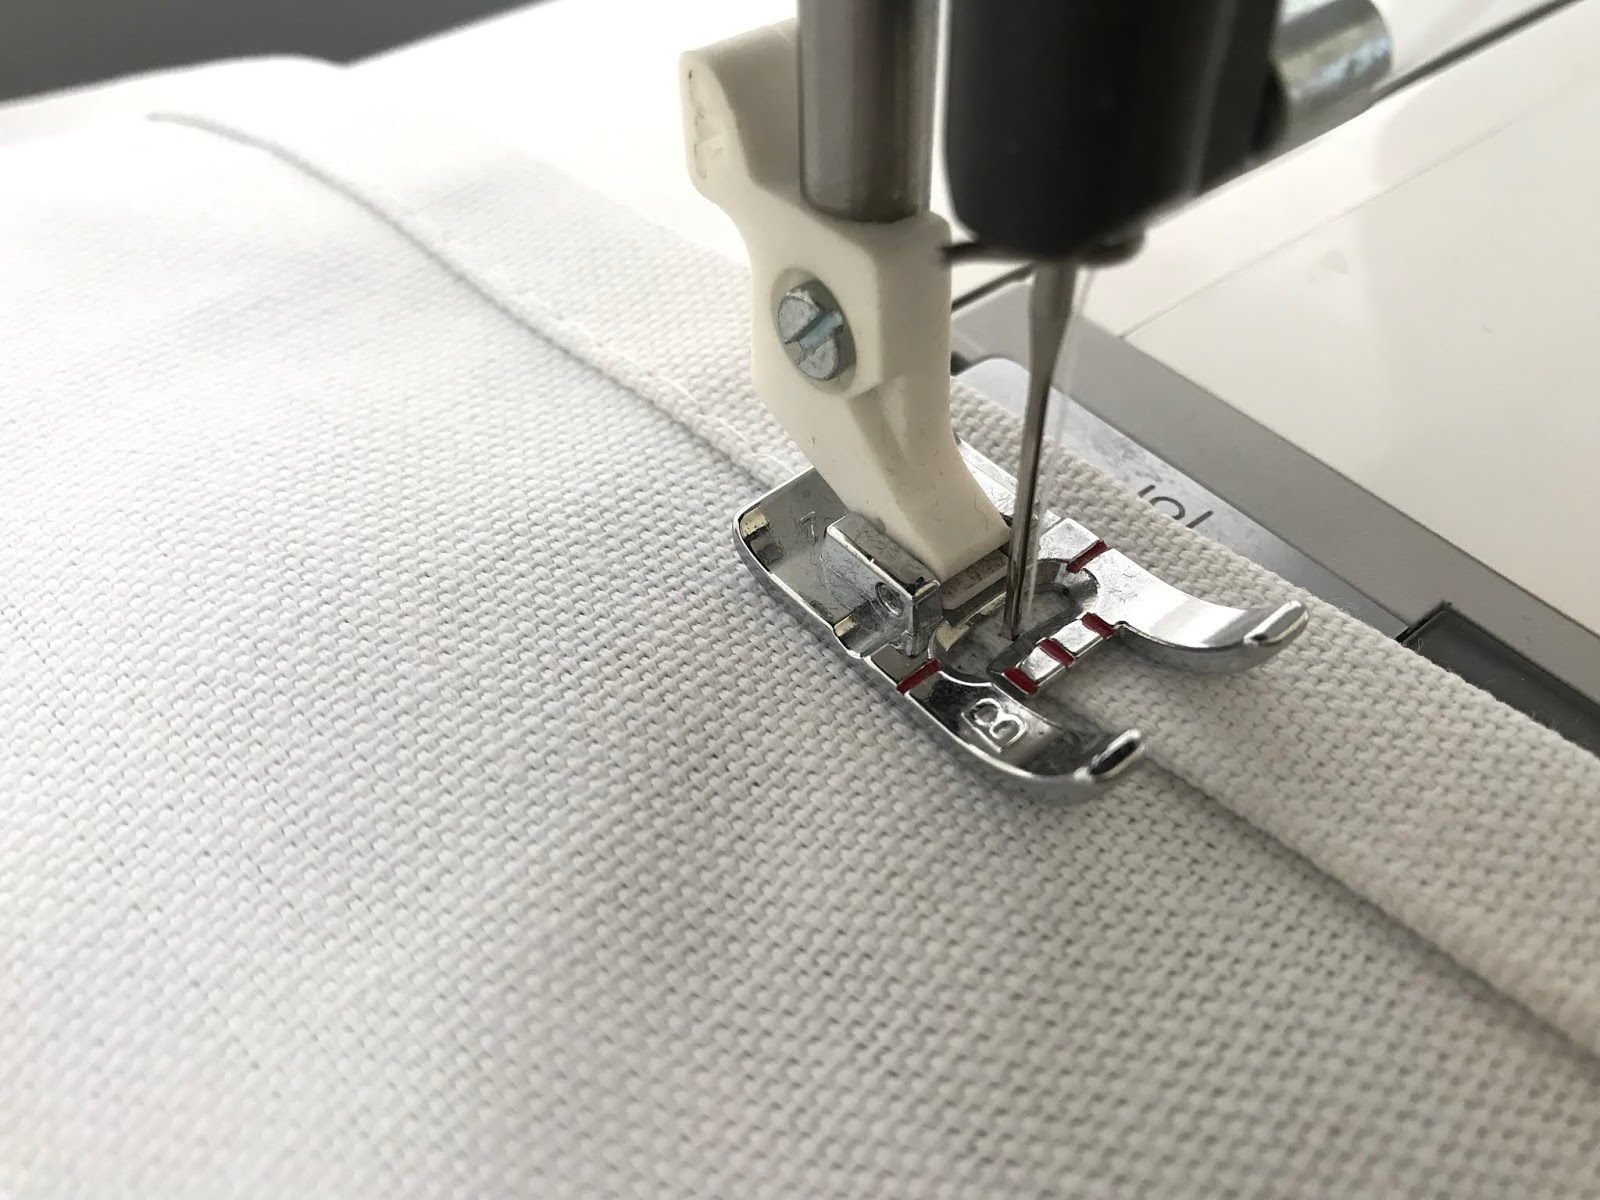
Stitch the length to finish. This is the outside edge. Repeat for the other length.

To make the pockets for the dowels at the bottom, press up
from the edge ½”.


Measure up from the pressed edge and mark with pencil 4 ½”. Pin the folded edge up to the mark.

Topstitch on the pressed edge. Repeat for the opposite edge. Now you have pockets at the bottom for the dowels.


Lay the fabric down, matching the bottom pockets together.
Smooth the fabric flat to find the top of the tent. Measure and mark 1 ½” from
the top. Topstitch the length to form a pocket for the top dowel.

Lay the tent down on a flat surface. Measure to find the
center for the window placement.

Measure down 11”.


Measure and lightly mark with pencil a 14” x 14” square.


Topstitch on the pencil line. Don't worry about all the wrinkles, they will easily smooth out when ironed once all the sewing is complete.

Make with pencil a new square inside ½” from the topstitching.


Cut out the inside square.


Carefully snip each corner.

I like to use Stitch Witchery to “glue” fabric together sometimes. This just makes sewing easier
when working with large amounts of fabric. You can pins and topstitch to get the same
result.

Press the cut edge to the right side (face side) of the
tent. Place the Stitch Witchery to fuse the cut edge. Or you can pin and press, then stitch down.

Cut (4) 14 ½” lengths of ribbon.


Fuse (glue) together two lengths. Repeat for the second set of ribbons.

Topstitch both sides of the ribbons.

Measure, center and pin ribbon on the right side of the window
opening. See photo.


Stitch in place.

Cut (4) 16” lengths of ribbon.

Pair two lengths together and pin as shown. This will be the
first corner (miter) for your window.


Stitch together.

Press open.

Lay first miter on the window corner and pin in place.


Extend the ribbon to the net corner and mark with a pin
where the next miter will be.
Lay the next ribbon over top to the second ribbon.


Stitch together.

Repeat for all four corners.

Trim excess ribbon and press each miter open.

Place the ribbon “frame” on top of the window opening and
pin in place.

Topstitch the ribbon frame to the window opening.
To make pleated blind, cut a piece of fabric 15 ½” x 20”

Fold by matching the shorter side (15 1/2”) together. Pin together as shown.

Stitch together with a ½” seam allowance. Make sure you
leave a large opening, see photo. Trim corners. Press seams open. Turn right
side out and press flat.

Topstitch all four sides, including the opening.


Cut two ribbons 22" long. Place as shown and pin in place.

For the pleated blind, fold and hand press pleats in place.

Lay the top of the pleated blind as shown and pin in place.

Topstitch blind as shown. Tie the ribbons to hold the blind
open.

Cut (4) 25” lengths of ribbon.

Measure 15” from the top of the tent and mark with a pin on
all four sides.

Pin ribbon in place.

Stitch the ribbon in place.
Now give your tent a quick press.

Assemble- lay the tent flat on the floor. Run the three dowels
into the pockets. Crisscross two boards together, one set at the front and the
other set at the back. Place the dowels into the holes.

Lift up and open. Tie the ribbons to the boards.
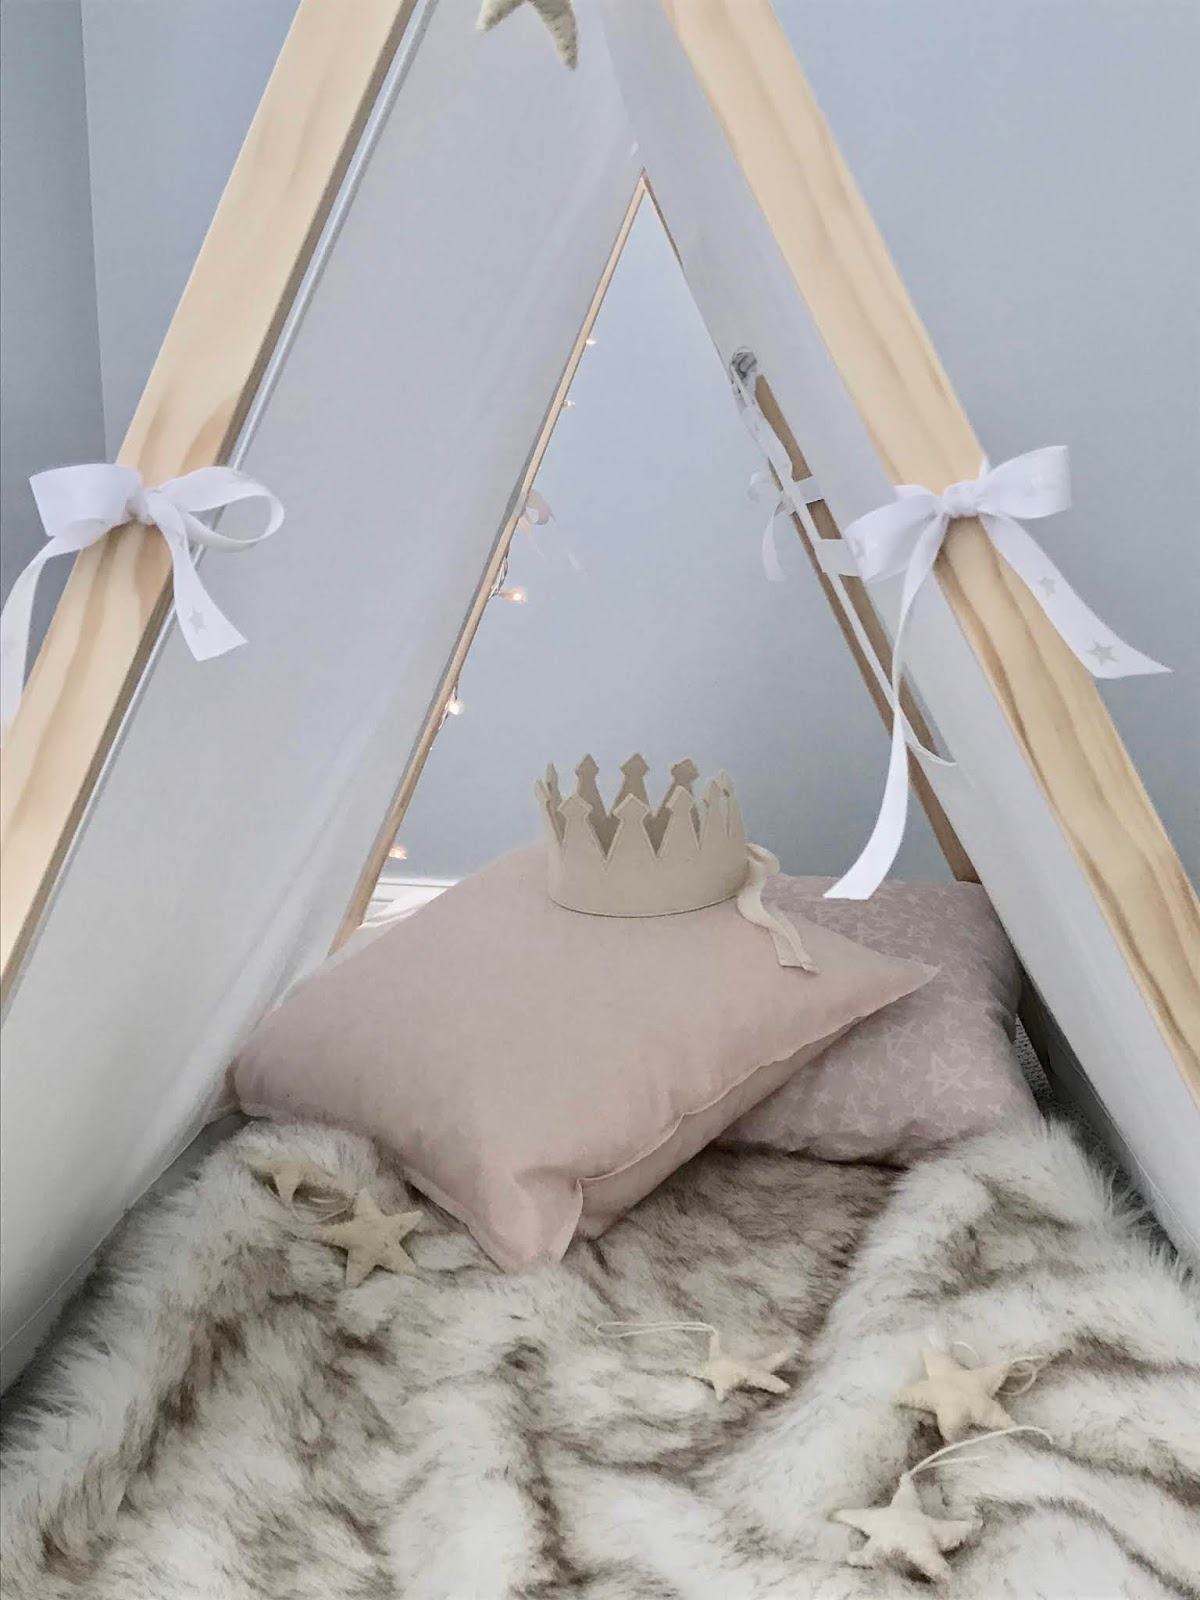
Come on in, kids of all sizes and ages are welcome.


There is magic in the air.

