Saturday, May 20, 2017

TIMELESS TABLETOP

0


Yes, spring is one of the most beautiful times of the year in Northern Virginia. The chance to be new and fresh again. Time to move outside and enjoy the outdoor space. For me, spring is also a time to assess what winter has done to the property. My beautiful patio furniture has not weathered so well these past few winters. The table was needing a little love. So, I thought what if I create a temporary table top that could be removed at the end of the season? Or changed on a whim? A wood tablecloth. And of course, a classic painted design. Perfect.


This is what you will need-

Wood Boards (11- 48" x 1/2" x 6" and  2-48" x 1/2" x 2")
¾” Wood Screws
2” Circular Drill Bit
Power Drill
Jig Saw
String
Gorilla Glue
Measuring Tape
Sand Paper
Exterior Paint
Primer
Sealer
Paint Brush
2” Screw
String
3” Number Stencils
Pencil
Small Craft Paint Brush
Safety Goggles


Start by lining up 9 of your wood boards.


Cut the two remaining 6” x 48” down to 42”.

Cut the two 2” down to 30".


Glue the support boards onto the face boards across the width, as shown.


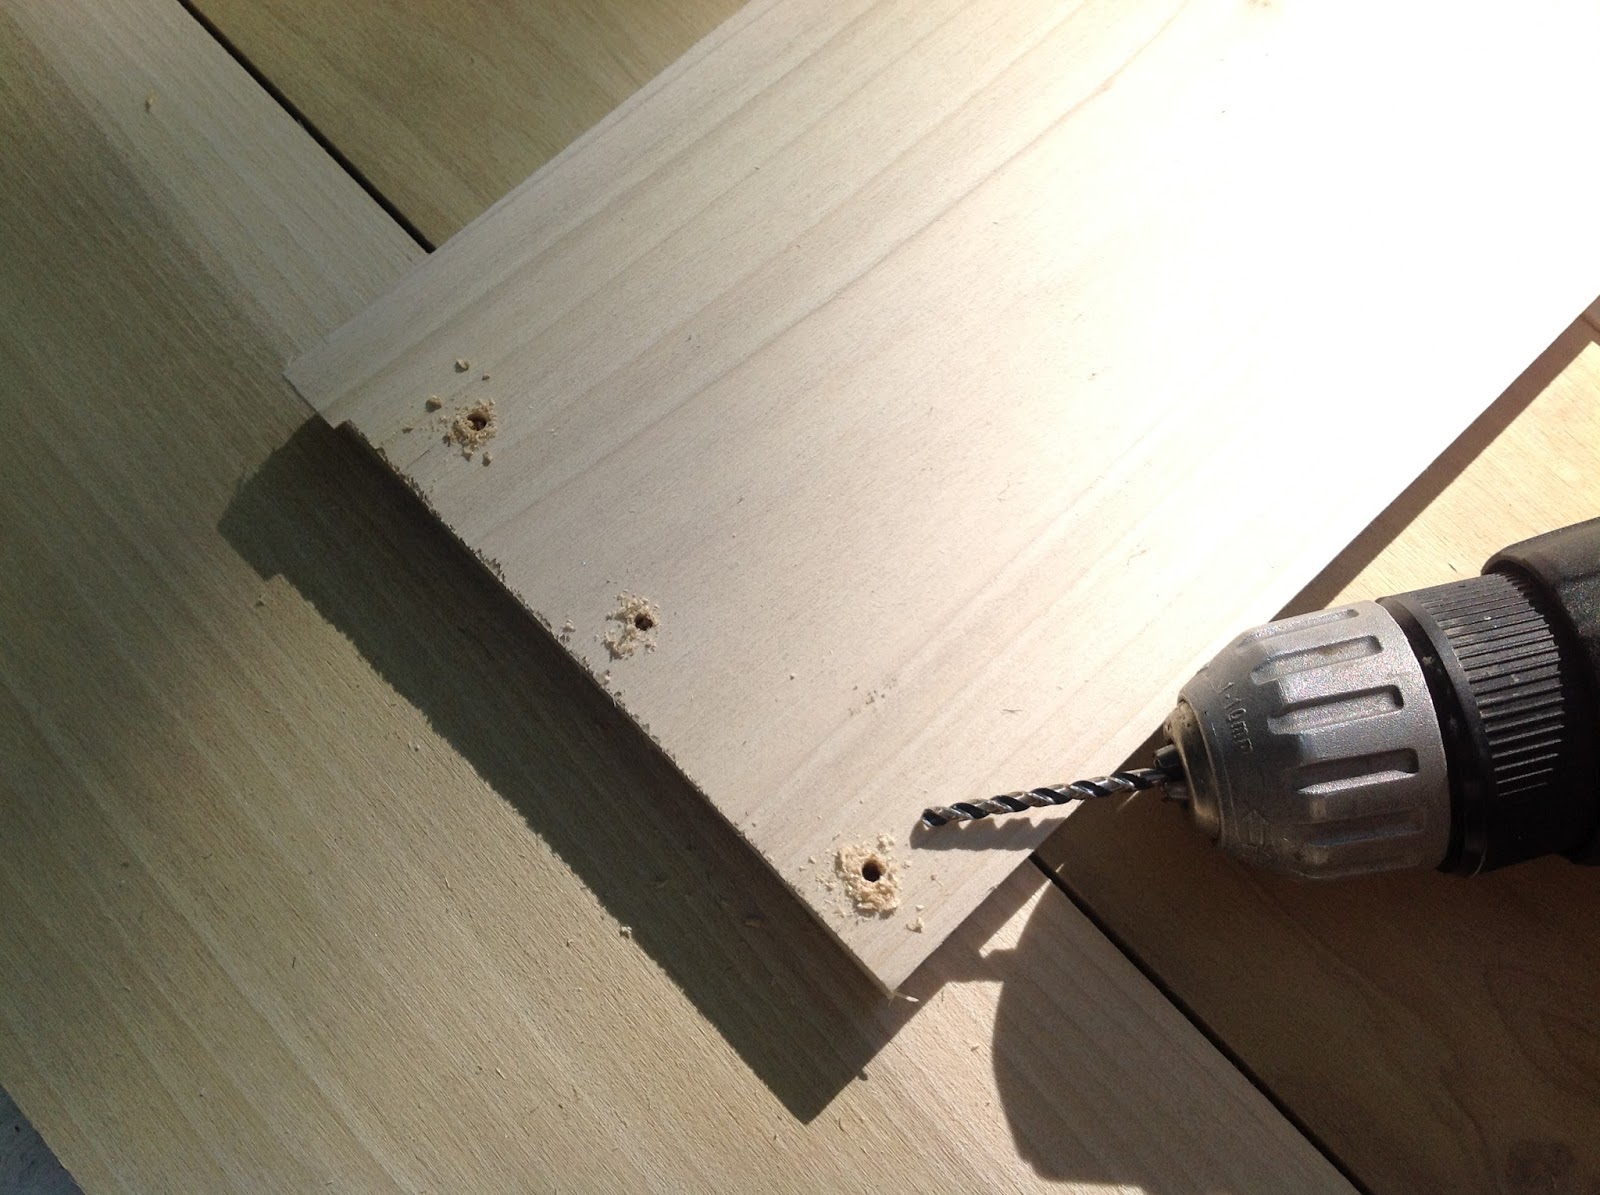
Drill pilot holes, two holes to connect to each face board, as shown.


Screw in the screws, securing the table top.


Fine the center of the middle board. Drill a hole in the center mark.


Flip the table top over. Screw a 2” screw into the center hole.


Attach the string to the screw.


Measure 24” on the string and place a mark.


Tie the pencil at the 24” mark. Measure to make sure the tip of the pencil is 24” from the center.


Mark a circular line all the way around the boards to create a circle. Measure your circle just to be sure. Measure twice, cut once. Wise words.


Clamp the boards to a work table to cut. I extended about 1/8th of the top over the edge of the work table. I cut in small increments, stopped, rotated the top, adjusted the clamps and continued to cut along the pencil line. Cut slowly.


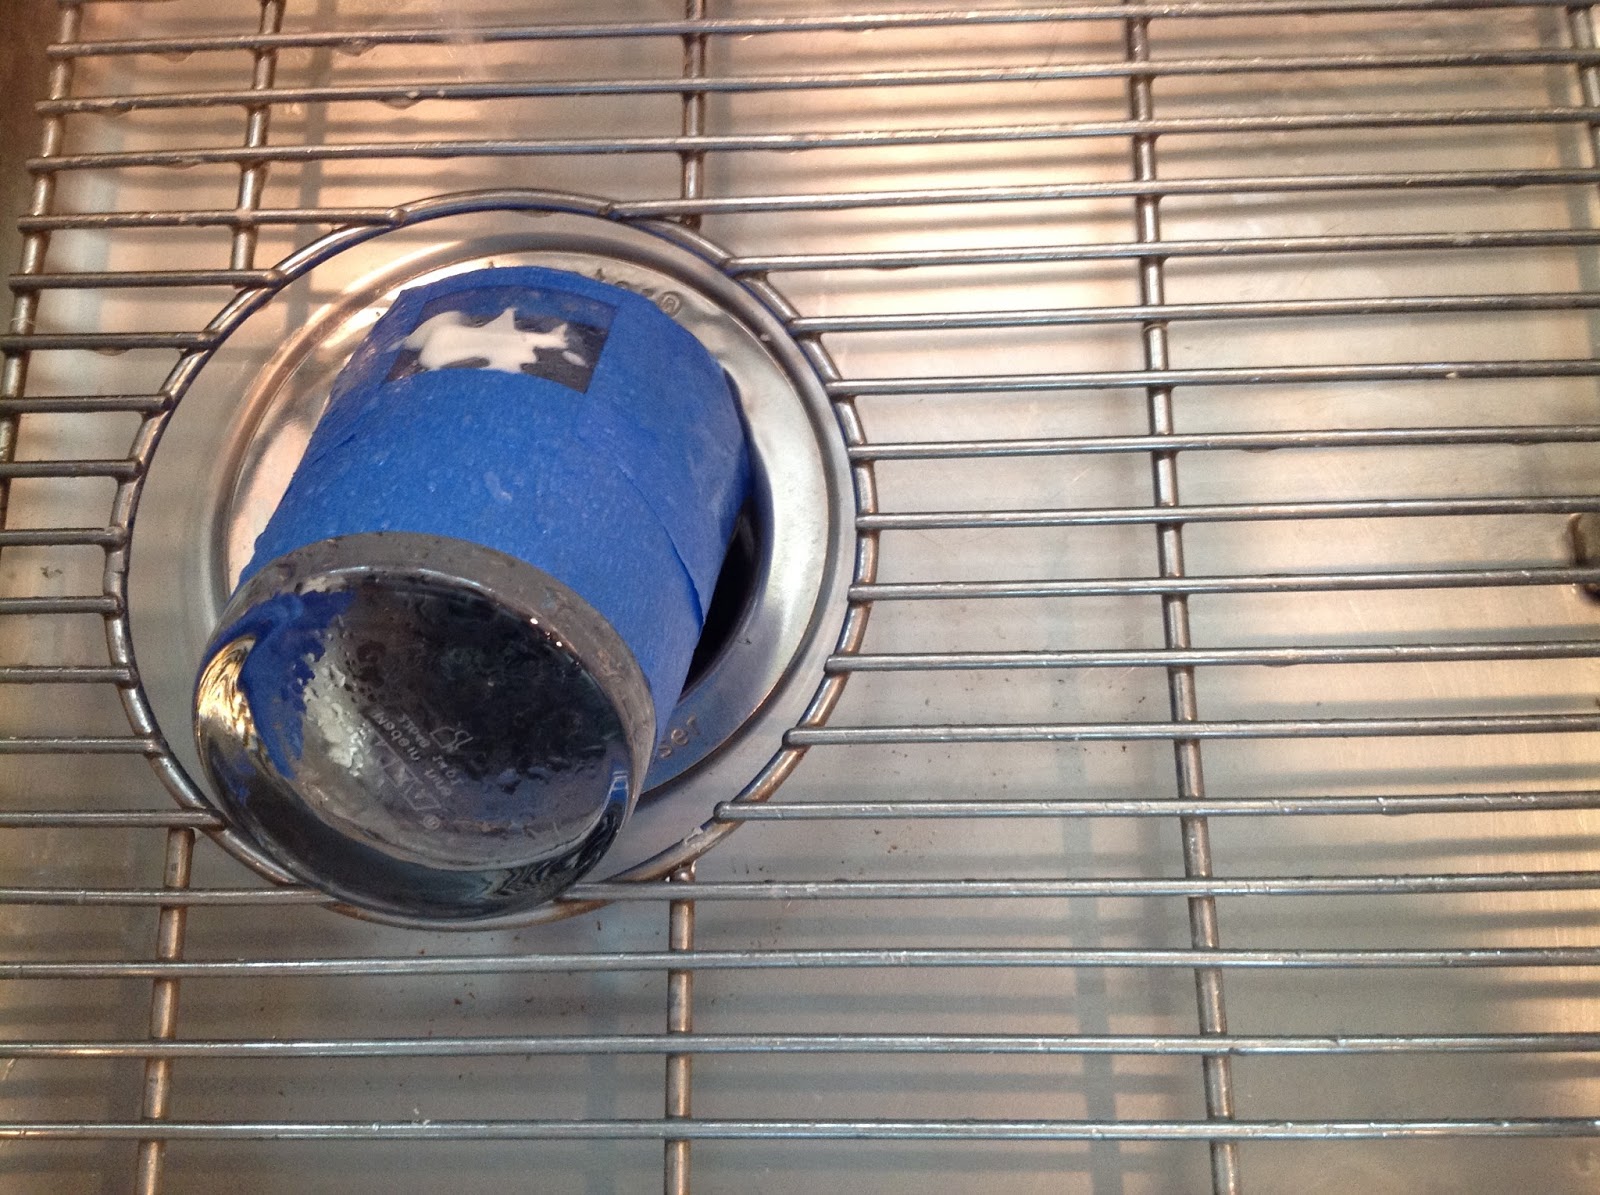
With your special 2” circular drill bit, cut your center umbrella opening.


Sand and sand and sand.


Paint the top and bottom with one coat of primer and two coats of exterior paint. Let dry overnight between each coat.


I thought these French numbers would be perfect...Link here.


I traced each number on 3” scraps of paper.


Then I place 12, 3, 6 and 9 on the board. I filled in the remaining numbers by eye, placing them in the spaces. Not precision, just close enough.


Once I was happy with the placement, I removed one number at a time, and with the stencil, traced that number onto the board with the pencil. 


With your paint brush, carefully thicken the line. 


Fill in each number by hand painting each number. Let dry.


I used a wreath to accent the umbrella hole, using the same tracing/painting technique. To purchase...Link here.


Once the painting has dried, I painted two coats of a sealer on the top to protect it from the elements. However, three coats is what you will need to properly seal your painting. I found it went on a little streaky and a bit blotchy. I will put a third and perhaps a Fourth coat of sealer. It looked a little vintage, and that maybe a good look for your table.


Place the table top on your table. Thread the umbrella through the opening.

And all you have left is…


Set the table…

Call your friends...


Pour some wine...

And relax...


Timeless


Saturday, May 6, 2017

PERFECT POUR

0


Have you ever been served wine in a glass that has an etched design or maybe a simple shape on it? That is known as a pour level. Portion control. And it is always located near the bottom of the glass. Humm…nice look, but. Why not put the design near the top of the glass where you really want it? Pour it on. Have a perfect glass of wine. And now you can do just that. So, for fun, follow along to personalize your wine glass (or any other glass), and you will always have a full glass and a warm heart. Just the way you want it. Rules of the house. My house.


This is what you will need-


Armour Etch
Small Craft Brush
Wine Glasses
Paper towels
Adhesive Stencil Film
Star Punch
Painters Tape
Safety Goggles
Vinyl Gloves


Begin by washing and drying your glassware. My wine glasses came from West Elm…Link here. 


The DOF glasses came from Ikea…Link here.


The contact paper I used was purchased from Michael’s, Martha Stewart's Adhesive Stencil Film...Link here.  Punch a row of stars on the paper, space about 1" or so between each star. I cut about 5 stars per row.


If you look on the back of the paper, there is a grid. I cut the row of stars off the roll so there would be 5/8” from the tip of the point of the star to the cut edge. This way the placement of the stars will be the same for all the glasses.


Cut each star off the strip and place one along the lip of the glass as shown.


Carefully press the contact paper to the glass, make sure there are no bubbles or winkles near the star.


Take a paper towel and press all cut edges of the star firmly.


Cut small strips of painter’s tape to cover the surrounding surface of the glass as shone. The less exposed glass the better.

Now is the time to put on your protective eye and hand wear. This etching cream will burn skin and is very dangerous. Please read the warning directions on the label. To purchase Armour Etch...Link here.

Cover all work surfaces. Once again, the etching cream will damage most surfaces and they cannot be repaired. I applied the etching cream outside on a brick surface. 


With your craft brush apply a small amount of the cream to the opening of the star. Make sure all of the star is covered. Repeat for all glasses. Lay the glasses on their side, star facing up so the cream will not run.


Add a little more cream to all the stars so it looks about like this.


Let the glasses sit for about 45 minutes, undisturbed.

I brought the glasses inside to rinse. The Armour Etch will not damage stainless steel sinks. You may need to check with the  Armour Etch manufacturer about use in other types of sinks. I had prepped the kitchen counter with a layer of foil, several thick layers of newspaper then topped off with a thick fluffy utility towel. Not taking any chances.


Tear off a piece of paper towel and wet it slightly. In the sink, tip you glass lip edge down and GENTLY run the water over the star and wipe excess off with the paper towel. Do not let the water splatter, the cream can still etch exposed glass. Rinse thoroughly. Throw away towel. A big word of advise- USE A NEW PAPER TOWEL FOR EACH GLASS. Repeat for all remaining glasses.


Wash in hot soapy water. Mine will be run through the dishwasher before use.


And now...


it is...


wine time. Perfect.