Technology is great. Until it stops working. Ugh. It is amazing how powerful that tiny little quarter inch square is. That one in the upper left hand corner, yes, the square that turns on your life. Recently, my little square decided to stop working. So it went like this “it might be the...” or “ it could be the ...” or “it may be the...”. All a foreign language to me. So my little square is in the shop. With fingers crossed I hope my Now That You Are Home blog will return soon. Thank you for your kind understanding. I can’t wait to get back!
Saturday, September 26, 2020
Saturday, September 12, 2020
FRAME OF MIND


Good thing I am handy. This quick fix is a great way to change the color of your frames without replacing them. A new look, not better, a more current look. Just follow these little tips and you can transform the look of your frames quickly and easily without having to replace that picnic basket.


This is what you will need-
Frames
Push Pins
Spray Paint- Semi Gloss Finish

I use Rust-oleum spray paint. It usually covers most surfaces with two coats of paint. I love the “white” look but the color selection is limited with spray paints. Most white spray paint is too stark for me. Off white is too yellow. I stumbled on this “Ivory” a very soft white that blends well in many rooms. Actually, it is just perfect.


Disassemble your frames and place on a protected surface. It is best to use spray paint outdoors. Do not paint in direct sunlight. Sunlight instantly dries the fine mist of the spray as you are spraying and can leave a rough texture on the surface of the frame. Also, cooler temperatures are not ideal for paint, temperatures below 65 degrees F will not allow the paint to adhere properly.

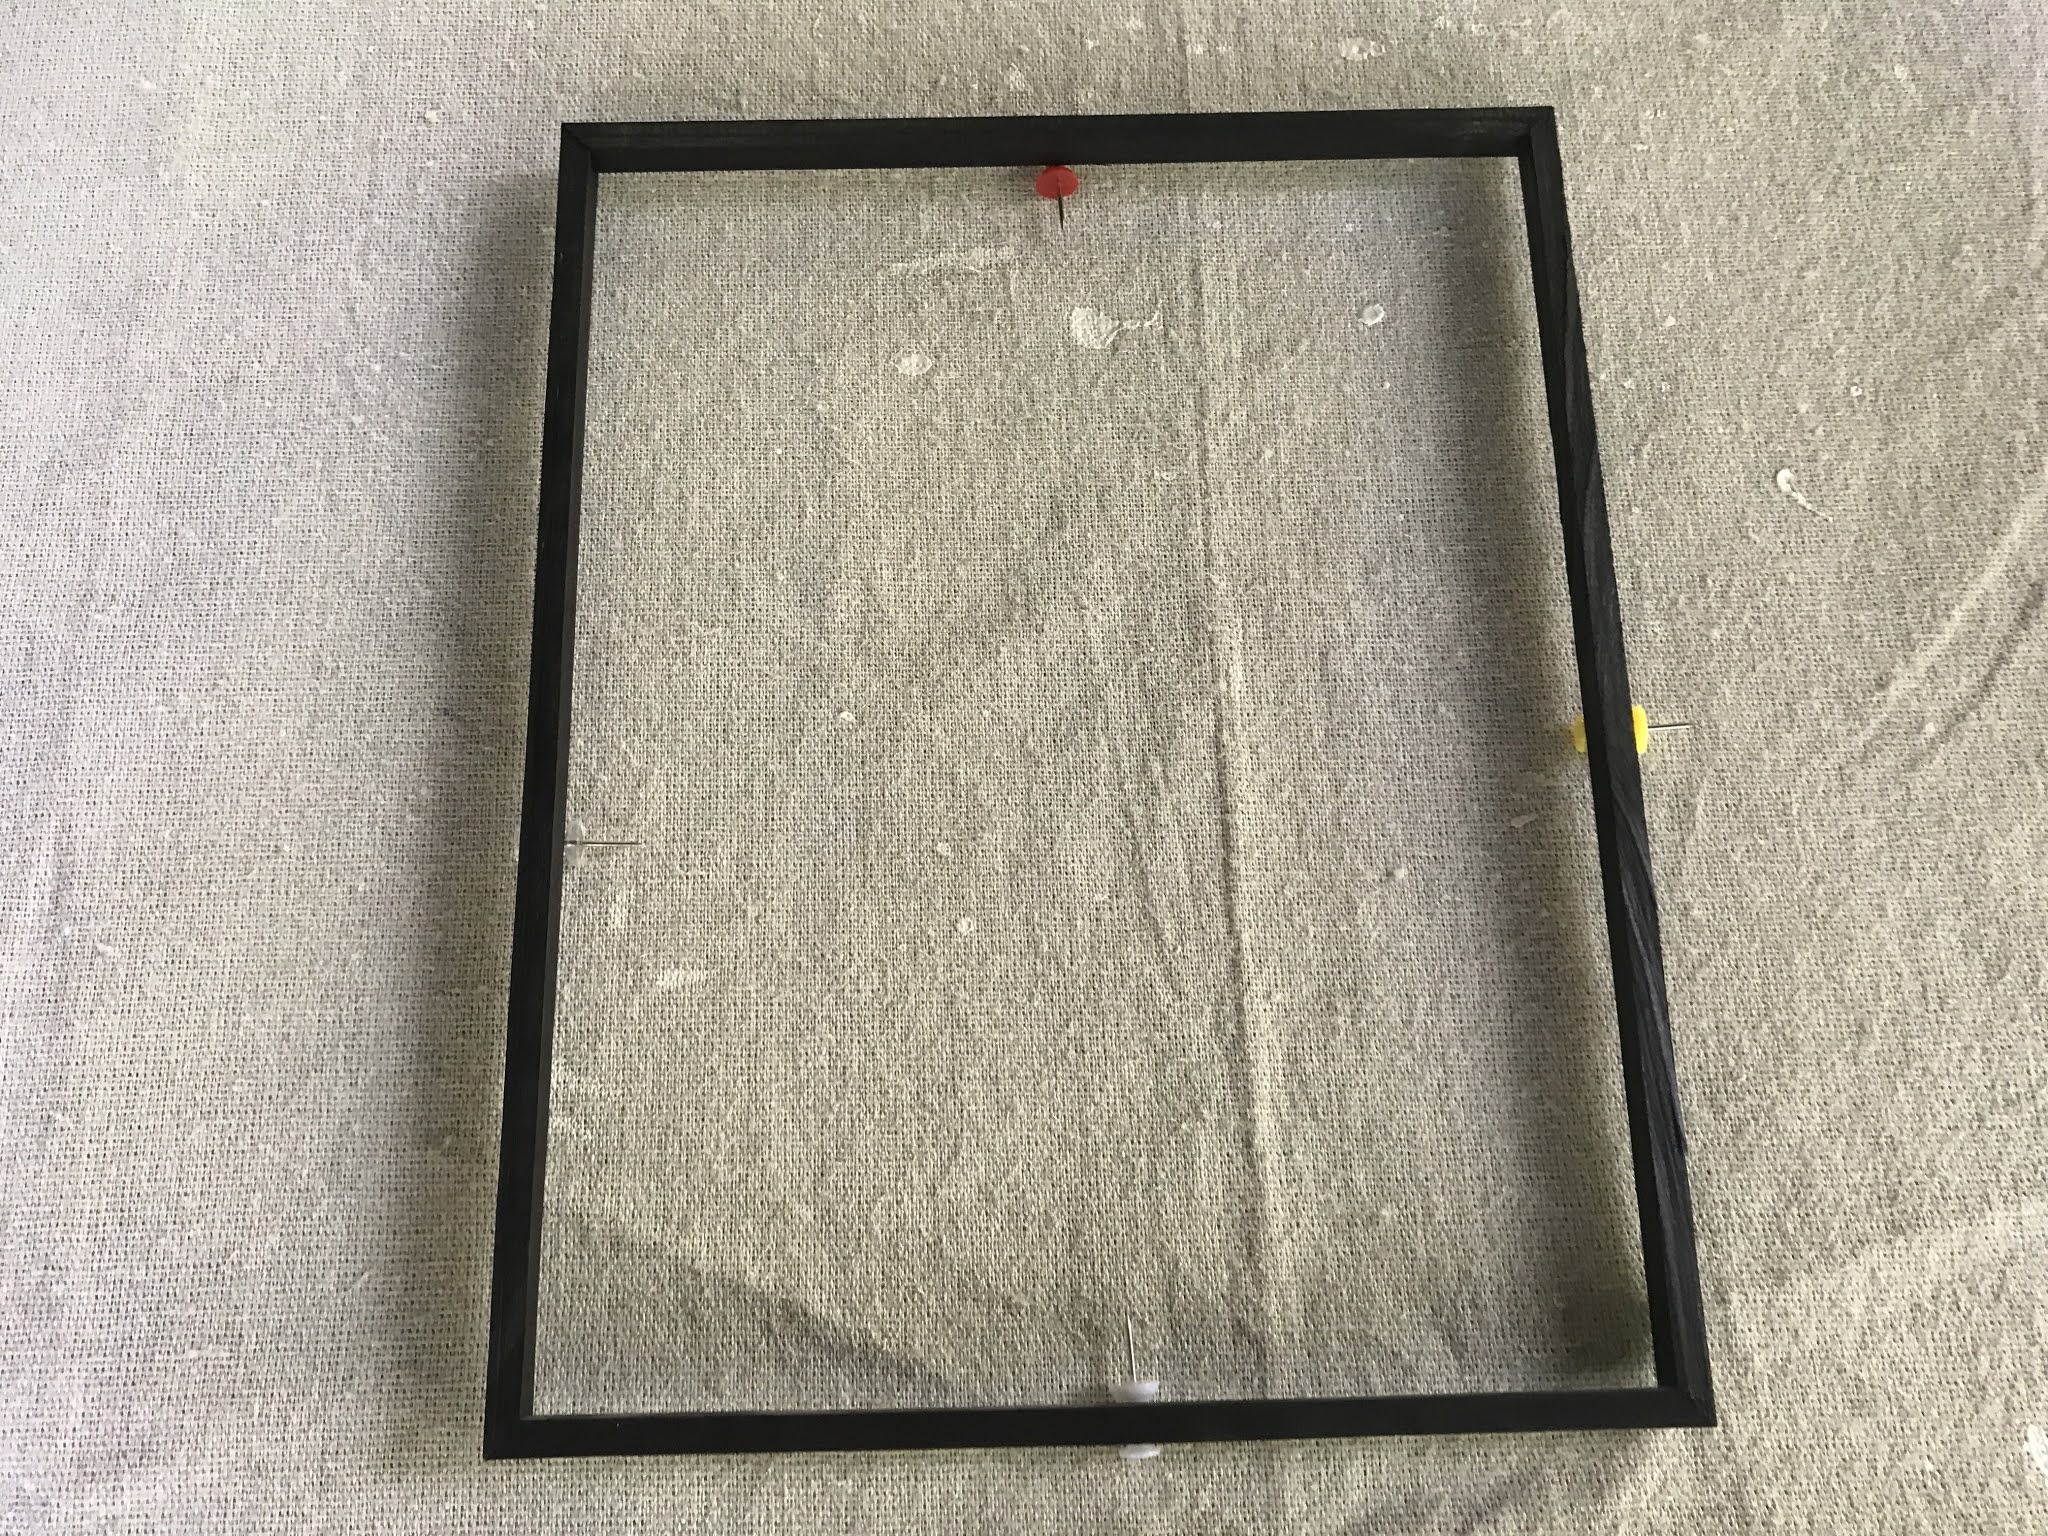

Tap push pins on the back side of the frame. This is to elevate the frame from sticking to the surface and causing rough edges.

Shake the can of paint for a minute or two. Your first coat
of paint should be a light coat. Plan on two if not three coats of paint. Point
the can away from the frame and start spraying into the air. Once you have a
steady stream of spray, start spraying the frame. The first few seconds of spray can have some big particles of paint that might leave a rough texture when dry. Hold the can about 6” away
with slow and steady sweeps around the frame. Stop when you have a light first
coat. Let dry about ½ hour.

Repeat for a second coat.


Inspect the frames. If you see any areas that need a bit more paint, this is the time. Check the sides and look for any light spots. Because I am painting a light color over dark, I applied three coats and a little more on a few sides. I let the frames dry overnight, inside.

When the frames are no longer tacky, flip the frames over, let the frames rest on the push pins and finish spray painting.


When you are finished, you will have clean, smooth "factory finished" frames.


Reassemble your frames and you are done.


Pure bliss...
Subscribe to:
Posts (Atom)

