
What would the holidays be without cookies? I Can’t imagine! My family has our favorites, I’m sure your
family does too. Great memories were made baking cookies in my
kitchen with my two sons. A treasure beyond words. So I would like to share a few of our favorites, from my home to yours. May you create a few new memories of your own. Easy to bake, and yummie too. Try one or two of my family’s favorites, maybe they will become your family's holiday favorites too. Bonn appetite and Merry Merry!

Butter Spritz
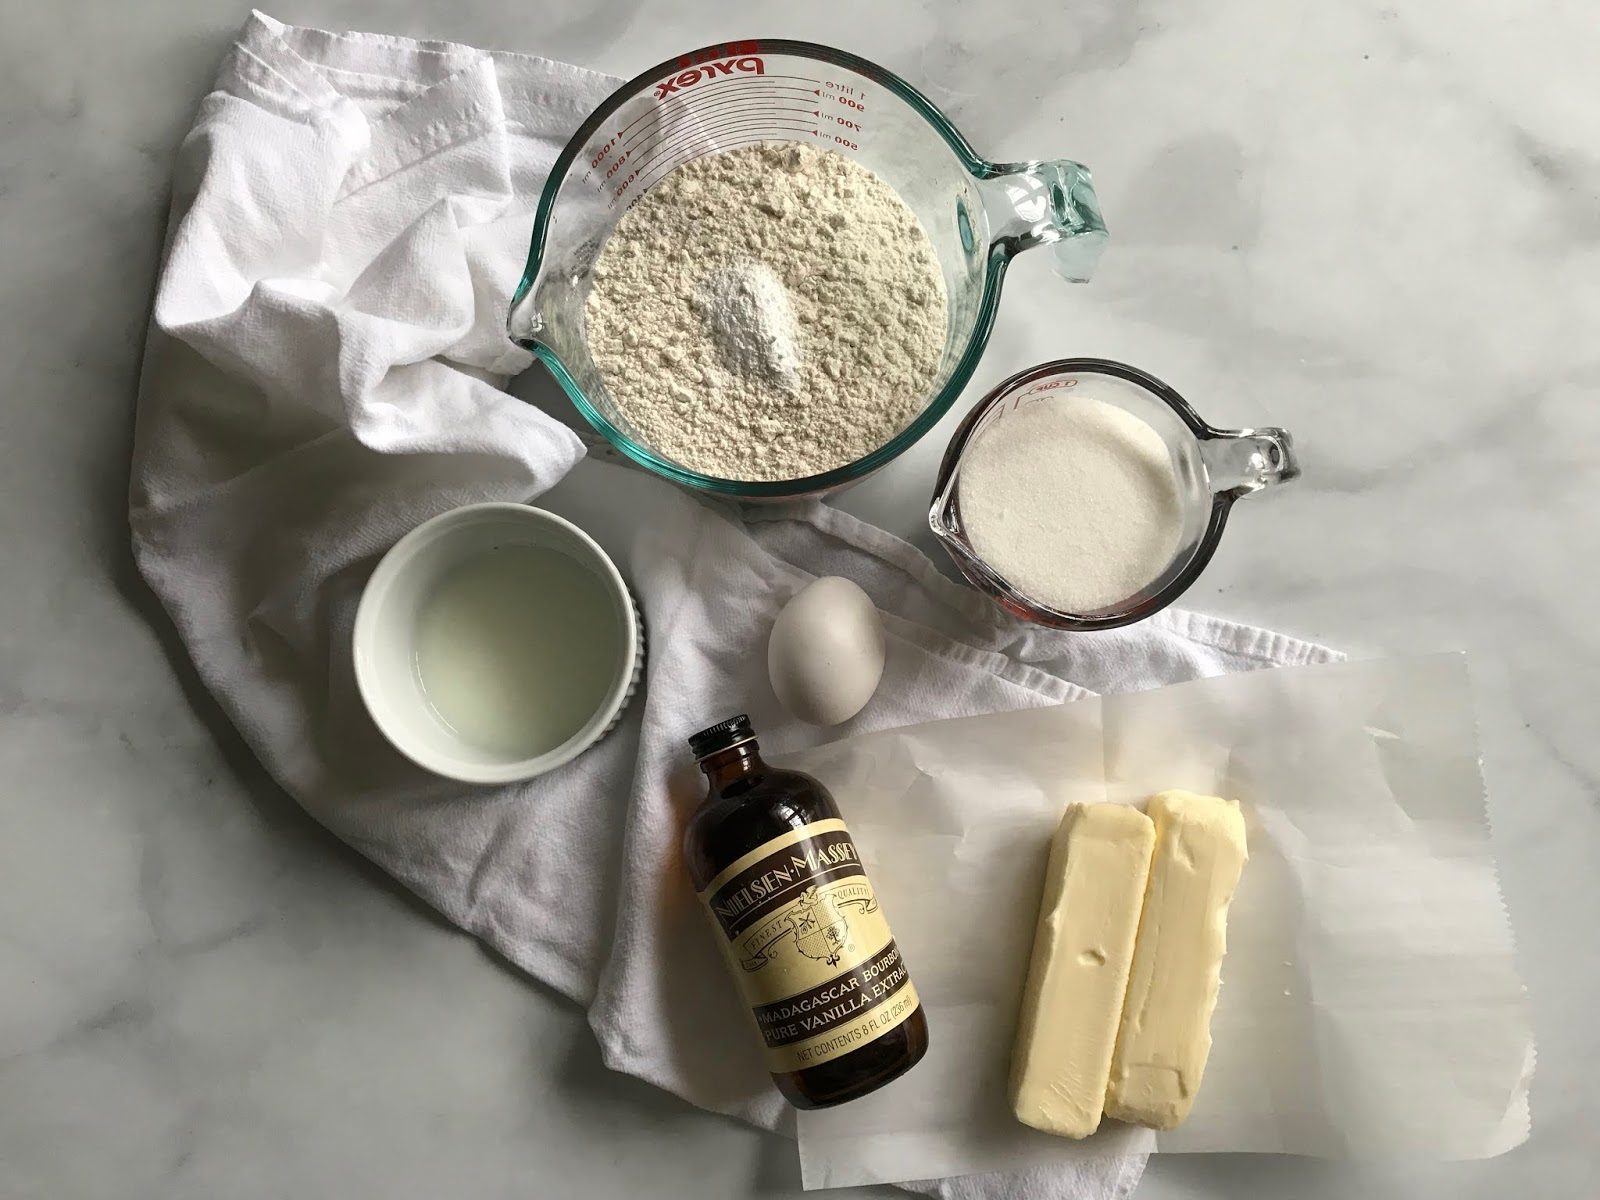
1 C. Soft Butter
1 C. Sugar
1 Egg
5 Tbsp. Milk
1 Tbsp. Vanilla Extract
2 1/2 C.Flour
1/2 Tsp. Baking Powder
In a stand mixer. blend butter, sugar.
Blend in egg.
Add milk and vanilla.
Stir baking soda into flour.
Add flour/baking soda a little at a time to butter mix.


Fill a large pastry bag with dough add a large star tip and pipe onto a baking pan lined with parchment.


Bake at 350 degrees for 10 to 12 minutes. Remove from oven when the edges of the cookies have just slightly turned brown.
Let cool.
Melt chocolate at 30 second intervals in a microwave. Stir between each interval.


Dip half a cookie at an angle in melted chocolate and add sprinkles, such as chopped nuts, coconut, colored sugar, nonpareils, stars, anything you can dream. You be the designer!

Snowballs
1 C. Butter
1/2 C. Confectioners' Sugar
1 Tsp. Vanilla
2 1/4 C. Flour
1 C. Chopped Pecans (or your favorite nut)
Confectioners' Sugar
In a stand mixer, combine soft butter, sugar, and vanilla.
Add flour a little at a time.
By hand add finely chopped nuts.
Roll into 1" size balls, place on parchment backing sheet.
Bake at 375 degrees for 10 to 12 minutes.
Let sit for a minutes.


Hand roll each ball into a dish filled with confectioners' sugar.
Roll a second time,
Let cool completely.


Peppermint Snowballs

Follow the same ingredients as above snowball cookies, except substitute vanilla extract for peppermint flavoring and add roughly chopped peppermint bark in place of chopped nuts.


Bake and roll in sugar same as Snowball cookies.


Thumbprint
1/2 C. Butter
!/2 C. Sugar
1 Egg, Separated
1 Tsp. Vanilla Extract
1 C. Flour
1 C. Chopped Pecans
Raspberry Jelly
Mix butter, sugar and egg yolk and vanilla in a stand mixer.
Add flour a little at a time.
Roll into 1" balls.
Whisk egg white together with 1 teaspoon of water.
Dip and cover one ball at a time into the egg white.
Roll ball into the chopped nuts.
Place on a parchment lined baking sheet.
Make an indention onto the top of the ball with your thumb.
Bake at 350 degrees for 10 to 12 minutes.
Let cool.


Add a drop of raspberry jelly to the thumbprint. Pop in the refrigerator for 30 minutes.


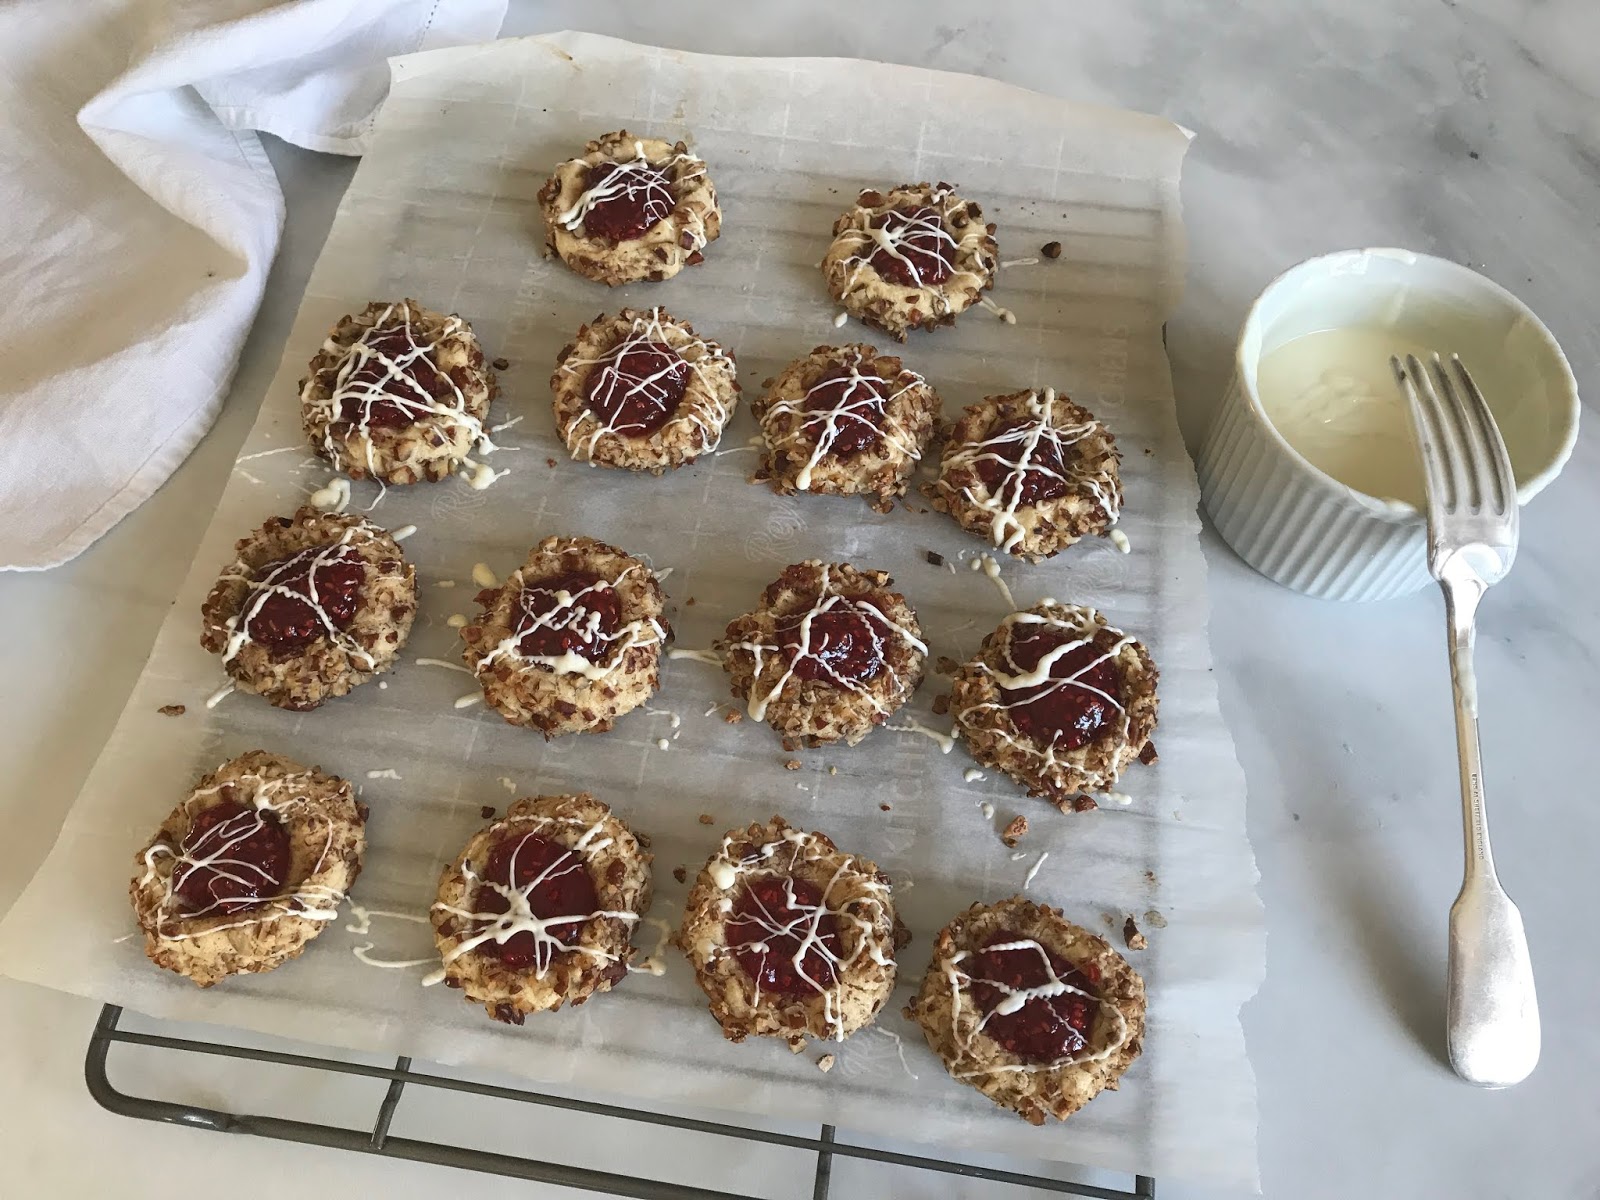

Use a fork dipped in melted white chocolate, drizzled over each cookie.

Gingerbread
Christmas would not be happy without my gingerbread cookie. This is probably my most favorite holiday cookie. To bake...Link here.

Hope your holiday will be filled with cookies baking! MERRY MERRY!


