The new year always brings two things to my home, 1. snow,
freezing rain and slush, 2. a half hearted promise to do a little organizing around the nest. The
new year also brings to my attention that I have no control over #1. and some
control of #2. So little energy. Well, during the last snow, I went hunting for my snow boots and
look what I found…..a little motivation...
 |
| Oh this looks fun... |
It just occurred to me that perhaps I could tackle 1. and 2.
at the same time! I could stay one step ahead of keeping things
clean and keeping some things in their place. Amazing, really. If you are thinking to yourself, “I
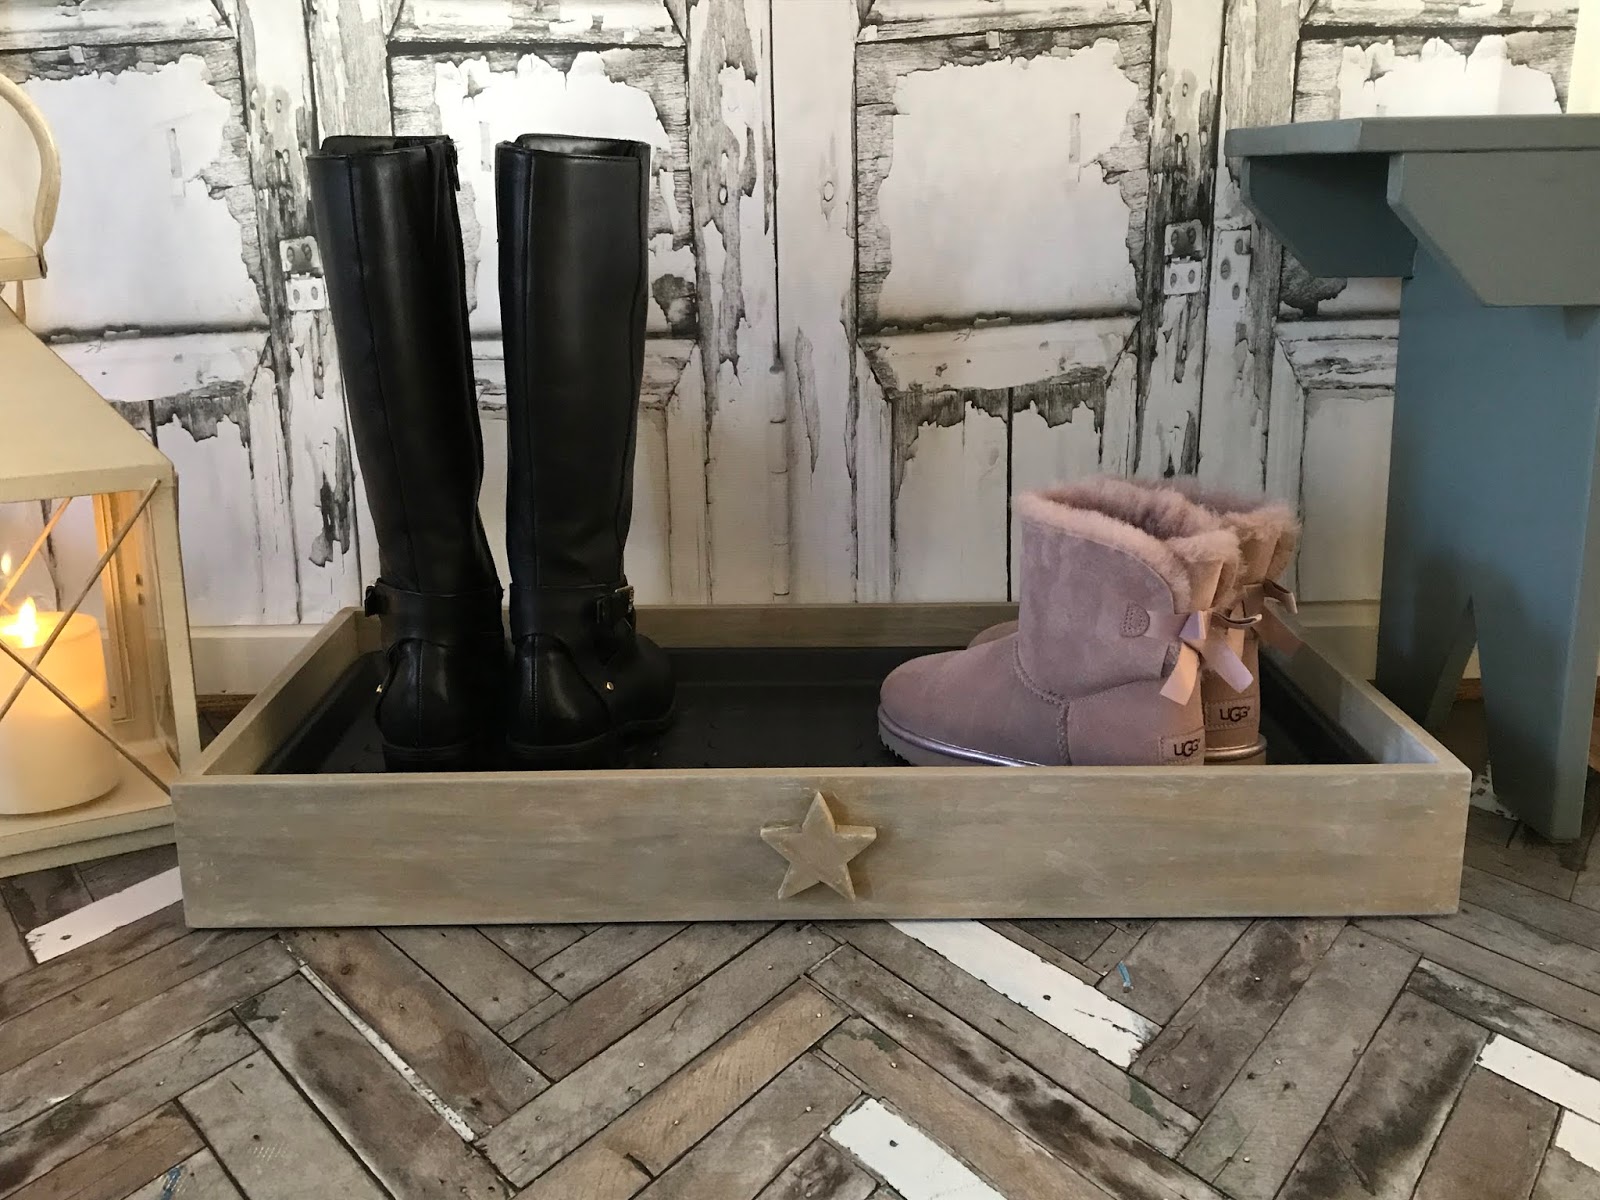
could use that” then follow along to make this simple boot tray
and see how organized you will look and feel. Boot Camp. The most stylish camp every boot (shoe, mitten, hat, scarf) needs.
This is what you will need-
Wood-Plywood, Trim- 8’ of ¾” x ½”, Board-8’ of 3 ½” x 1/2”
Painter’s Tape
Wood Glue
Wood Filler
Fine Sandpaper
Paint Thinner
This drop in liner is perfect for catching all that slushie stuff that comes inside from the elements. $4.00. Link above in "what you will need". Nice. Lift it out and wipe dry. Save your floors.
I used a leftover scrap of furniture grade plywood for the
base of this project so the tray would be light weight. A great source to look for scrap lumbar
and plywood is at Home Depot. They will also cut your wood for you.
These are the rough measurements for this boot tray. You should measure your wood for exact cuts-
Plywood- 28" x 14"
Trim-(3/4" x 1/2") 2 pieces 28" and 2 pieces 13"
Board-(3 1/2" x 1/2") 2 pieces-13 1/2" and 2 pieces 29 1/2"
Start by laying the liner upside down on the plywood. Aline
the tray about 1/8" to ¼” from the two edges.
Mark with pencil the two remaining sides.
With a square and straight edge mark the length and width
for the two sides that need to be cut. This becomes the base of the boot tray.
Lay painter’s tape on your pencil line. The tape will reduce
the “splintering” effect when you cut plywood.
Cut with a jigsaw the two edges.
Remove the tape. Lightly sand edges if needed.
Lay the trim pieces down the length of the base.
Mark with pencil at the end. Use a square to mark, then cut.
Repeat for the other length.
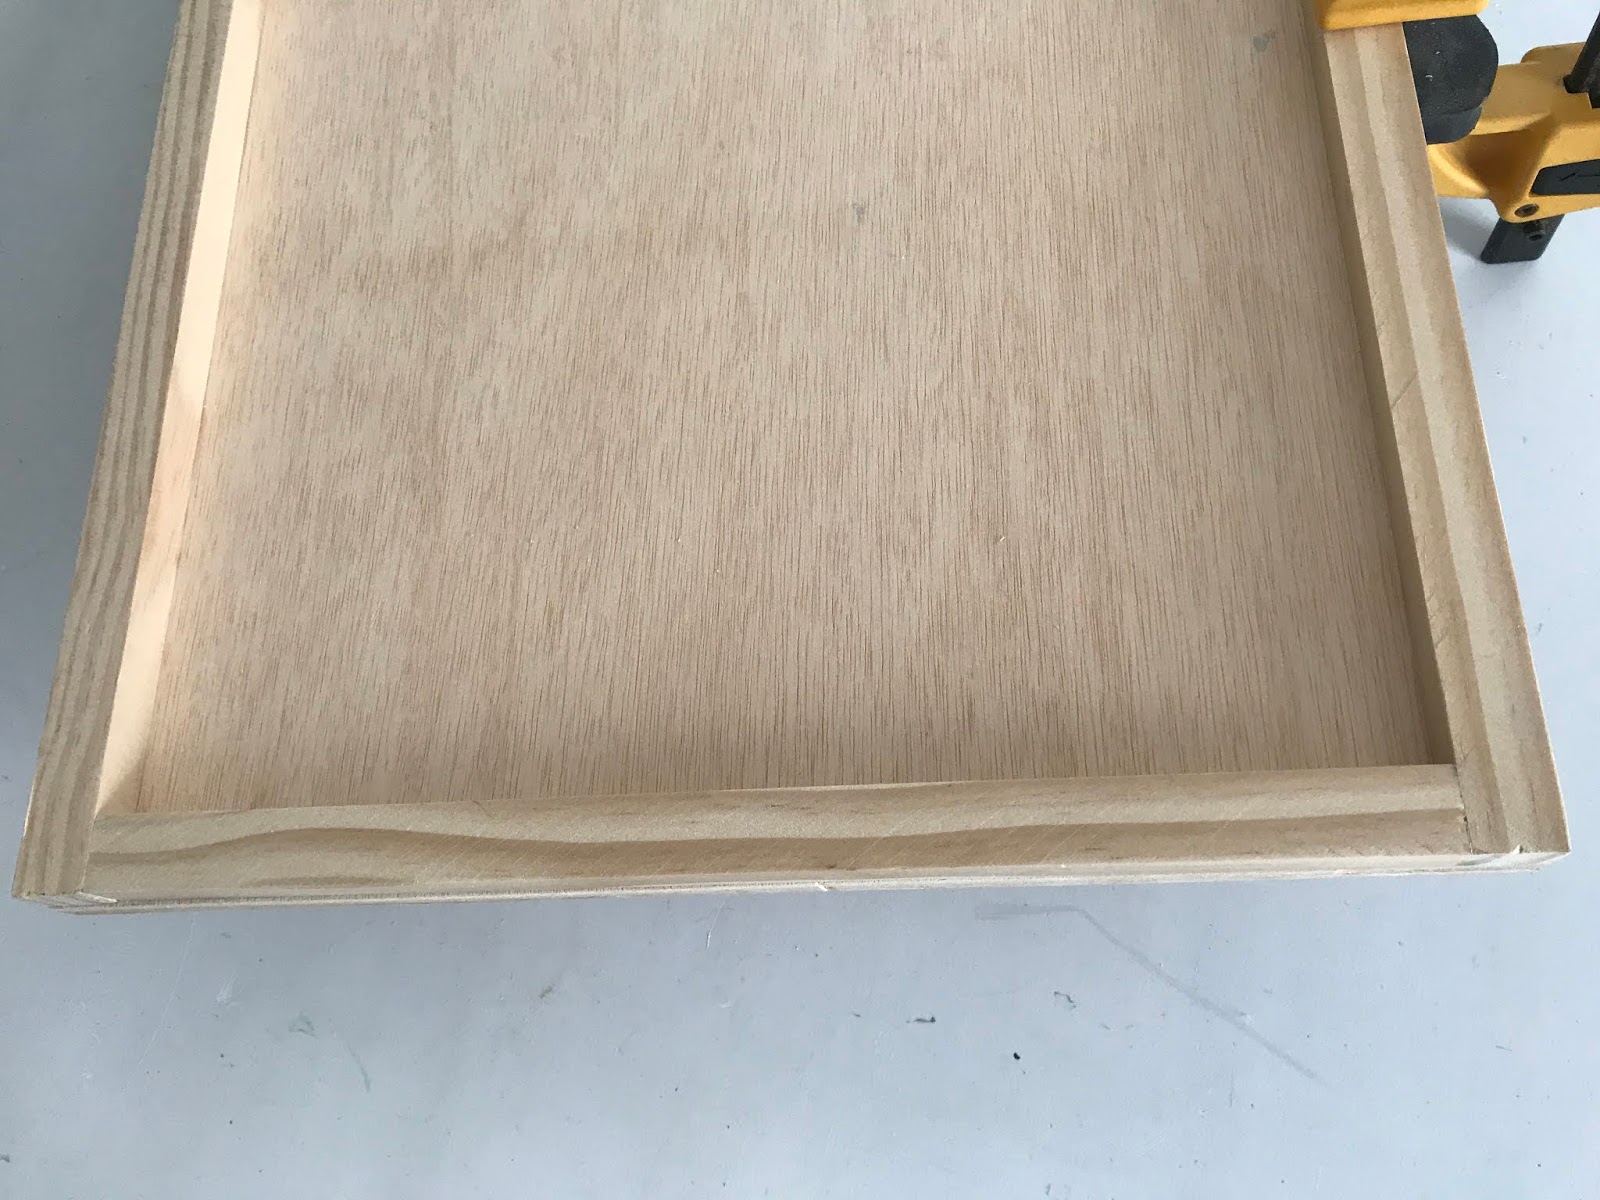
With the wood glue, apply a small ribbon of glue to the length
edge of the base. Gently smooth the glue.
Place the trim piece onto the glue and clamp in place. Repeat
for other length trim piece. I like to glue and let dry for about 15
minutes. It helps keep the wood in exactly the perfect spot so the wood will
not shift when I nail the wood together.
Measure the space between the newly glued trim. You will
have to measure both ends, sometimes the measurements could be slightly
different.
Cut the two end lengths from the trim. Lay each one into the
opening to make sure it fits.
Glue in place, clamp and let dry about 15 minutes. This is
the footer for the boot tray. It keeps the smallest amount of wood touching
your floors.
Flip your tray over. Measure the width (the short
side) .
Mark and cut two ends from the 3 ½” board.
Glue and clamp, let dry.
Measure the length (the longer side). Mark and cut two
lengths.
Glue and clamp lengths, let dry.
Nail together. Make sure to line up the nails at the bottom
of the boards and drive them into the footers. I have a nail gun that makes the
work accurate and simple, using conventional hammer and small finishing nails will work nicely too.
Fill nail holes with wood filler. Sand when dry. Run the
sandpaper all over the tray to smooth.
I used a 2” star cookie cutter to make a template for an
ornamental star to dress up the front of my tray.
Draw on wood and cut with a jigsaw. You can also order a
ready-made star and skip this step…
Link here.
Find the center on the length of the tray. Glue in place and
let dry.
To attain my aged weather gray finish, place ¼ cup of
paint thinner in a disposable glass jar. Add 1 teaspoon stain to the thinner
with a plastic spoon and mix. This will give you the perfect slightly translucent gray base to your wood.
Apply the stain to all the wood with a paint brush. The color will lighten up as it dries.
Let dry overnight.
Apply small amounts of the liming wax with a paper towel.
Pat and swipe the wax, buff with a clean paper towel. I think it is best to
apply the wax to all the wood to seal and protect it from the elements.
Apply the furniture felt to the bottom of the tray to
prevent unwanted scratches to your floor.
Place the liner into the tray.
Just lift the liner out and wipe with a cloth to clean the
inside of the tray.
And bring it on winter...
Let it snow, rain, sleet, rain, I am ready...