“You know that little table you made in shop class, would
you mind if I did something with it?” I said one day.
“No, like what?” he said.
“I’m thinking of bring it back to its original natural beauty. Stripping it
down to the raw wood, is that all right with you?"
“Sure, then what?” he replied.
“Well, what
if I… and that is how it started. Pretty much like that. Taking a very sentimental piece of furniture that for most of its life has been sitting in my furniture storage room and
bringing it back to its natural beauty. And using it. Not forgotten and not unloved.
Raw wood. I love the look. It is beautiful, casual, but elegant
all at the same time. A perfect accent here and there in any room in any home.
Stuffed among stuff, this spot is where the little table has
resided for years. This little cutie has survived numerous moves, been pushed around, shoved into tight spaces, piled high with inventory and left unnoticed for
quite some time. Useful, but not what I have in mind.
Well, as you can see, it is not in the best of condition. But no worries, just you wait...
This is what you will need-
Citristrip Stripping Gel
Plastic Drop Cloth
Vinyl Gloves
Safety Goggles
Old Paintbrush
Paper Towels
Plastic Scrapper
Clorox Bleach
One note about using chemical strippers, use with caution. Always
use in a well-ventilated area, protect your eyes, hands and your skin. This stripper is very simple to use. It practically does all the work for you. It does not have a strong order and if by accident, some gets on your skin, it does not burn immediately (you have time to wipe and rinse it off).
I have stripped many, many pieces of furniture. This method
is by far the easiest to use and with great results. It can be messy, so best to work outdoors, not in
direct sunlight. The longer this stripper stays on the easier it is to remove
layers of paint, stain and polyurethane. The more layers, the longer you should
let the gel sit. You may have to apply a second coat of the gel if needed.
Safety goggles, protective gloves, remove jewelry and secure
you hair. Now you are ready to go.
First, spread out your large plastic drop cloth.
“Paint” the Citristrip gel stripper on all surfaces, use an old
paint brush (one that you don’t mind throwing away afterwards).
“Wrap” your plastic drop cloth up and over, covering the
entire table with the drop cloth. Lightly tuck in the ends to keep the air from
circulating.
Let sit overnight.
“Unwrap” the plastic from the piece.
Run the plastic scrapper along the grain of the wood to
remove the stain/gel/gunk off. Wipe onto a paper towel. Repeat until all the stripper
has been removed.
Wipe down the surface with a paper towel.
Throw everything into the plastic and dispose.
Give it a quick rinse with water and set out to dry (in the sun is fine).
Once dry, you can tell if you need to repeat the process
with the stripper. If it has multiple layers of paint, stain, finish, you just
might need to give it a quick second strip. The finish on my little table
stripped off beautifully with just one coat. But the table was orange. Residue of the stain.
Once the table was completely dry, outside, I poured Clorox
bleach (any brand will work) onto a paper towel and wiped the entire table with
the Clorox. I place the table in direct sunlight to help the lightening process
along. Let dry.
The next day, the table look pretty good, but it was still a bit orange. I repeated the bleaching
process and let it dry overnight.
Next day, legs were less orange, and the top was almost perfect.
So, I sanded the legs with medium grit sand paper. Then I applied another coat
of bleach and then let dry overnight.
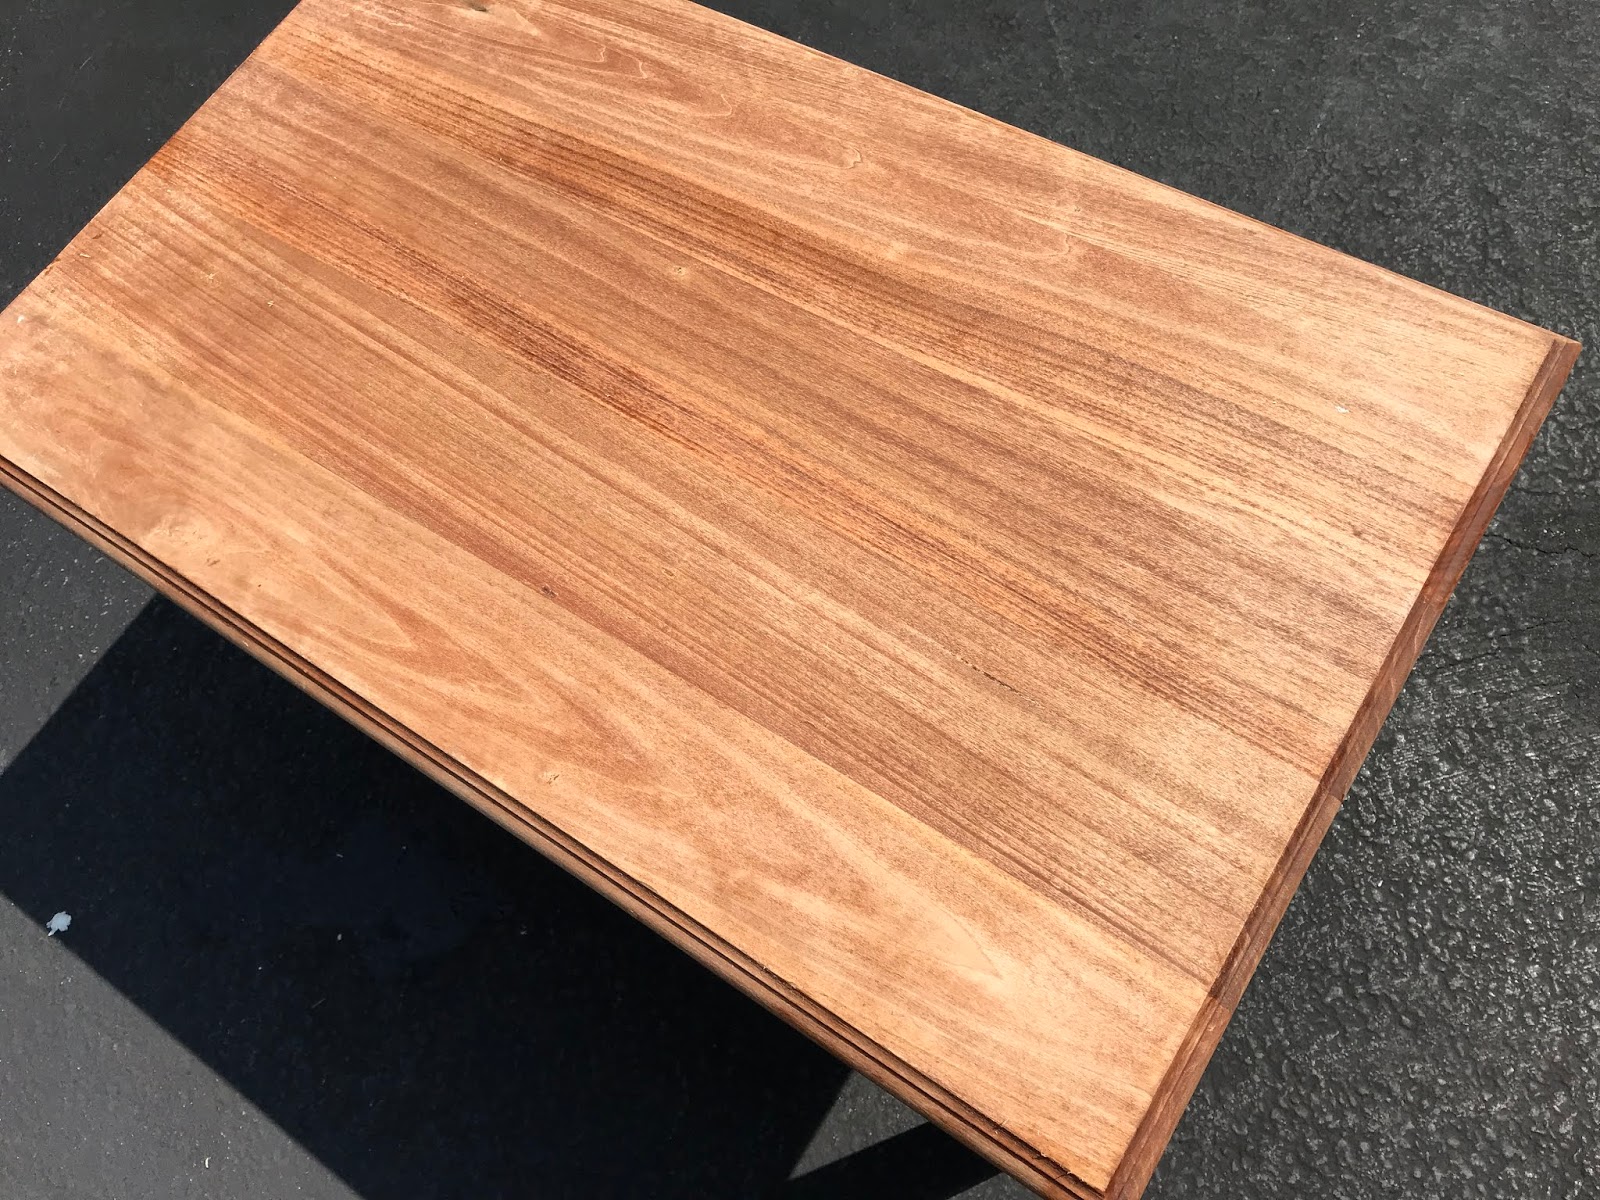
The next day, the little table was exactly what I was hoping
it would look like. Clean, beautiful grain and nick or two for character. I rinsed
the table with water and left it out in the sun to dry.
I stripped these two little chairs years ago with Citristrip. I adore them.
But next to my new little table, they look like they could use a little bleach
too.
But I wasn’t done.
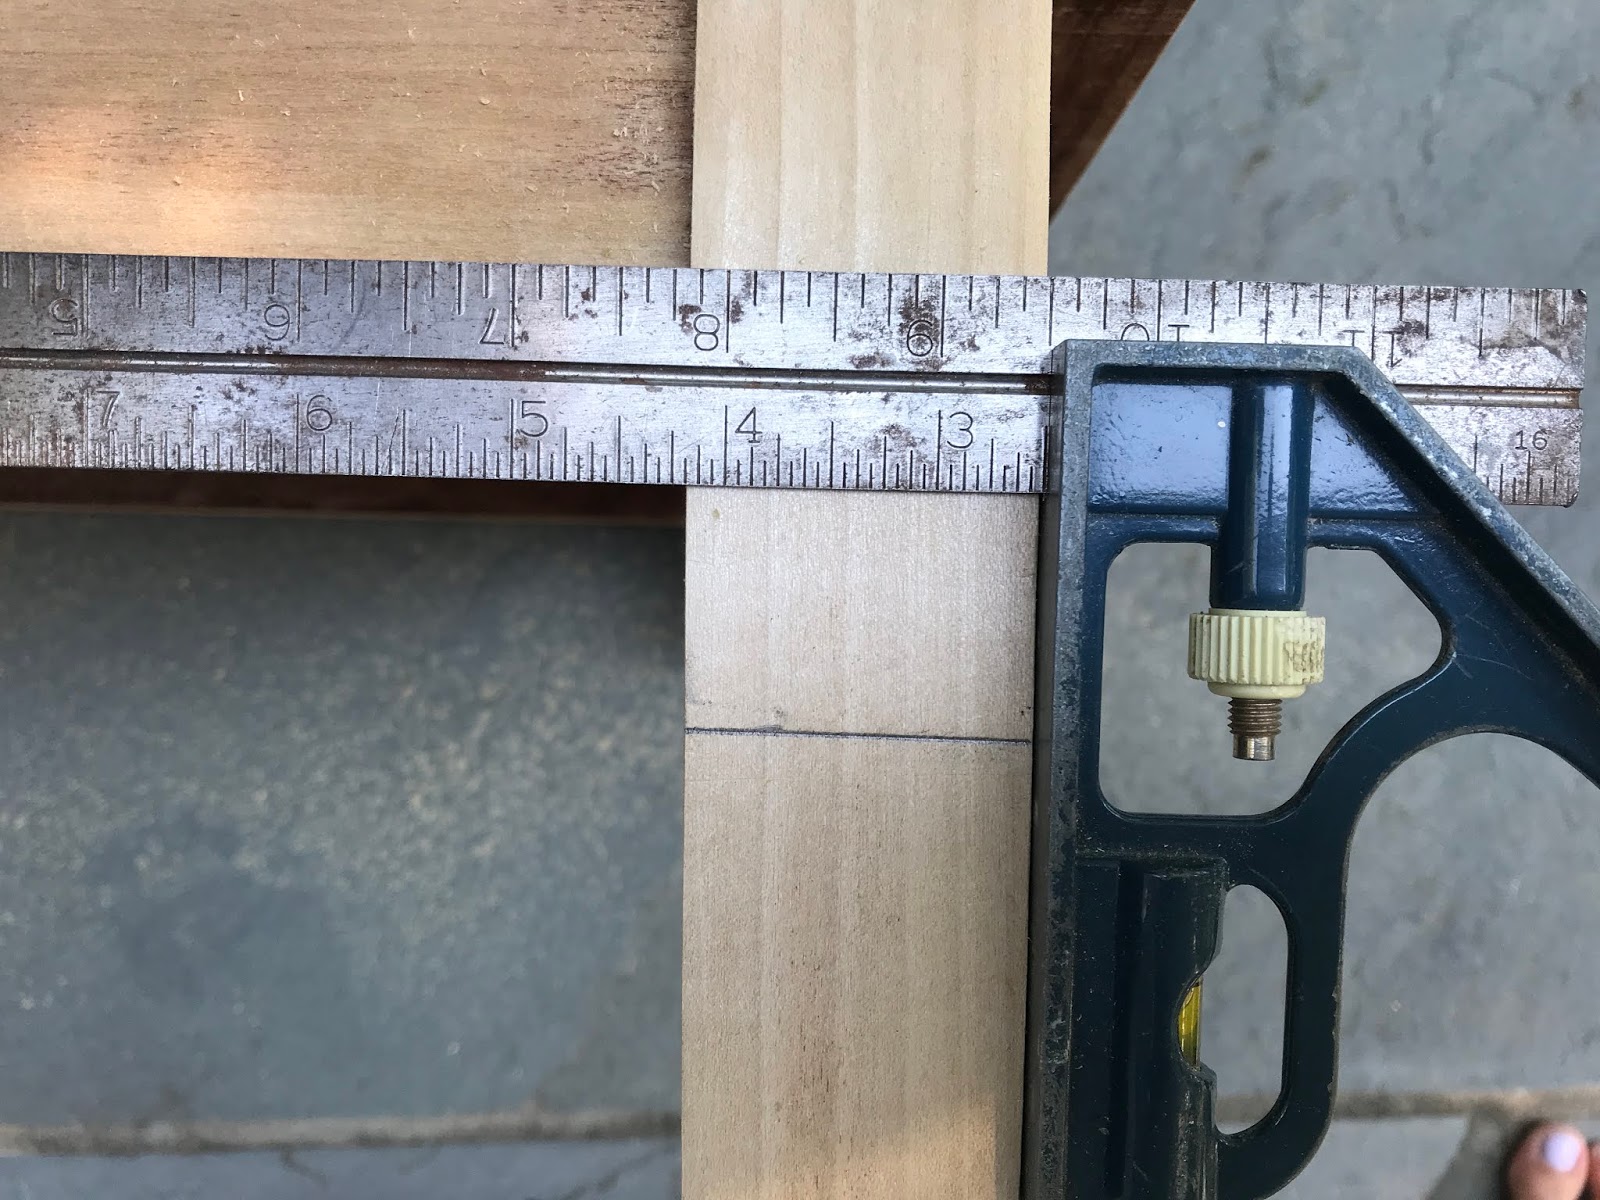
I measured, marked, taped and cut off most of the length of the legs.
Perfect. My new table riser.
If I choose to stain or wax the table riser, I can test out the look on the legs that I cut off. But for now, I love it just the way it is.
And done. A new/old table riser to elevate and add interest to my dining room table.
Or use to organize a buffet table for entertaining.
Fantastic potential.