Fluffy mittens. Red Cheeks. Making snowmen. Long afternoons
outdoors. Winter. Nothing is sweeter than the return to the nest and sit by the fire in winter. Or just cuddle under a throw and watch the snow fall outside.
And drink hot coco. Hot coco with homemade marshmallows. Heart shaped
marshmallows. My own recipe, one of my favorite things to make. A family
favorite. Follow along to make your very own, winning the hearts of everyone in
your family. Just in time to enjoy winter!

Just something to know ahead of time…
Know there will be some waste.
This can be messy.
Follow along for the best marshmallow confection recipe-

Marshmallow Hearts
4 Envelopes Unflavored Gelatin
1 Cup Cold Water, Divided
2 Cup Granulated Sugar
½ Cup Light Corn Syrup
2 Large Egg Whites, Room Temperature
1 Tablespoon Vanilla Extract
Powdered Sugar

Oil the bottom and sides of a 13 x 9 x 2 jelly roll pan.
Dust pan with powdered sugar.

In the bowl of a stand mixer sprinkle the unflavored gelatin
over ½ cup cold water. Let Sit.

In a large saucepan cook on very low heat until combined, sugar, ½ cup cold water and corn
syrup.
Once everything is combined, stop stirring, remove spoon and increase heat to medium.


Use a
candy thermometer and let cook until it reaches 240 degrees.

Remove from heat and pour over gelatin. Use caution at this
step, when the hot sugar mix is combined with the gelatin it may instantly
bubble up. Start mixing on low, then gradually increase mixer speed to high.

You might like to use a dish cloth to cover the mixer to
prevent splatter.


When the sugar mix starts to triple in size (about 10 minutes),
beat egg whites in a separate bowl. Add the vanilla flavoring to the egg whites.

Turn off stand mixer. Add egg whites to the sugar mix in the
stand mixer and quickly combine.

Working very quickly,
spoon out marshmallow fluff into the prepared jelly pan with a spatula. Fill
the pan and spread evenly. You have seconds to do this. Don’t worry about
making the surface super smooth. To avoid a big mess it is important to do this
step quickly before the fluff starts to get stringy. Once it reaches the stringy stage
you just have to stop. It won’t get better. And try not to scrape the last of
the remaining fluff out of the bowl. It will become a big sticky mess. There
will be some left over fluff. Sorry.

Sift a layer of powdered sugar over the entire top of
the marshmallows.

Place uncovered tray in refrigerator overnight.


Remove tray from fridge. Using a 1 ½” heart cookie cutter,
cut heart
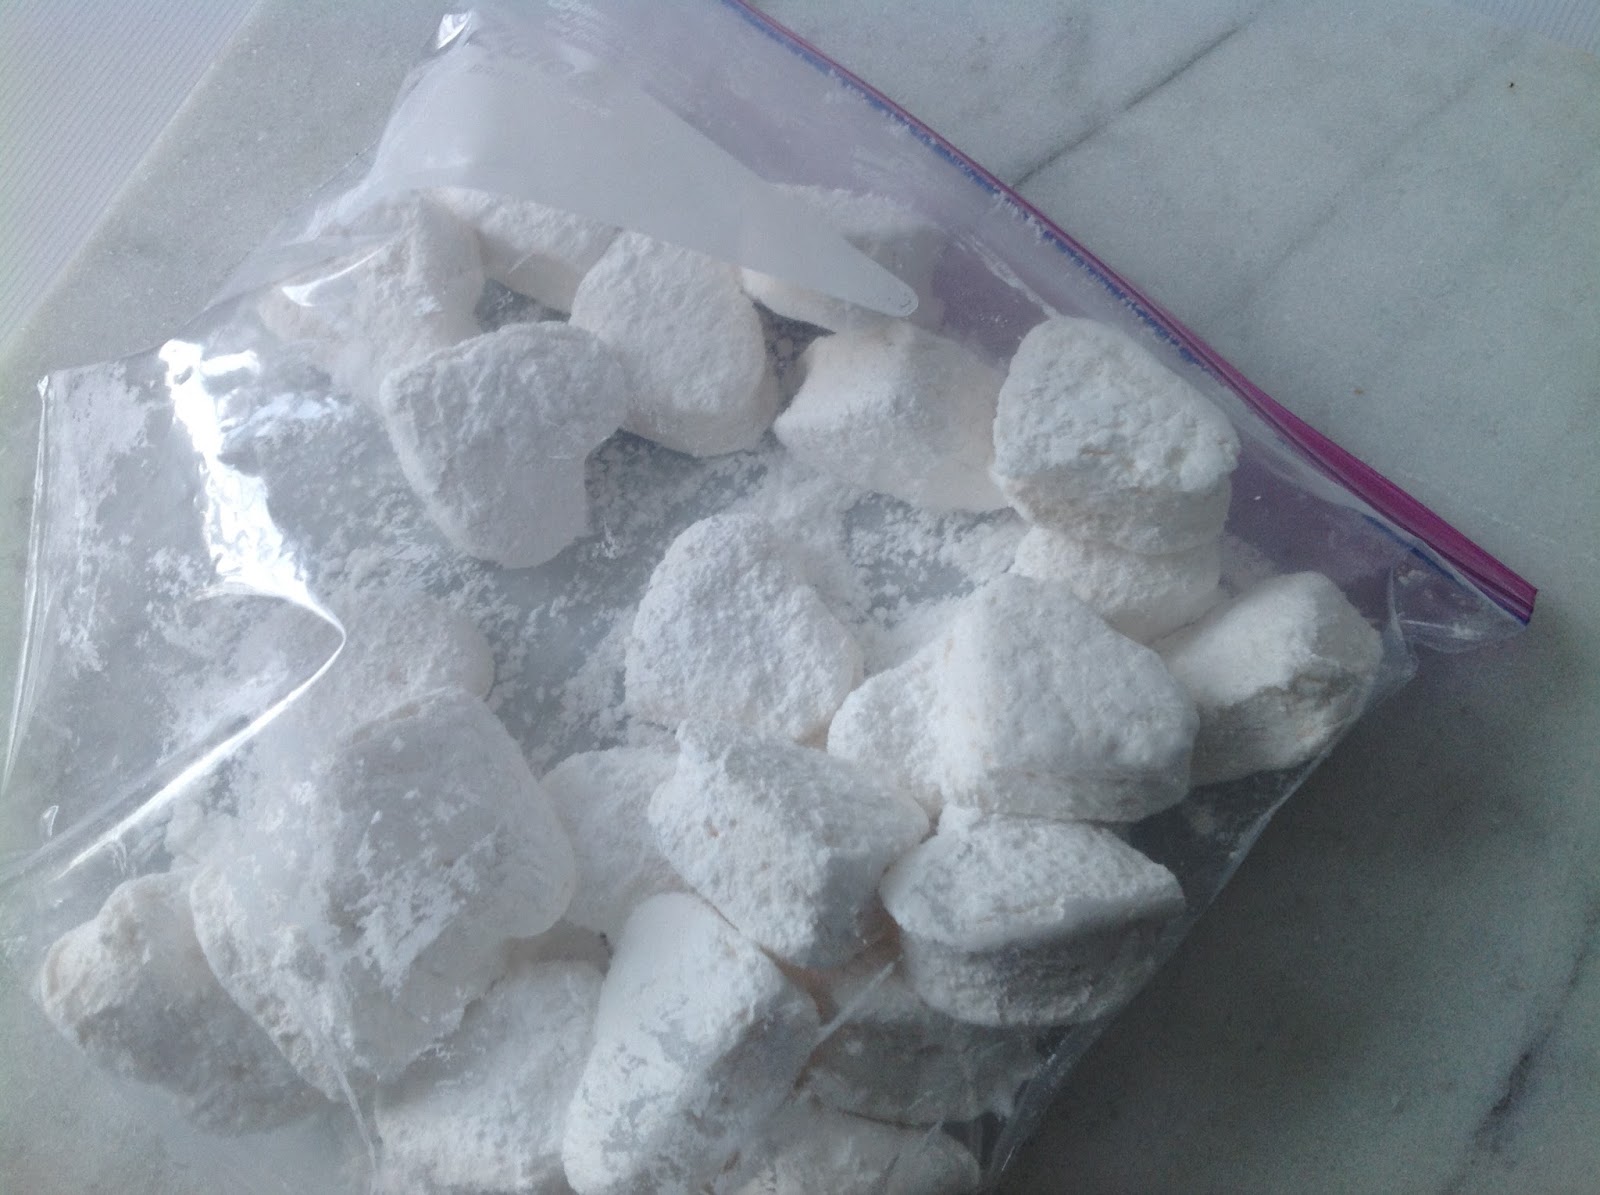
Place the hearts into a zip lock bag with a little powdered sugar and gently shake the sugar over the hearts. You can store the marshmallows
about two weeks.

These little hearts are much more than a sweet confection. They
will warm their way to your heart. Winter is so much easier with homemade
marshmallow hearts. Find your favorite person and your best throw and snuggle
in. Let it snow!