
Pillow love. There is something about a cute pillow that
makes us pause and reflect. But. WHERE WILL I PUT ANOTHER PILLOW? Well, there is
always a space, a nook or a quiet chair just begging for a pillow. In my house
they get shuffled around from season to season, room to room, or shifted just on a whim. Keeps your house fresh. Like shoes, you can
never have enough pillows. Our family motto is “it is good to have inventory”.
Enough said.

This simple pillow is a quick and easy. Provided you can
sew. If not, your local upholster or seamstress/tailor at your dry cleaners can
easily accommodate this pillow for you. You just need a few items, (no zipper!) and it can
finished in about an hour. How great is that? Let’s get started…


This is what you will need-

A Tea Towel
¾ Yard Coordinating Fabric
Pillow Form 12" x 16"- Link here..
Ribbon
Tape Measure or Straight Edge
Square
Pencil
Thread
Scissors
Pins

To get started, first wash and dry your fabric and tea towel.
Iron to smooth wrinkles.

Measure your towel. You will need approximately 18" x 14” of fabric for the pillow front. My towel was just slightly smaller, so I had to remove the
stitches from the seams.

This is the pillow front.

Measure the length and width of the design to determine the center, Mark with pins.

Measure out 9” from the center to the right and left of
the design and mark with a pin.


Measure out 7" from the center to the top and to the
bottom of the design and mark with a pin. You now have a 18" x 14" rectangle.


With your straight edge draw a straight line with a pencil on the
four sides that you have marked with pins. Look closely at the fabric to make sure your lines are on the strait
of grain for both directions. Use a square to make sure your corners are square. Your pillow front should measure 18" x 14".

Cut out pillow front. Set aside.


On your coordinating fabric, remove with scissors the
salvage, and discard. This will become the pillow back.


With your straight edge measure and cut a rectangle 16” x
14".

From the same fabric, measure and cut another rectangle 7 1/2”
x 14”.

On both of the two pillow back rectangles, of the 14" length side, measure and fold
back edge ¾”. Press.


Measure and again fold back the same edge 1”. Press.

Pin these edges.

Topstitch both pieces on the fold.

Cut two lengths of ribbon, 16”.

Turn and pin ¼” of one of the cut edges and press.

Turn again ¼” and press. Pin to hold fold.

On both of the rectangle pillow backs, find the middle or
half point by the finished edge and mark.

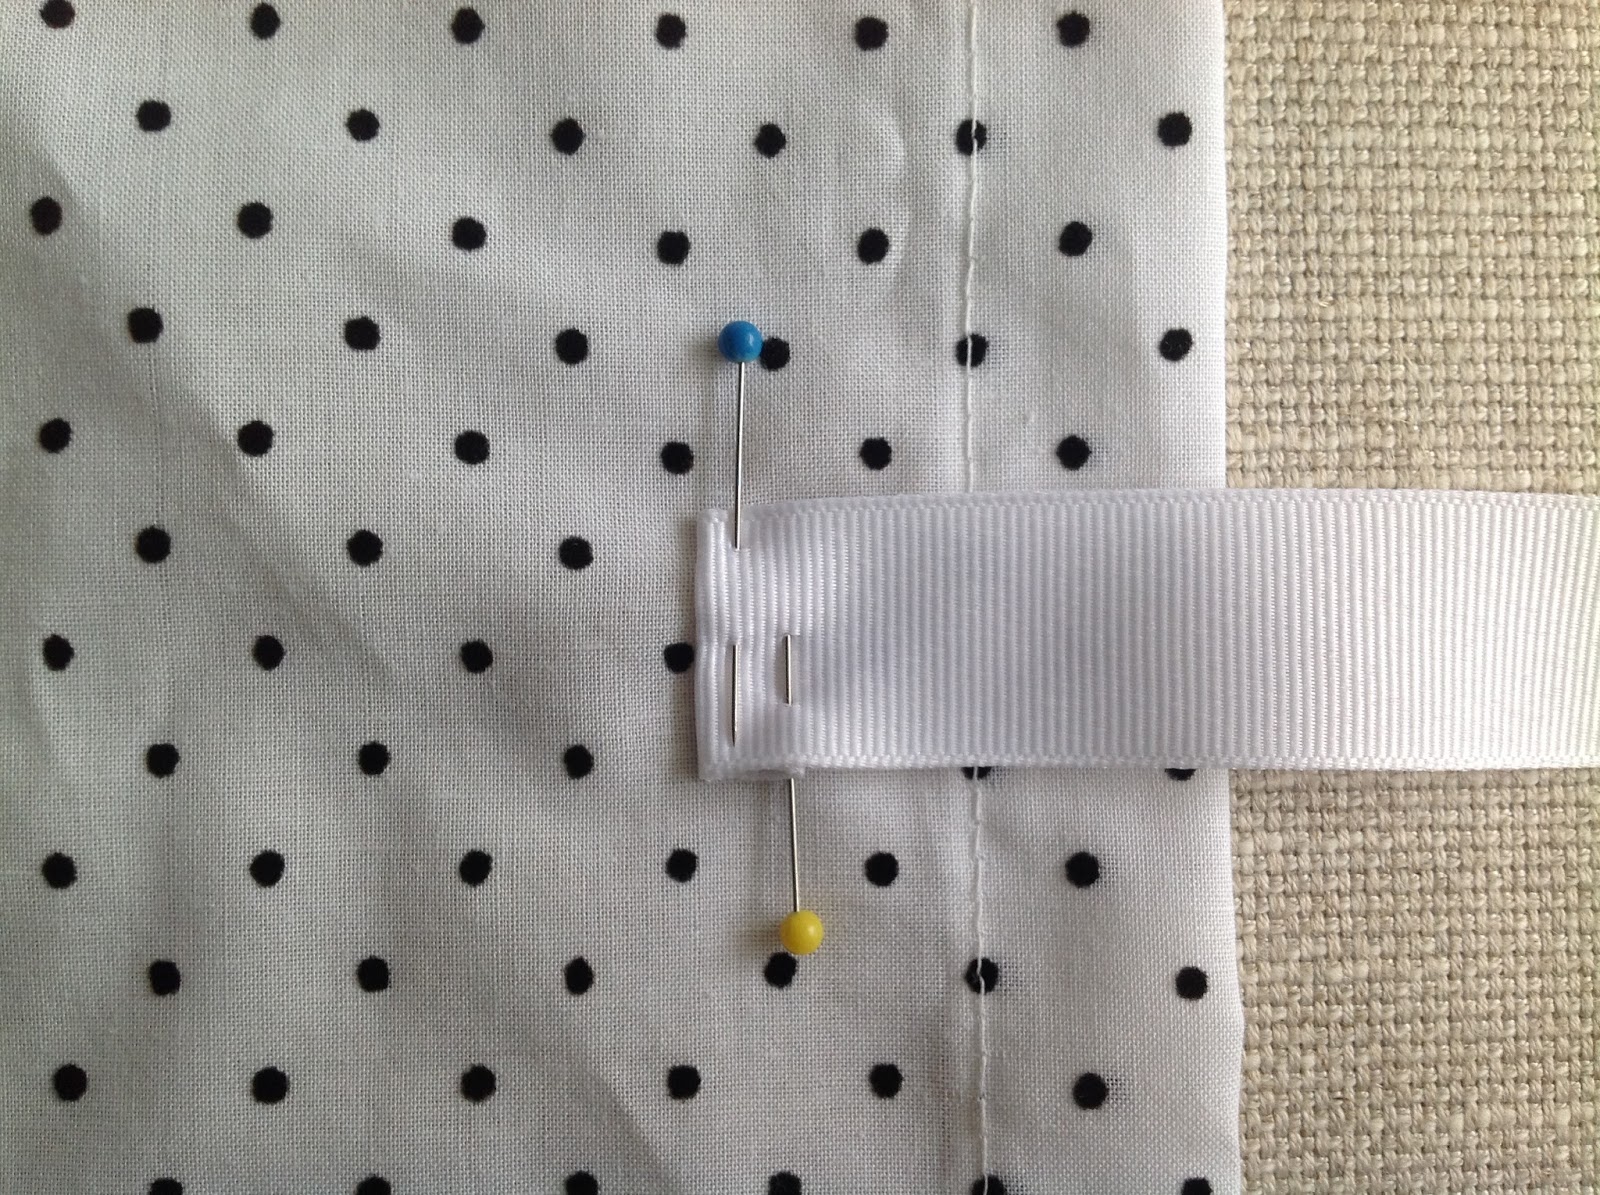


Measure over 2” and mark with a pin. This is where you
will place one of the ribbon ties that you have folded and pressed. Note
the direction of the ribbon.
Topstitch ribbon in place.
Repeat for the smaller rectangle.

Now place the pillow front on a flat surface. This is the
“right” side.


Place the 16" x 14" pillow back rectangle onto the pillow front
with the pattern side (right side) facing the pillow front. Right sides
together. Pin in place.


Place the 7 1/2" x 14" smaller pillow back rectangle onto the pillow,
right sides together. Pin in place.

Make sure the ribbon ties are not near a seam so they will
not get sewn in a seam.


Sew all four sides, reinforcing the corners.

Clip the corners and remove excess.

Press seams open.

Turn pillow right side out.

Carefully push corners with a pencil or with a point turner (if you have one).


Press the pillow flat.

5/8” from the edge, topstitch all four sides.

If you look inside, the topstitching catches the seam. It is
a clean finish. Nice.


Fold twice, press, pin and topstitch the two unfinished ribbon ends.


Fold twice, press, pin and topstitch the two unfinished ribbon ends.

Stuff pillow and tie ribbon to form a bow.

One could go here,,,


One here...

Or one here... One can never have too many. There's no place like home.


0 comments:
Post a Comment