
This time of year, I find myself so done with winter.
Everything looks tired. The whole house looks like it needs a makeover. That
thought makes me feel lost for words. But one thing I can always count on to feel less
blue is to invite someone to dinner and freshen up the dining room table. The
tables in my house are the heart of my home. More stories, memories, laughter, friends and family have been shared together there. It is still cold outside,
but nothing better than a warm fire and a beautiful meal. Add laughter to a
pretty table, and you can create the perfect way to melt away the winter chill.

These simple little wood serving boards are a fun little project. They
give a certain warm charm to a table setting. Like anything I do, it must be
simple. I made these mini boards with versatility in mind. Something that can
be used over and over, dressed up or dressed down, season to season, holiday to
holiday. Or, just to be used for no other reason than they are so cute. And they are so cute! Made
from select pine (no knots), wood soft enough to cut with ease with a jigsaw. A
light sand, add a little rope, see just how much fun you can have with them!

This is what you will need-
1 Board- 8’ x 6” x 1” Select Pine
Jigsaw
Drill
Sander
Clamps
Clamps
Sandpaper, Medium Grit

Print board pattern and copy onto card-stock. Cut pattern
out.


Trace pattern onto board with pencil. Trace and cut one board at a time. It was a beautiful day to work outside, not too cold, but sunny enough to chase the chill out of the air.
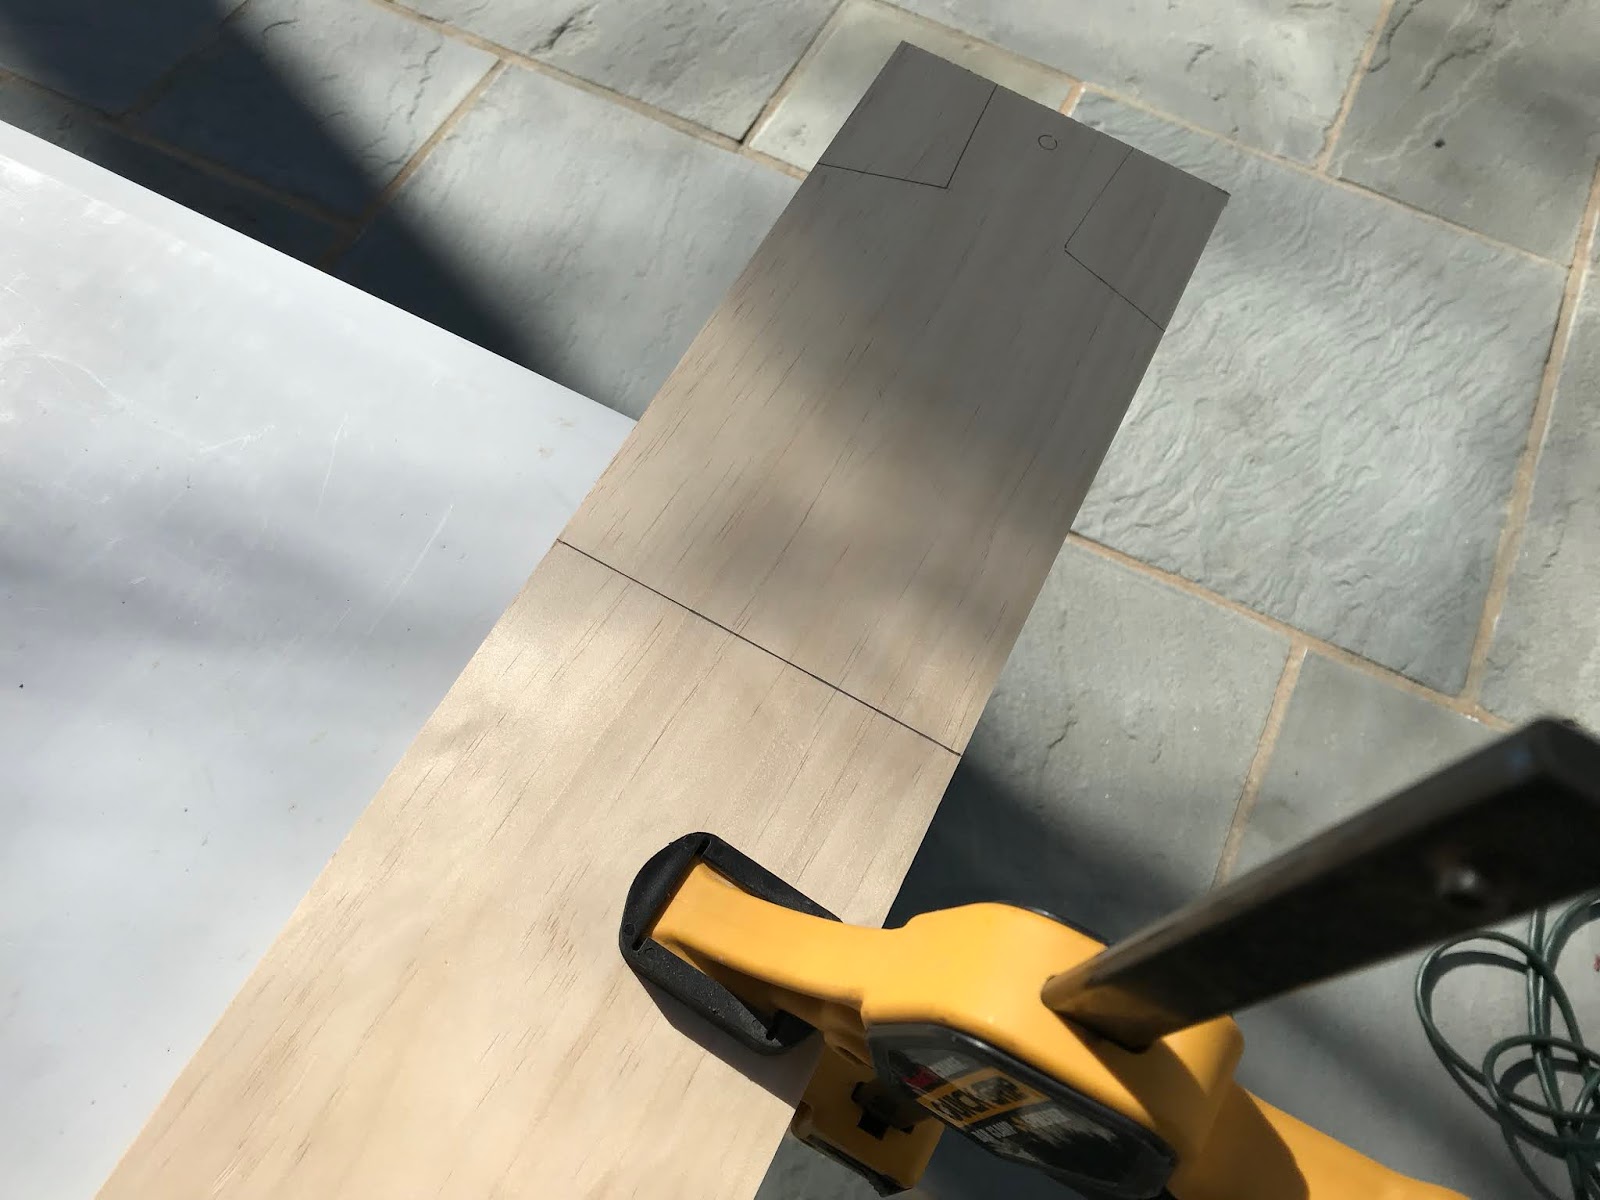

Clamp board along side a work table to secure.


Cut board by following along the pencil lines.

Drill hole in end using a ¼” or a large drill bit.
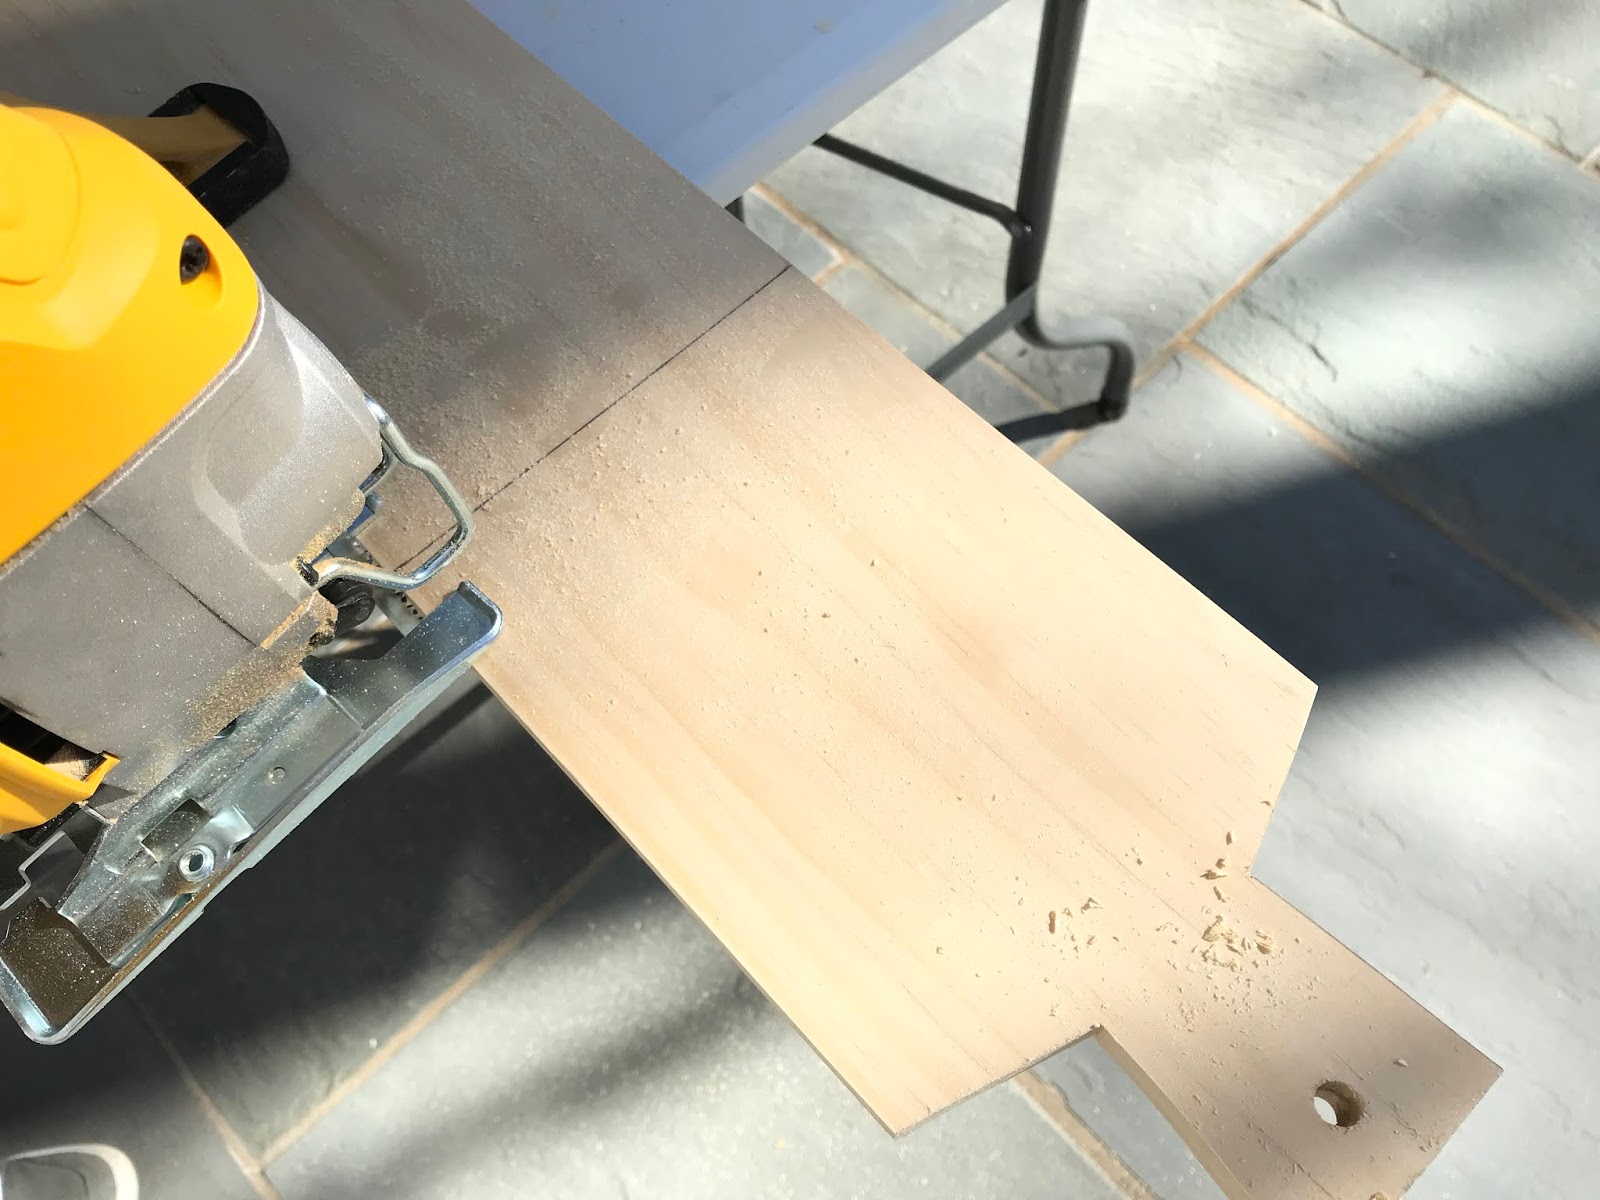

Cut board at the bottom to remove board.

Repeat all steps for remaining boards. You should have 8 mini boards.


Sand all edges. Round all corners. Sand all planes. Don't worry too much about perfection here, think old, handmade. Imperfect edges adds so much more charm.


Wipe down with a damp paper towel to remove excess dust. Let
dry.
You can stain your boards any color if you like. Seal
with a food safe sealer to protect food. There are many ways to finish wood. I just fell in love with the look of unstained wood. It was simple and beautiful. I did not want to change that. So I choose to not stain the wood, just to finish the wood with a food safe wood sealer...Beeswax. Natural. Safe. Easy. Beautiful...


This beeswax is so simple to use. Just dab a little on your fingers or a soft cloth, wipe along the grain. Cover all surfaces. Let set about an hour and then buff with a soft cloth. Repeat one or twice with the beeswax for a deep seal. With time and use you can add more beeswax as the wood dries.

Right, raw unfinished natural wood. Left, one coat of beeswax, no stain. The beeswax leaves the wood with a slightly warm soft color. So soft finish. The closest finish to fresh clean untreated wood, but food safe. I plan to use these boards for any food. I will probably add one to two more coats of the beeswax. I can use parchment paper between food and wood as a display.

Cut twine 24" long

Double the twine, then thread through the hole.

Tie twine in a knot.

Breakfast to...

Dinner and...

Just to have out...

Stay home and gather at the table...


0 comments:
Post a Comment