Saturday, March 12, 2016

OVERSIZED GALLERY FRAMES

0


Your home can be an art gallery. A museum, if you like. How nice it is to admire your favorite photos showcasing those beautiful eyes, priceless smiles or magic moments of your life with a custom oversized frame. Even better when you are the artist. Three simple frames, or design your own. Follow these simple steps and your house too can be an art gallery. No power tools needed.

This is what you will need for your oversized frames-


Words Stencil- you can purchase this here              
Dot Stencil                                                              
20” x 20” Canvas Frames
Two Colors Latex Paint                                          
2” Painters Tape                                                      
Paint Brushes, Rollers                                             
Stencil Spray Adhesive                                           
Scissors
X-Acto Knife                                                          
Straight Edge Ruler
Pencil
Sharpie Marker
Vinyl Plastic, by the yard (purchased at Jo-Ann Fabric, $9.00/yard)
Hot Glue Gun
3/4" Ribbon, Washi Tape
Modge Podge

The paint colors used in these frame projects are Benjamin Moore Dove White and Benjamin Moore Silver Lake. I purchased sample sized paints, cost about 6.00 each. They came in eggshell finish.


Prep your canvas by painting two coats of the Dove White. Let dry between coats.


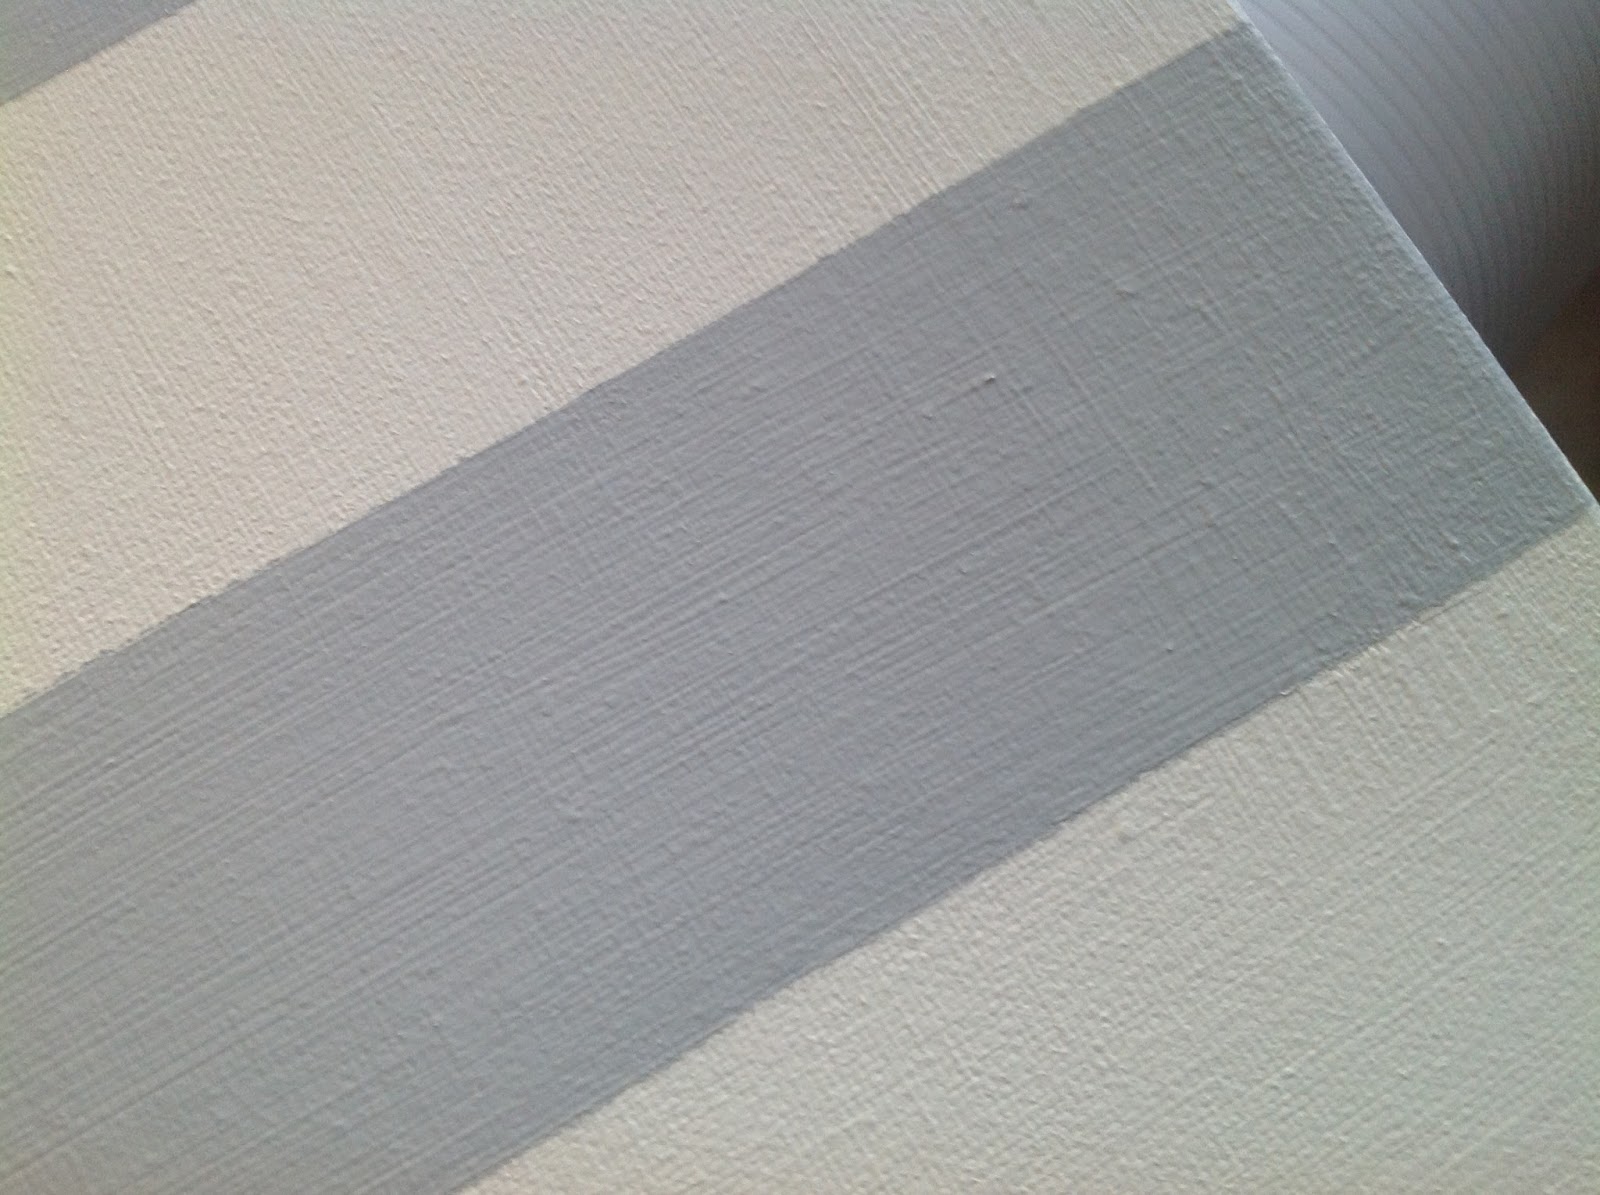
 Stripe Frame


For the stripe frame, measure 2” increments the length of the frame.


Use your straight edge ruler and lightly draw horizontal lines.


Position the painters tape on the line, one stripe every other line. Secure the tape by gently rubbing the tape. I run my finger along all edges to secure a tight seal.


Paint your Silver Lake blue on ever other stripe, where there is no tape.


As soon as you are finished painting, carefully remove each stripe of tape. Let dry.


Script Frame


To make the Script frame, on the reverse side of the stencil, lightly spray the stencil adhesive in a ventilated space. Let dry.


Place the stencil so the first letter on the first line (d) is ¾” from the left edge and (the top loop of the d) is 1” down from the top of the frame. This will keep the words balanced.


Using the brush of choice (I love a good brush), dip in paint then blot out excess paint using a circular motion on a paper towel. This will spread your paint evenly on the brush for better control of the paint.


Begin applying the Silver Lake paint on each word lightly. I gently applied three or four layers of paint on each word. I wanted a light, soft, hand painted look. Not a machine finished print. I would suggest you practice on a sheet of paper with your stencil until you are happy with the finished look you want. Best to start with a few light coats than one heavy coat of paint.


Polka Dot Frame


For the polka dot frame, apply stencil adhesive on the back side of the stencil. Let dry,


Repeat paint stencil technique from above script frame.


I randomly placed the dots all over the frame for a less structured, free form look.


To make opening for a 4” x 6” photo, cut a template 3 ¾” x 5 ¾” on a piece of paper.


Measure and place paper in center of frame. Lightly trace a line around it with a pencil.


Using your straight edge as a guide, carefully cut out the opening with the X-ACTO knife. Because canvas is a woven fabric, you may have a few short threads, snip. Dip you finger in Modge Podge (or any clear drying glue) and run your finger around the opening. This will keep any further fraying of the opening. 


Flip over the frame and measure the space between the wood frame (roughly 17” x 17”).


Measure the vinyl plastic and cut to fit the back of the frame. This will give stability and support to the back of the frame.


Make sure it fits.


With you hot glue gun, run a thin bead of glue around the opening. Secure the vinyl. Then run a bead of glue around the perimeter of the vinyl and secure.


Next, measure and cut a second piece of vinyl 6 1/2” x 4 ½”. Run a bead of hot glue on three sides of the opening and place second piece. Leaving the fourth side open allows you to slide your photo in between the vinyl.


Finish off the edge of the second piece of vinyl with a decorative tape. I used this Washi tape from a previous project.

Now just slide your photo in. Secure with acid free tape if you like.


To finish the edge of the frame, run a bead of glue and spread evenly. Place ribbon over, smoothing as you go on all four sides. I used white grosgrain ¾” ribbon. Let dry.


Now your frames are ready to hang. The hardest part of this project is where you are going to place them! How beautiful it is to enjoy the magic moments of your life, gracefully hung on your home’s walls. Take a step back and enjoy the view!


Saturday, February 27, 2016

PERFECT MADELEINES

0


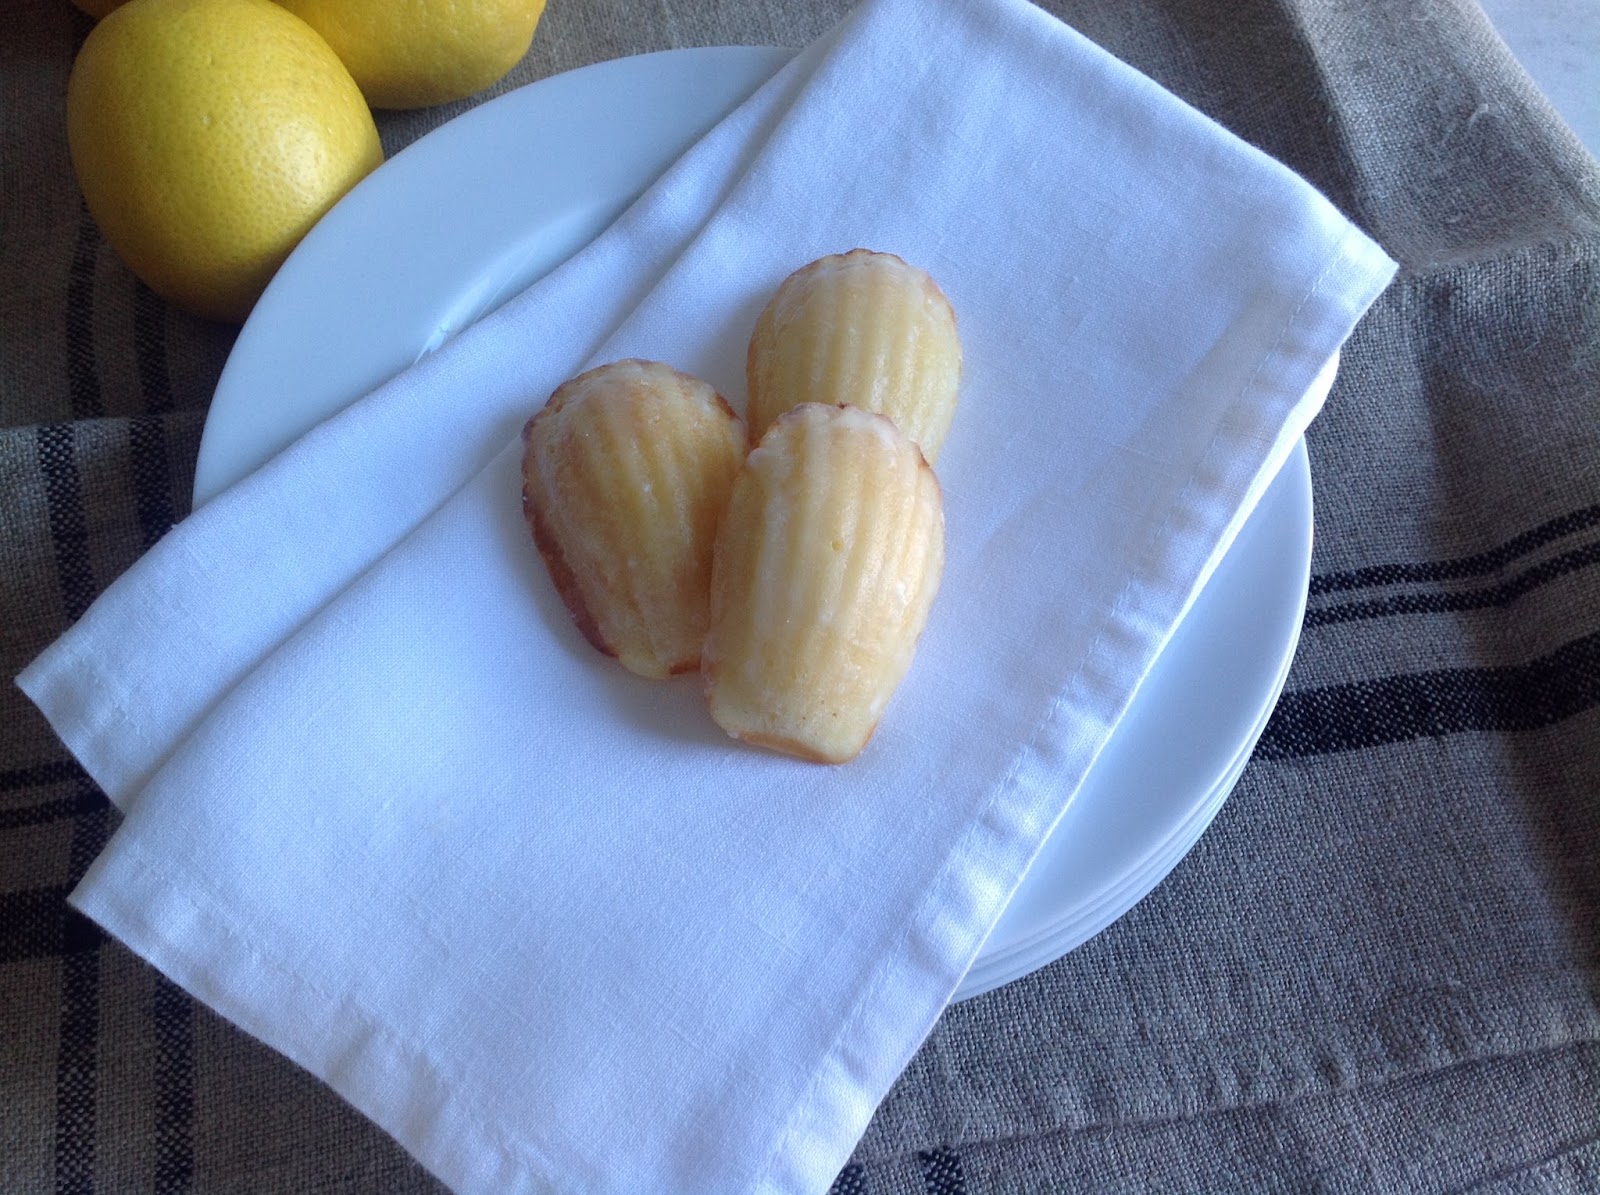
Madeleine. Are they a cake or a cookie? Introduced in Paris in 1755 as a desert for royalty. A sponge like cake that looks like a cookie but tastes like a cake. Baked in a pan that resembles a scallop shell or a cat’s paw. A classic, beautiful shape. They can be baked with a variety of flavors, but I love the buttery-lemon ones the best. A perfect touch to end a meal. Fabulous with fresh fruit, sorbet or just by themselves. If you are entertaining, the batter can be made a day ahead. Bake and glaze, minutes before quest arrive, and the house smells heavenly. Certainly a lot of oooohs and ahhhhs will come your way. A warm welcome for your quests. And so simple, but yet baking a perfect Madeleine is an art form.


Lemon Madeleine Recipe-

3 Large Eggs, room temperature
2/3 Cup Sugar
1/8 Teaspoon Salt
1 ¼ Cup Flour
1 Tablespoon Lemon Juice
8 Tablespoons Butter, melted
Additional Butter, for pans

Lemon Glaze-
1/2 Cup Powdered Sugar
1-2(plus or minus) Tablespoon Lemon Juice
2 Tablespoons Butter, melted
1-2 Packet Lemon Crystals


All you need special is a Madeleine pan. They can be found at most kitchen supply stores. Mine is from Williams-Sonoma.


This is my nesewt Madeleine pan, with heart shaped shells. It will fun to see how they turn out!

To prep, place your Madeleine pan in the freezer (I store mine in the freezer so it it always ready) several hours in advance.


In a stand mixer, beat eggs, sugar and salt until thick and frothy.


By hand, fold flour by small amounts into the egg/sugar/salt.


Add fresh squeezed lemon juice to melted butter, fold into batter.

Cover your bowl with a cloth and refrigerate for at least one hour.

Preheat oven to 425 degrees.


Once oven has reached baking temperature, melt several tablespoons of butter. Remove pan from freezer. Lightly brush the indentations with melted butter. The butter will start to freeze with contact on the pan. Butter, even if you are using a non- stick pan, it will give your Madeleine that golden color.


Make your lemon glaze. Melt butter, add to sugar and lemon juice and lemon crystals. Add a little lemon zest here, if you like.


Place by teaspoon, drop batter into the indentations, fill about ¾’s full. Do not spread.


Bake 8-10 minutes. You will have to judge this step. The Madeleine should be springy to touch, slightly golden on the edges. You should have a nice big “bump” in the middle. This is the trademark for a perfect Madeleine. Please do not over bake.


Once out of the oven, let cool just for a second or two, until you can flip over into the pan, ridge side up. Let cool briefly, and brush with lemon glaze.  Let cool completely.


A beautiful treat. Cake, cookie, you decide. But, fork or finger?


Saturday, February 13, 2016

WINTER GARDENING

0


Winter gardening. Another way to love winter. Or tolerate it. For those of you who long for the warm sunny days, try this little project to jump start your spring and help ease the cold winter days. And you don’t have to leave the comfort of your home. Rosemary Topiaries. If you love the charm of a topiary, this is a project for you. With a few of these fragrant plants gracing your home, thoughts of the winter blues will melt away. Spring and the warm sunny days will be here before you know.


Rosemary topiaries. Growing these topiaries will take time. Months, maybe. But they are easy to grow, and with just a little care, they will bring beauty to your home. Watch and grow.


This is what you need to start your rosemary topiary-

Potting Soil
Seed Starter Pots
Clear Plastic Cups
Bamboo Skewers
Scissor or Small Pruners
String
Rosemary Plant


Clip a few stems of your rosemary plant, if you are lucky to have some surviving, if not, your local nursery’s greenhouse should have stock. Clip a few stems with a pair of small pruning shears or a pair or sharp scissors. Carefully remove the bottom leaves, leaving about 1 1/2" to 2” of clean stem.


Place a small amount of fresh water in the plastic glasses and place your new stems into the water, keeping the top leaves out of the water.

Place in a warm spot, out of direct sunlight. You will have to change the water every couple days.


In about two weeks small roots should start forming at the bottom of the stems.


Time to transfer your stems into a seed starter. Fill pot most of the way up with potting soil, and carefully place your stem in a pot. Fill the rest of your pot with soil. Place inside small clear plastic cup. Trim a bamboo skewer and place alongside your stem. With care, tie a small piece of string to support the stem, tie the knot on the skewer.


Find a sunny spot and water. Water regularly, but do not let plant dry out or sit in water.


In time, as your mini topiary start to grow, you will need to transfer to larger pots.


Here are a couple of mini topiaries I started a few months ago. Nice to see something grow right before your eyes. Every now and then you can prune the leaves to encourage a ball shape. These are ready for their first pruning.


Before you know, they grow into these! For the winter, find a sunny spot and enjoy the simple beauty of growing something so elegant. When the weather warms, you can take outdoors.


 But for now, a very nice project to keep your mind of the winter chill.