
Magic time. Who doesn’t dream of a little quiet time? Half
an hour, that’s all you need, now and then. Soaking in a warm tub, your
favorite book, flickering candlelight, soft music and, of course, your wine. Heavenly. A mini spa, in your very own home. What you need is a fabulous ledge to bring those essential elements together. That’s all it takes for some very need down
time. No reservations required.

What a beautiful Mother's Day or birthday gift this ledge would be! Follow along to create
your very own and you too will discover the magic.
This is what you will need for your ledge-
6 Poplar 1 1/2" x 1/2" Boards
1 Poplar 2" x 2" Board
Table Saw
Medium and Fine Grit Sandpaper
Latex Primer
Latex Semi-Gloss Paint
Pencil
Square
Gorilla Glue
Safety Goggles
Safety Goggles
Power Nail Gun
Felt Furniture Protectors
Dimes


I found the boards I used at Home Depot. You have to look for them tucked in one of the lumbar isles. Here is a photo and sku numbers if you need. They come in 4 foot lengths, the 2" x 2" in three foot lengths.

Start by laying the boards across the tub.

I extended the boards over one side of the edge of the tub
by 1 ½”.

Then I measured the length of the board from end to end to
determine the cut length. This measurement (includes a 3” overlap, 1 ½” for both
right and left side) is 32 ½” long. This ledge is designed for a free standing tub. The same process can be used for a tub that is set against a wall, you just have to adjust your measurements, for one side will not have an overlap. All tubs should be measured, these measurements are not a one size fits all.

Next I lined all six boards up to determine the side I
wanted for the face of the ledge. I put small pencil check marks on the boards.


Measure each board, use a square to mark cutting line .


Measure and cut all six boards wearing your safety goggles.

Sand lightly all edges.

Sand lightly all edges.

On a flat surface line the boards up side by side. Place a dime between each board to create a space between
each board.

Line the 2 x 2 along the ends of the boards to determine the
cut length for the cleat. This piece will become the support for the underside
of the ledge. The cleat will also prevent the ledge from sliding off the tub. This one
measures about 9” long. I subtracted ½”from the length of the cleat for visual
purposes.

Cut two cleats roughly 8 ½” long.

Place one board onto the tub. Place the cleat on top of the
board. This is to determine placement of the cleat. There should be about ½” to
¾” space between the cleat and the inside of the tub. The cleat will be attached on
the underside of the ledge.

Mark a line for placement onto the board. Measure the distance from the cut edge to the pencil line (5”). Measure from the other side of the board and mark with pencil a line for placement for the cleat. There will be one cleat on the right and one cleat on the left of the ledge, both placement lines 5" from the cut edge.

Mark a line for placement onto the board. Measure the distance from the cut edge to the pencil line (5”). Measure from the other side of the board and mark with pencil a line for placement for the cleat. There will be one cleat on the right and one cleat on the left of the ledge, both placement lines 5" from the cut edge.

Mark with X’s next to the line where the cleat will be
placed.

Place the boards on a flat surface on their sides.

Apply one coat of primer to the sides. The inside edge of
the boards will be difficult to prime and paint once the ledge has been
assembled. Let dry.

Apply one coat of your semi-gloss paint to the painted edge.
Let dry.

Apply a second coat of the semi-gloss paint to the edge. Let
dry.
Flip the boards over onto their painted side and repeat the
painting step; paint one coat of primer and two coats of semi-gloss on the
sides. Let dry completely between each coat. Check for any drips and sand if
needed.

Once the inside edges have dried completely, the ledge is
ready to be assembled.

Lay the boards down on a flat surface, side by side, face
side down.


Place a dime between each board for spacing at each end.


Place a small amount of Gorilla Glue on each of the boards.

Place the cleat on the X’s next to the pencil line.

Glue the second cleat to the boards.
Let dry.

Once the glue is dry, flip the ledge over and remove the
dimes.
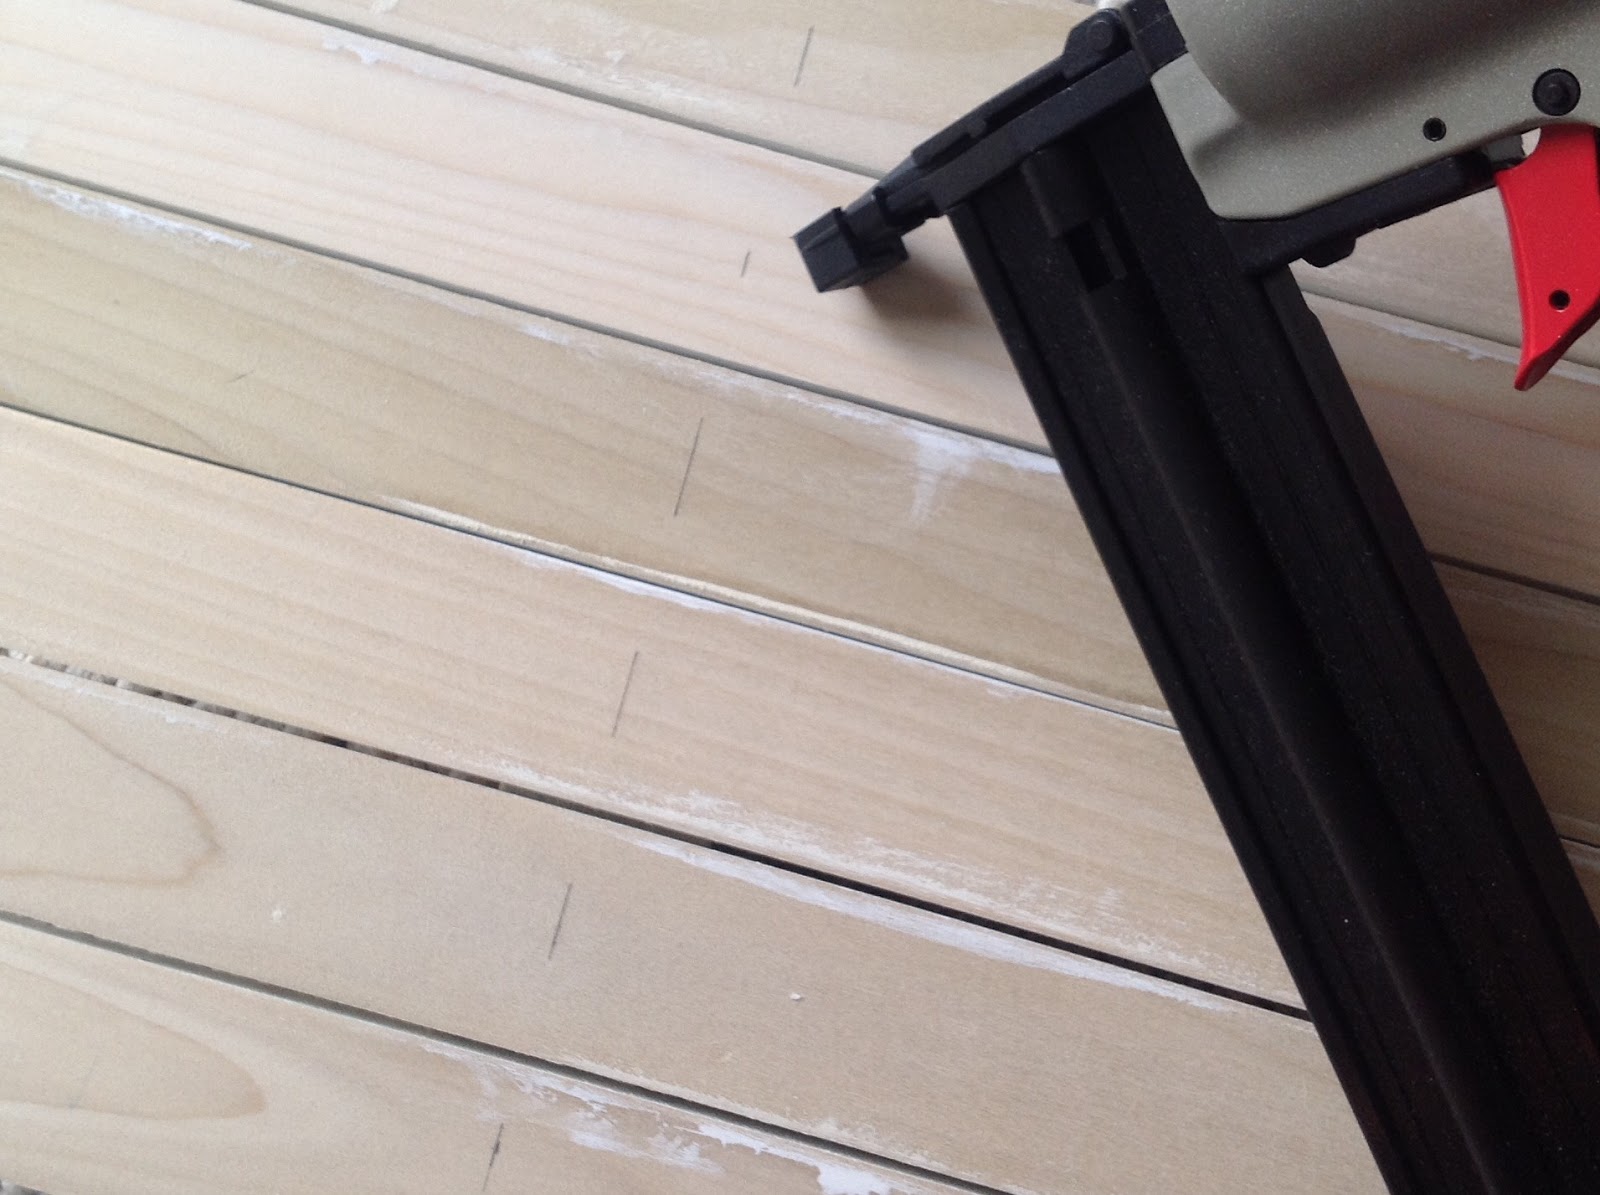
Nail each board in place from the ledge top securing into
the cleat. Lightly mark a line on the top of the board to use as a guide for nail placement.


Fill nail holes with wood filler. Let dry, sand lightly.


Paint the ledge with one coat of primer and two coats of
semi-gloss. Let dry between coats, sand
lightly if needed.
Flip ledge over and apply self stick felt furniture protectors to the ledge to prevent potential scratching of your tub.


Gather your essentials...


Let the magic begin…




 Posts
Posts

