Consider this as a continuation of Pillow Paradise, 101. A
basic lesson in pillow construction. A how to. The syllabus for this course:
setting a zipper (the easy way) and (the correct way) and instruction to create
a second “pillow pocket” to expand one’s knowledge and depth in the
construction of custom pillows. Ah, there are those words that keep popping up…Custom
Pillows. Custom, the ability to create something that is one of a kind and
exclusively yours. Designed to fit in a specific space. Your space. Another way
to spell you are home.

This is what you will need-

1 Yard Fabric for Interior Pillow...Link here
1 Yard Fabric for
Exterior Pillow...Link here
2 Yards Decorative Ribbon...Link here
1 20” Zipper
20" Down Pillow Insert
20" Down Pillow Insert
Simply put, to set a zipper in a seam, you need four rows of sewing.
1, attach one side of the zipper tape to one side of the seam allowance. 2,
attach the second side of the zipper tape to the second side of the seam
allowance. 3, topstitch the first side of the zipper, 4 topstitch the second side of the zipper. Sounds easy, right? You can do this.

Cut two squares of fabric 20” x 20”. Cut one rectangle 20” x
3”.


Gently press the tape of the zipper to straighten. Take care
not to iron over the zipper teeth, they could possibly melt.

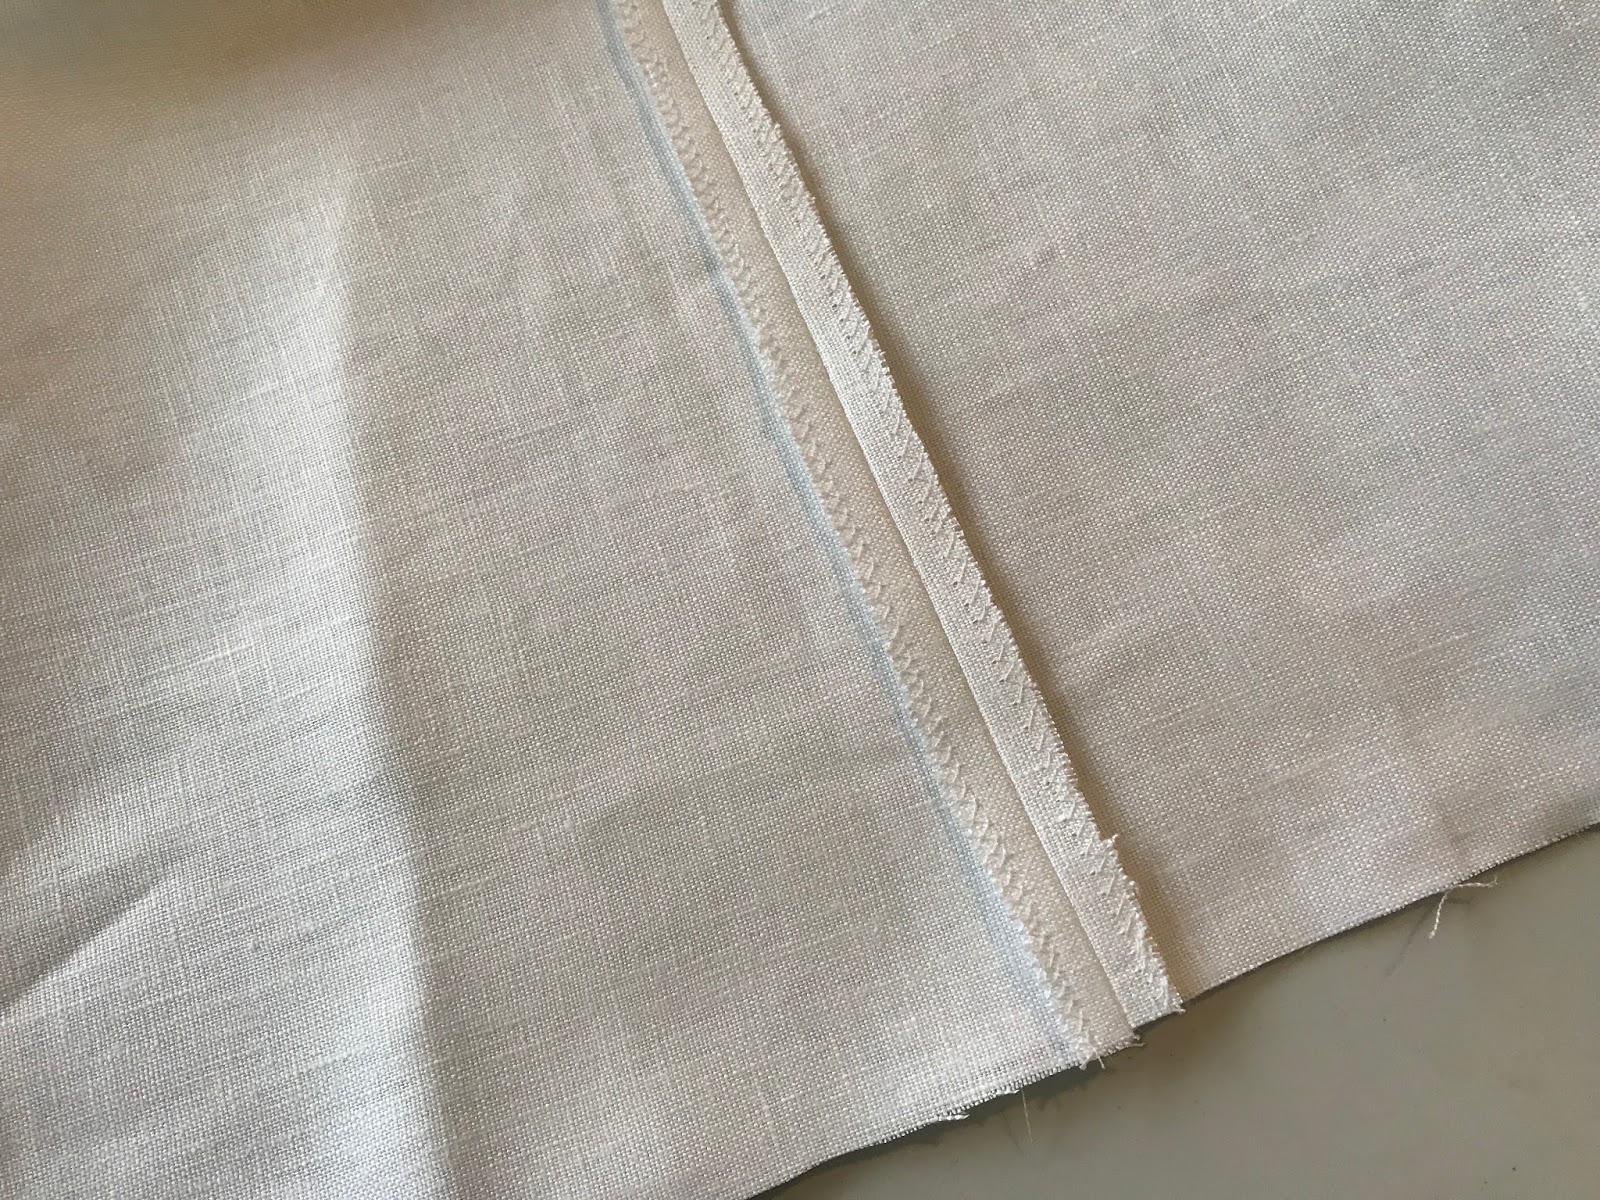
Finish all edges with a tight zig zag stitch or overlock
stitch.


Sew the small rectangle to the bottom of one of the 20”
squares of fabrics with a 1” seam allowance. For the first 1 1/2" and the last 1 1/2" of the seam stitch with a close together stitch about 9 stitches per inch. For the middle of the seam allowance use a basting stitch. Long stitches. You just need to hold the fabric together here, once the zipper is set you will remove the basting stitches.


Press the seam open.


Flip all the layers toward you as shown. Make sure the seam
allowance is all by itself. Your first row of stitches will be on this side of
the seam allowance.


Lay the zipper right (face) side down on the seam allowance. Center
the top of the zipper about 1 ½” away from the edge. Pin only the zipper tape
to the seam allowance, line the edge of the zipper tape to the edge of the seam
allowance.

Put zipper foot on your sewing machine.


Start stitching the tape to the seam allowance with the
stitches running down the middle of the zipper tape.

This is how your zipper should look at this point.


Place a pin at the start of the zipper and at the end of the
zipper, both pins should be about 1 ½” from the edge as shown.


Topstitch through all the layers from pin to pin.

Flip the fabric (the 3” rectangle) over the large 20” to
expose just the seam allowance of the bottom rectangle.


Pin the length of the seam allowance to the zipper tape.


Stitch the seam allowance to the zipper tape as close to the
basting stitches as possible. Remove pins as you sew. Start and stop 1 1/2" from the sides of the pillow.

This is how your zipper should look.


Carefully remove the basting stitches and any tiny
threads.


Topstitch the fabric as close to the zipper teeth as
possible. You will have to gently guide or roll the fabric with your fingers to
do so. The goal here is to have as little as possible of the zipper tape
showing.


When your stitches get close to the zipper pull, stop, lift
the pressure foot and push the pull past the point where you are stitching. Place the pressure foot down and continue stitching until you
reach the top of the zipper.


Topstitch both ends of the zipper. I like to run a couple
rows of stitching back and forth to secure the zipper.


Flip the pillow over and trim the excess zipper about ¼”
from the topstitching. Any length of zipper can be used. I used a 22" zipper (that's what I had), even if your zipper is 20" a small amount will have to be removed. You do not want any length of the zipper to be stitched into the seam allowance.

Lay the pillow back on a flat surface right side showing.
Lay the pillow front on top of the back, lining up at the bottom as shown.

Pin together.

Remove the extra fabric from the top.

Finish this edge.

Unzip the zipper about 5” to leave an opening to turn inside out.

Stitch all four sides.


At the corners, stop and turn and stitch two or three
stitches, then turn and continuing stitching. This will give your pillow a
little more of a square and fitted corner when finished.

Trim corners as shown.


Turn right side out. Use a screwdriver, a pair of scissors
or a point turner to gently push out the corners. Be careful not to push too
hard and make a hole in the corner.

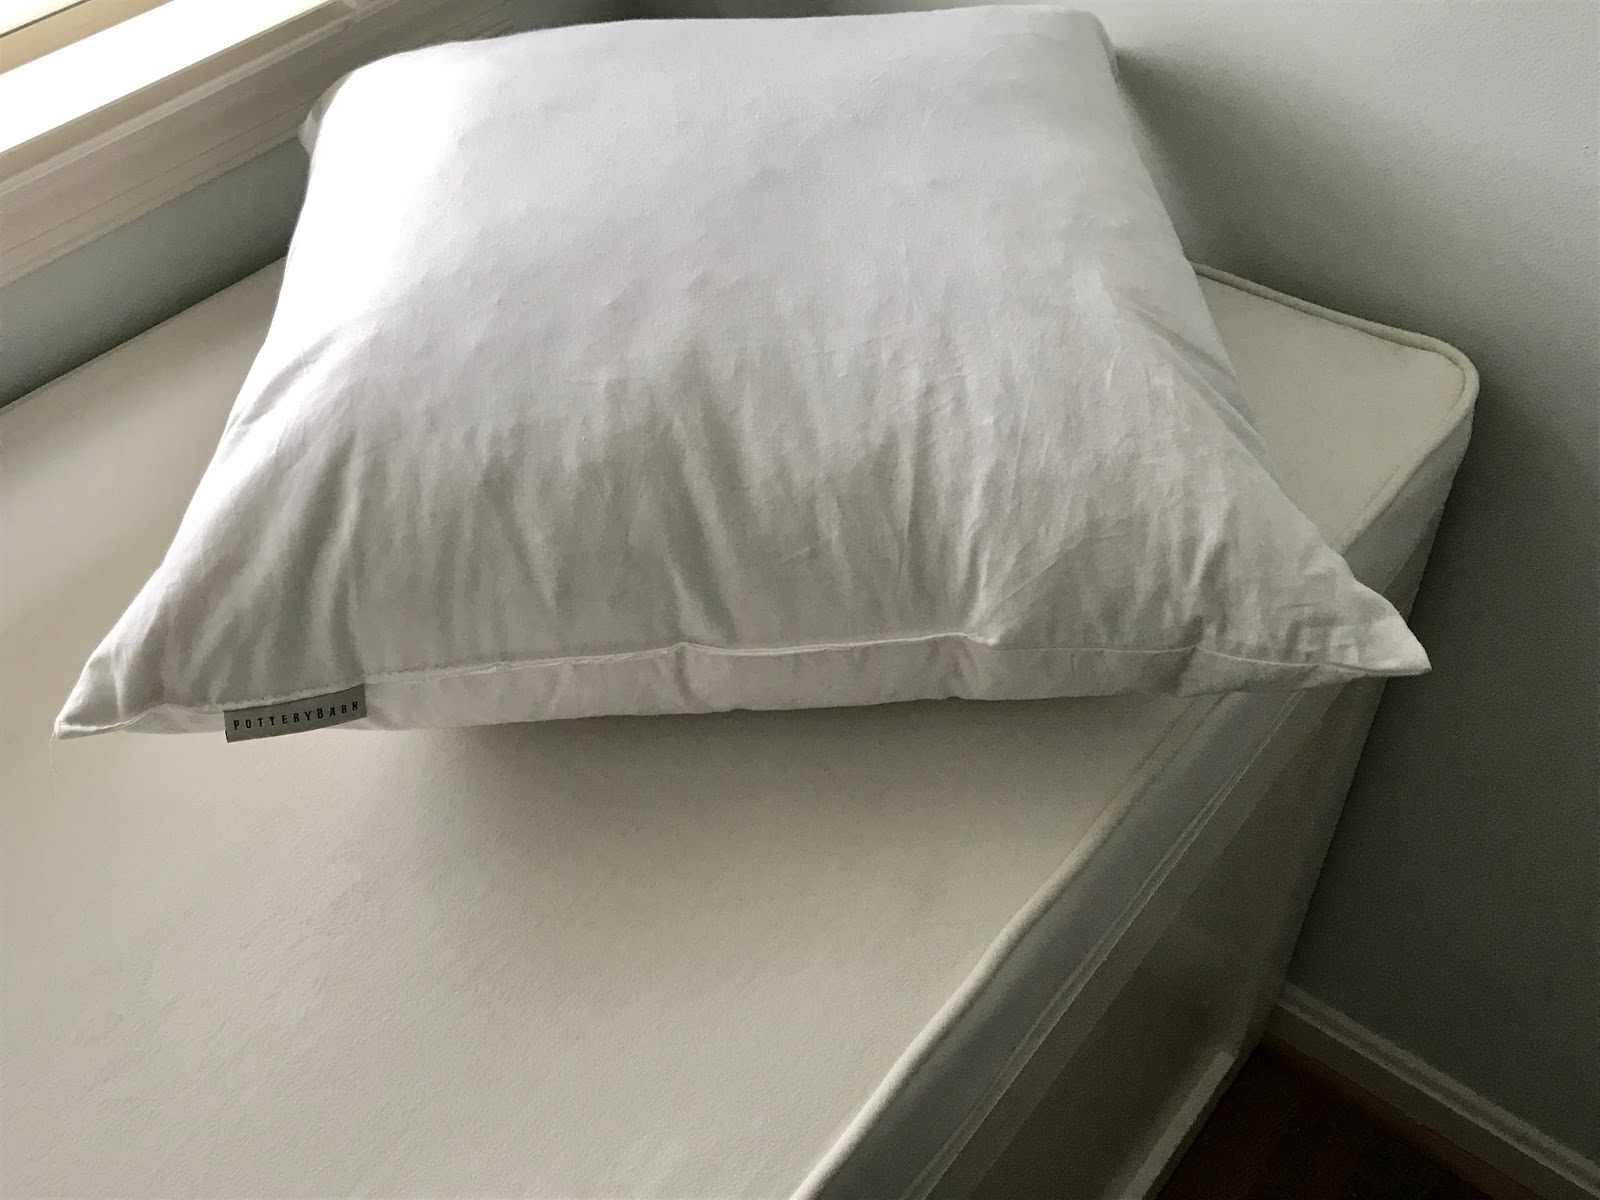

Press and stuff with a 20” down insert. Ta Da! Now, wasn't that easier than you thought?
 |
| Pillow Pocket |

Cut one length of fabric 20” wide by 38” long.

Finish the two 38” edges.

Fold the fabric in half and pin as shown.

Stitch the two sides.
Press both seams open.

Turn the cut edge up ½” and press with an iron.


Turn this edge up 1” and press.

Measure and cut two lengths of ribbons 21” long.

Measure the fabric between the seams to find the middle.
Place a pin.


Tuck one length of ribbon into the edge as shown. Pin.


Flip the ribbon over. Pin to the turned edge.
Repeat for the second length of ribbon.

Topstitch the turned edge all the way around, making sure the ribbon lays flat as you sew.


Fold the cut edge of the ribbon over ½” twice and pin.


Topstitch to finish edge.


Place your first pillow inside the pocket of your second
pillow.
Tie a pretty bow or tie with a double knot.

One you can set a zipper in a seam, the pillow possibilities are endless. Whether it is just one pretty pillow for a special spot or all your nooks and crannies. Start decorative adventures here and create something beautiful.