Detail. Sometimes it’s all about the tiniest touches that
just have you tumbling head over heels in love. Tassels! They are everywhere you look. Large, chunky, tiny,
any size, and every color they come in is pure bliss. The simple
repetition of these petite tassels along the border of this throw just makes your
heart stop. Simple to do, cost and time friendly to make, this throw can
find its way into every room of your house. Make a few for yourself (you can never
have too many) and one for every special person on your holiday list. Easily draped
over a chair, tossed across a bed or just stacked in a pile on your chaise just waiting to wrap you in a hug. Cool weather is just around the corner. So
posh. So detail. So love.

This is what you will need-

Throw…Link here
Yarn…Link here
Scissors
Measuring Tape
Measuring Tape
Large Eye Needle
Small Sewing Needle
Pins
Pins
Thread
Tape
Cell Phone
The yarn I chose to use is a smaller, thinner yarn. I prefer a small, petite tassel for this throw. You can use any size yarn you like, the larger (thicker) the yarn the chunkier the tassel. One nice feature of this yarn is it comes is so many colors. One ball of yarn is all you need for your throw, there are oodles of leftover, enough to make several more throws and maybe a pillow or two (oooh)!

This throw is mostly made with cotton yarn. I love the look and durability of cotton. It is easy to care for, breathable and adds just the right amount of comfort to snuggle under.

Cut an 10” length of yard and set aside.


Tape the end of the ball of yarn to the bottom left of your phone.


Wind the yarn 25 times around the width of your phone. Note that the last wind your yarn should be at the bottom right hand corner of your phone. See photo.

Thread the 10" cut piece of yarn with the large eye needle.

Thread the 10" cut piece of yarn with the large eye needle.


Carefully tuck the 10” length of yarn under the wrapped strands
of yarn.

Slide the the 10" strip of yarn to the top edge of the loops, remove needle.

Snip the last strand of yarn off the ball of yarn.

Snip the last strand of yarn off the ball of yarn.

Remove tape.


Gently slide the yarn off the phone to the left.


Gently slide the yarn off the phone to the left.

Lay the looped yarn flat.

Pull the 10" strip of yarn up and tie in a knot.

Tie a second knot to secure.

Fold the two ends down to the length of the tassel.


Slide your scissors through the loops at the bottom and cut.

Pull the 10" strip of yarn up and tie in a knot.

Tie a second knot to secure.

Fold the two ends down to the length of the tassel.


Slide your scissors through the loops at the bottom and cut.

Cut a 18” length of yarn.

Center the almost tassel in the middle of the 18" strip about ½” from the top.

Center the almost tassel in the middle of the 18" strip about ½” from the top.


Tie a knot, then a second knot to secure.

Thread both ends of this yarn through the large eye needle.


Wind both threads around the tassel two times.


Wind both threads around the tassel two times.

Thread the needle under the turns and up through the top of the looped
yarn. Pull through and back around the turns and then pull the needle up into the top of the tassel.


Tie a knot with the two strands.


Tie a second knot to secure. Pull the strands tight so the knot is almost hidden inside the tassel top.


Tie a knot with the two strands.


Tie a second knot to secure. Pull the strands tight so the knot is almost hidden inside the tassel top.


Trim the two strands and tuck ends into the tassel top.

Lay your tassel down and flatten the strands. Your tassel should measure about 3".

With scissors, cut ends to an even overall length of 2 1/2".
Trim to even.

Repeat to make 22 tassels. Yikes! Yes, twenty two (22) tassels. There is something so relaxing about doing a repetitive task. Beauty in repetition, so soothing. You don't have to make them all in one sitting either!

To mark tassel placement on the width ends, fold the throw in half and mark center with a pin.


To mark tassel placement on the width ends, fold the throw in half and mark center with a pin.

Measure from the end of the throw to the pin (this is half a width). The half width measurement is 23 1/2".


Divide 23 1/2" by 5 ( the space between the tassels) to determine placement for tassels.


The measurement is 4.7". Starting at the left hand corner, measure and place a pin every 4.7" for the entire width of the throw. You should have 11 evenly placed pins.


Hand sew one tassel to the throw at each pin placement. Repeat for the other end of the throw (width end).


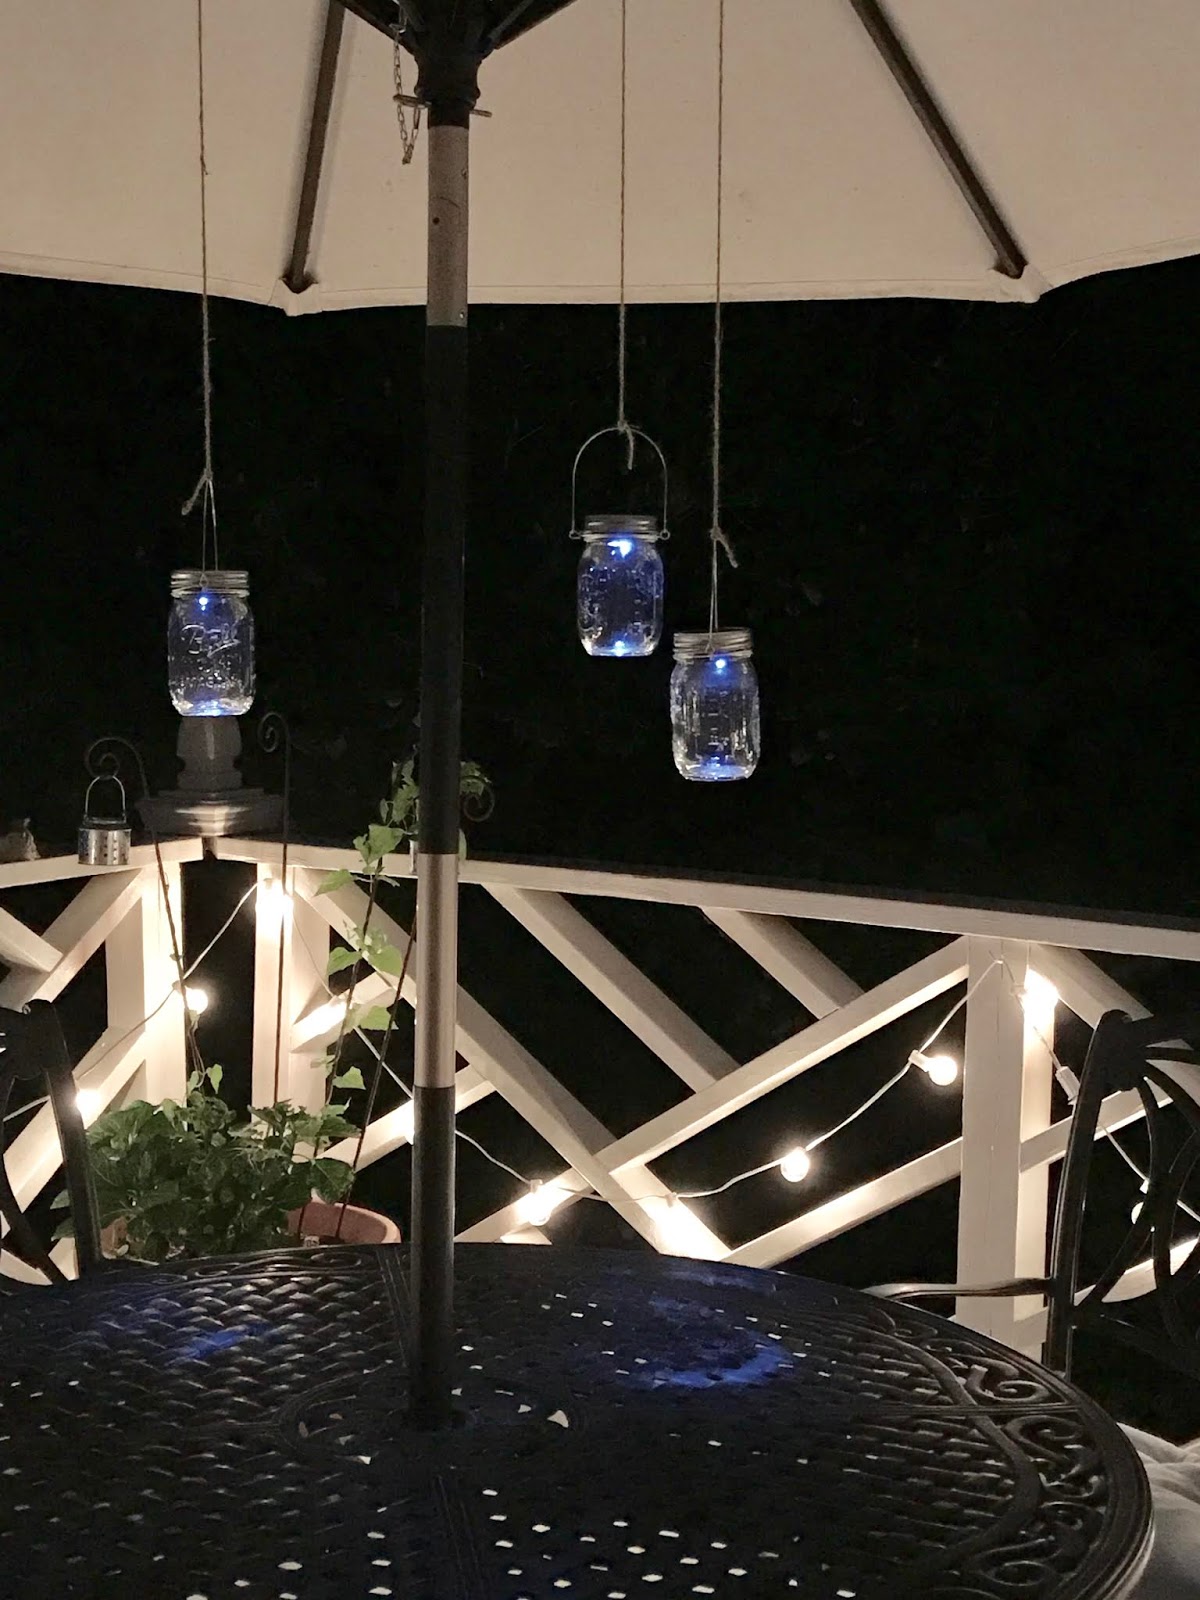
Or hang one here...

Best said...

Bliss!