
Summer. My most favorite time of year. Not just because
there is unlimited warm sunshine, flip flops are a wardrobe
staple, blinking fireflies at night, home run derby and the All Stars game,
golden Black-eyed Susans, and the Tour. But, and, almost as important, my birthday.
July. Birthday month (my family celebrates birthday week, but somehow I have
managed to stretch it out a whole month). Yes, we can all agree it is the most
beautiful time of the year.
You would never know it, but, I love the Tour de France.
The endless marathon of cycling all July long. Ultimate cycling. Ultimate
entertainment. Every day I am tuned in to every turn, road, mountain, village,
color, peloton. I love the landscape, the architecture, the hills, the endless
fields of sunflowers, lavender, the fans, I love it all! And I don’t even own a
bike. Nope.

So, in celebration for this year’s Tour, I have a created a
jersey garland that takes no time at all to make. Follow along and you will
feel like part of the team too. Show your colors, let your garland fly and
stretch July out as long as possible. Let the celebration begin!

This is what you will need-
Jersey Template
Nylon Rip Stop, White, Green and Yellow
Red Sharpie Marker
Pencil
Scissors
Awl/Small Hole Punch
Nylon Cord
Oversized Needle
Low Temperature Glue Gun
You can purchase rip stop nylon at most retail fabric stores
or you can order…Link here. I purchased ¼ yard each of white, yellow and green.

Rip stop nylon has these tiny little squares woven in the
fabric to prevent small tears from enlarging. The squares also keep the nylon
fabric from fraying and becoming a big thready (I just made that up) mess. It
is durable and weather friendly. Great for this purpose. A happy outdoor
fabric.

Download jersey template. Trace jersey onto card stock to make template to trace.

Trace the jersey template onto the nylon with pencil.

Make red dots on ten of the white jerseys. Yes, it will bleed slightly onto the nylon, but it should be barely visible from a distance.

Make red dots on ten of the white jerseys. Yes, it will bleed slightly onto the nylon, but it should be barely visible from a distance.


Cut out jerseys with scissors.

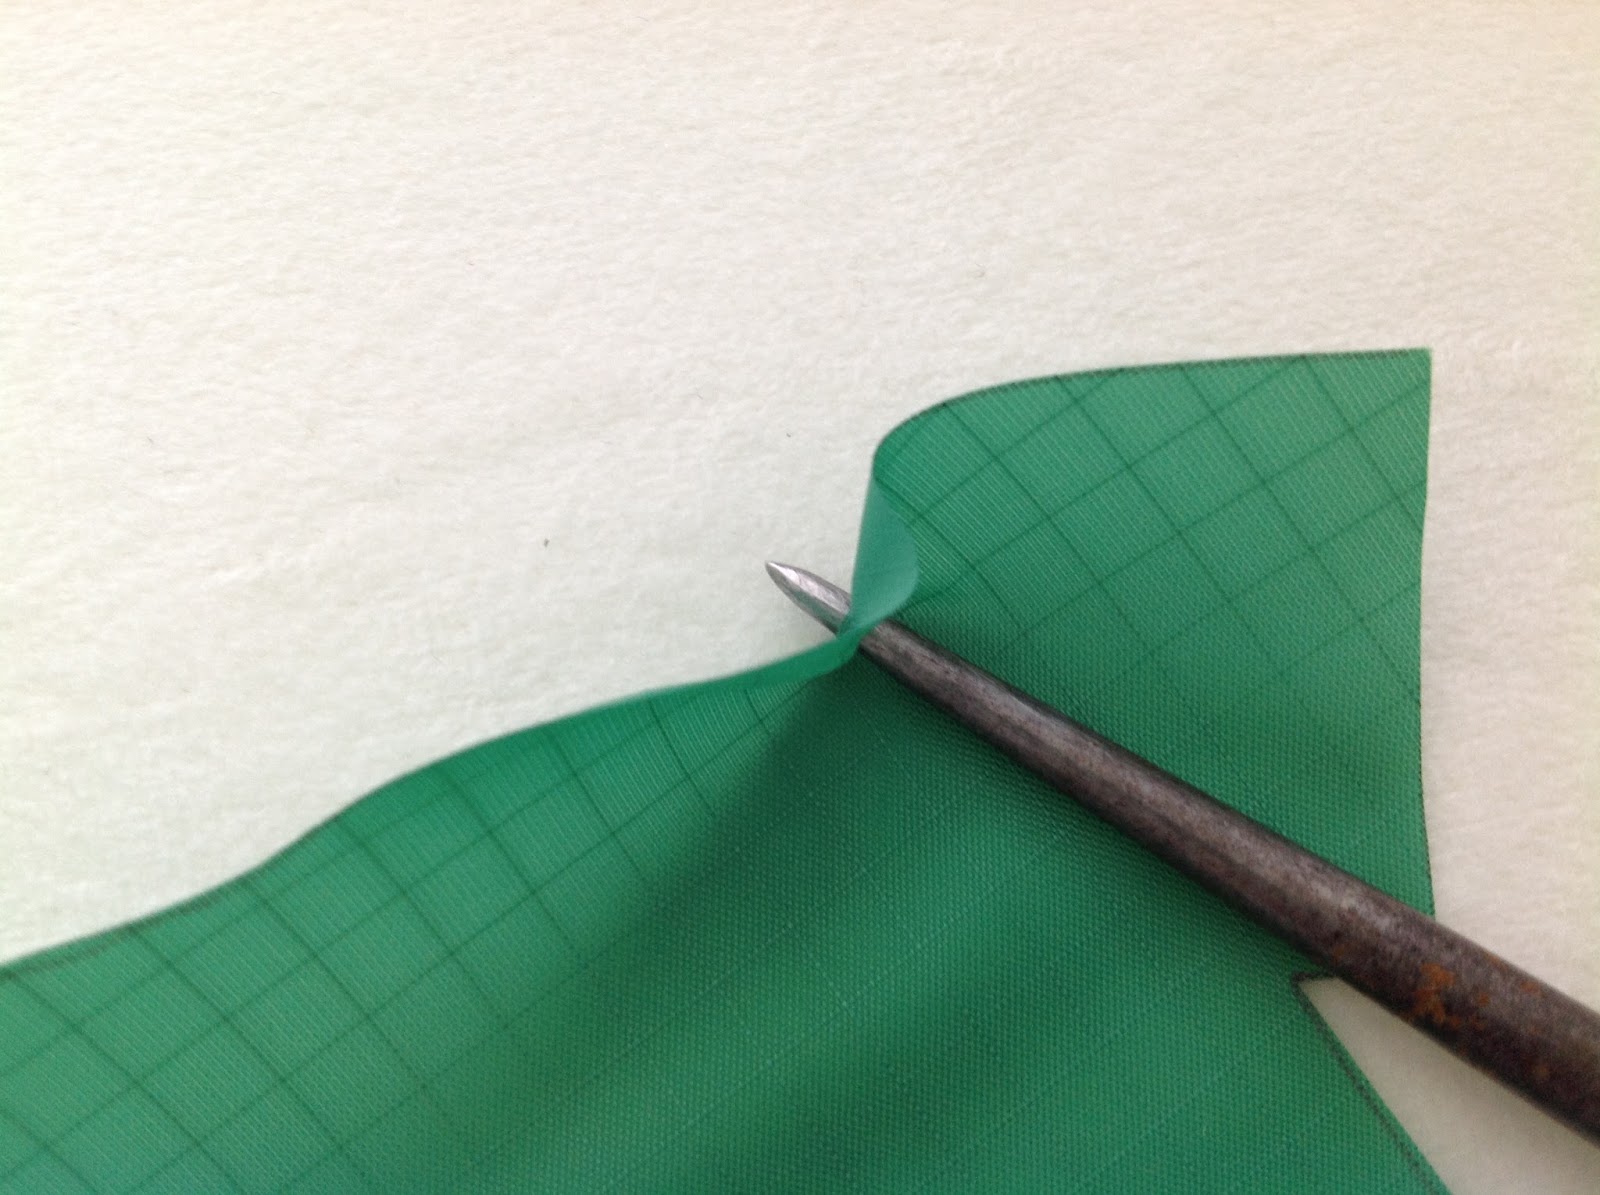

Carefully punch a small hole through the two small dots at
the shoulders.


Thread your nylon cord through the oversized needle.


Alternate threading the jerseys together as shown. Continue threading until all the jerseys are threaded.

Space the jerseys about three inches apart on the cord.


On the back, secure each jersey to the nylon cord with a dot
of glue to keep the jerseys stationary.

And hang…

Yellow Jersey... Leader...

Polka Dot...King of the Mountain…

Green...Sprinter...

White...Fastest Young Rider…

Makes me almost want to buy a bike.

July Love





 Posts

