
Taking a short brake to the the shore-a little get away for family, rest and wiggling toes in the sand. Will be back in a week or two...miss you already...


Shortbread Cookies
Frosting
Small Paintbrushes
Paint Wells/Small Containers
Food Gel/Coloring
White Vanilla Flavoring or Vodka
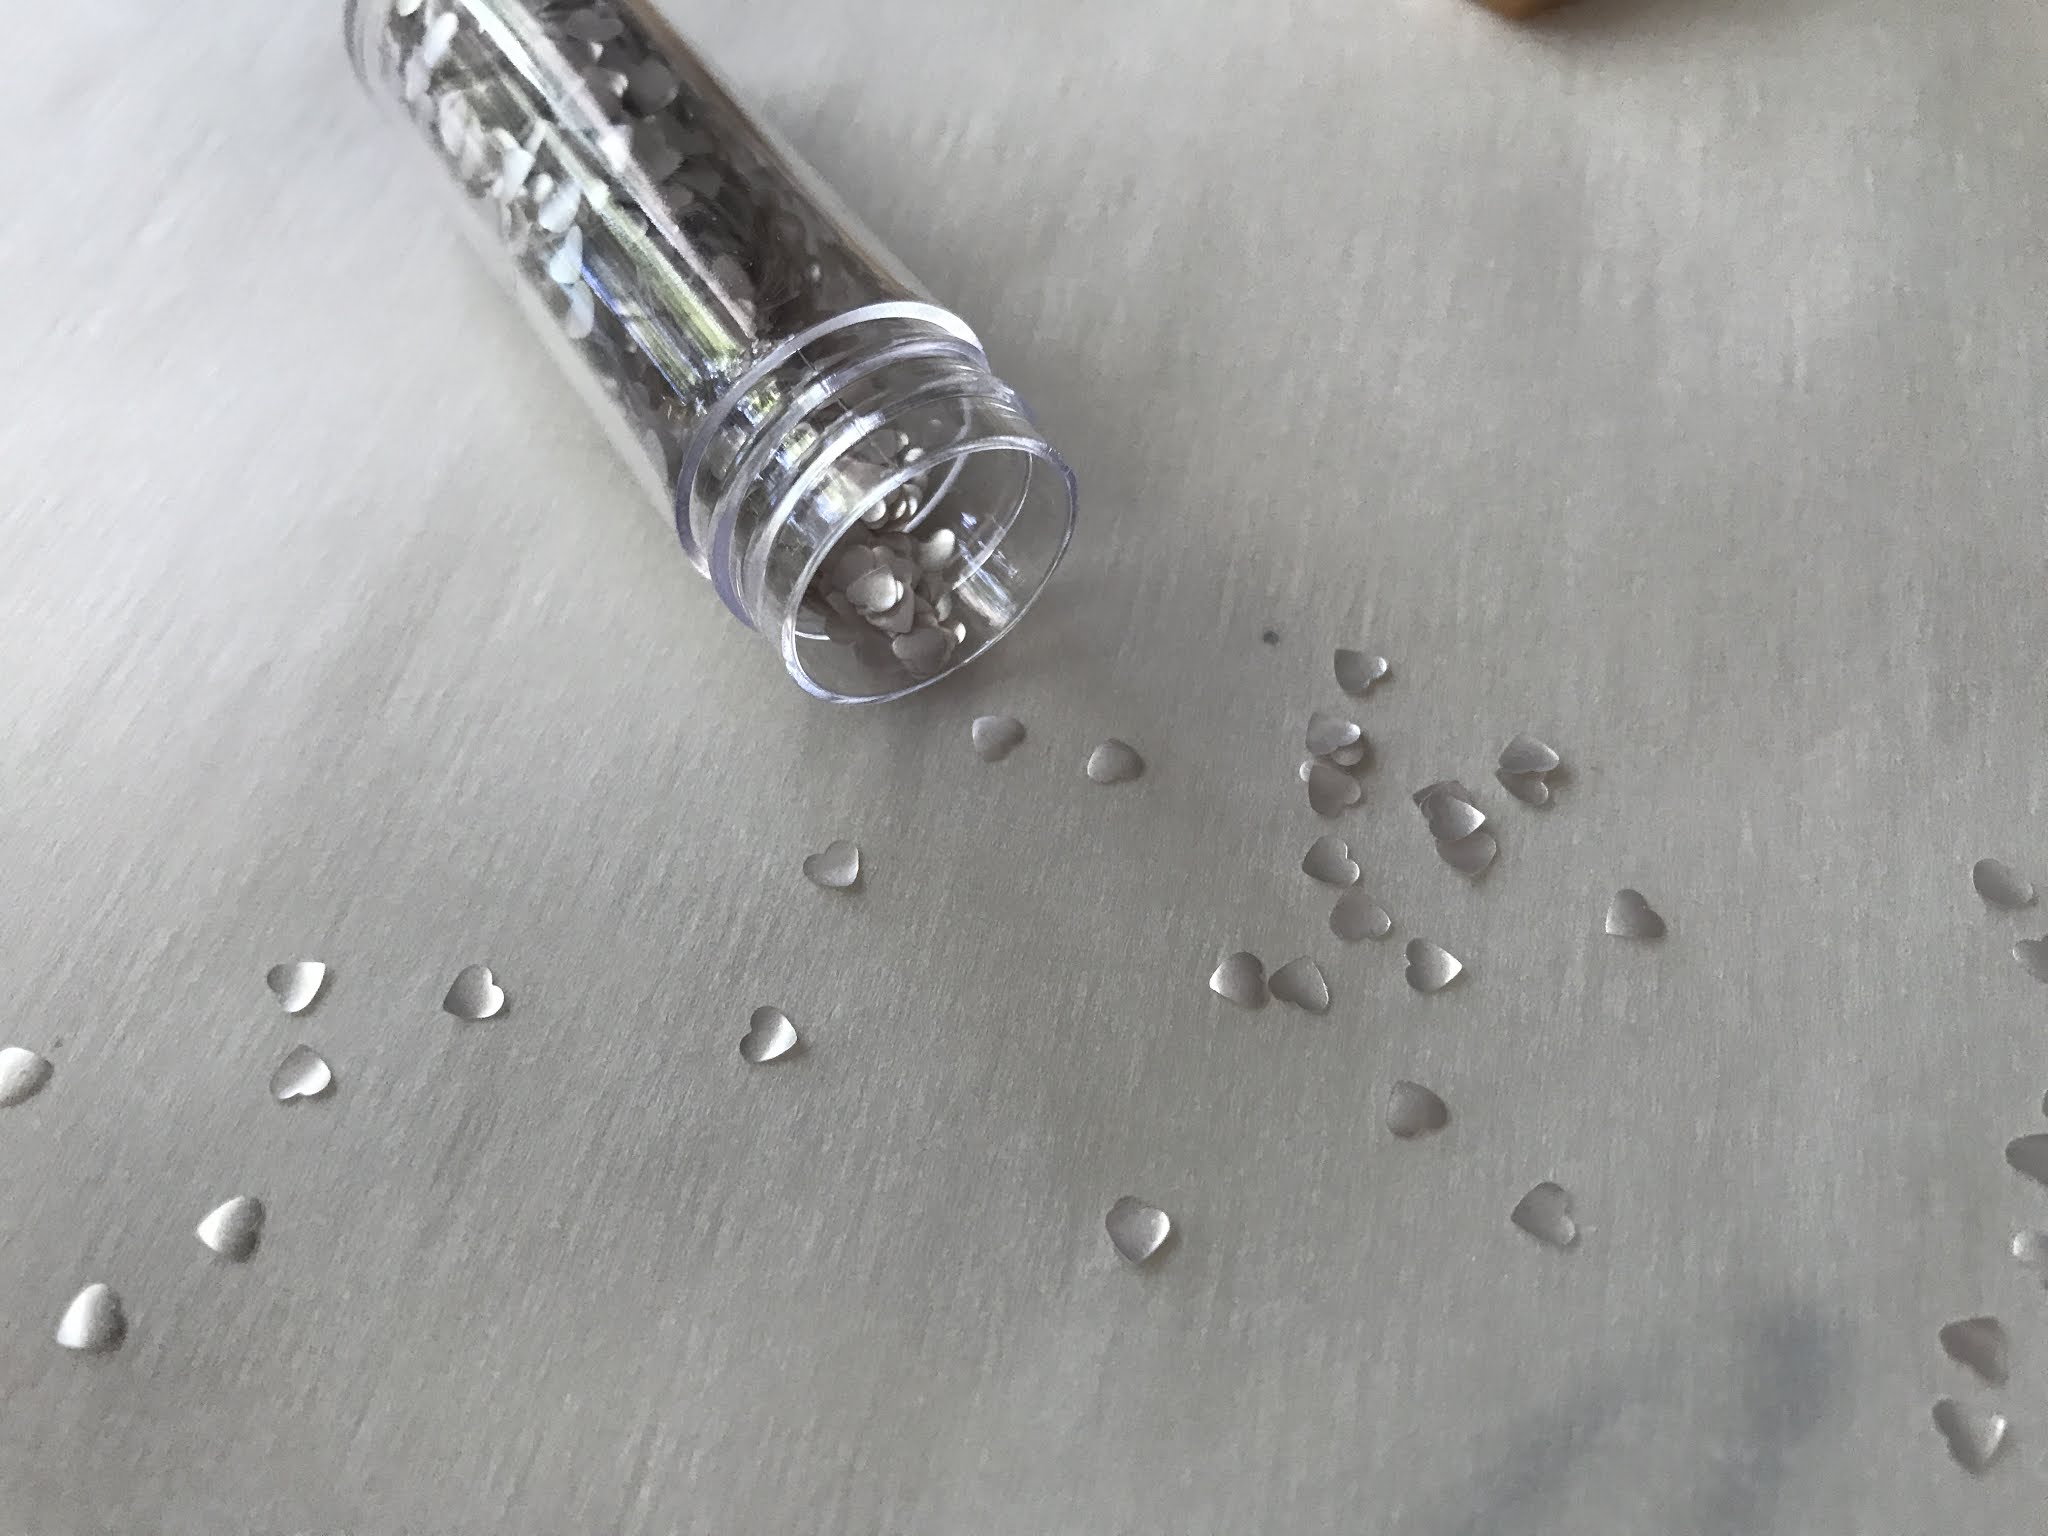
Tiny Silver Heart Sprinkles

1 C + 3 Tbs. Butter
1 C Powdered Sugar
2 Tsp Vanilla Flavoring
2 ½ C Flour
Frosting-
Piping
2 ½ C Powdered Sugar
1 Egg White
1 Tbs Vanilla Flavoring
1 Tbs French Vanilla Non-Dairy Creamer (liquid)
Flooding
3 C Powdered Sugar
2 Egg Whites
1 ½ Tbs Vanilla
2 Tbs French Vanilla Non-Dairy Creamer
A baker's note on clear vanilla flavoring. I have purchase it from Michael's Crafts and Amazon. It is not real vanilla, but the advantage is it is clear, so when you need to add color to frosting it will not affect the color and it does taste like vanilla. However, it does require a longer drying time. Vodka on the other hand is clear and does not affect the flavor to the frosting. The advantage is it dries quickly. You choose.
Make cookie dough. Refrigerate 1-2 hours. Roll dough out on a floured surface ¼” thick. Cut out with heart cookie cutter. Bake 12-14 minutes in a preheated 350-degree F oven or just until the edges start to turn light brown. Let cool.


To pipe cookies, fill a pastry bag fitted with a #3 tip, and
outline outside edge of heart with frosting. Let set about one hour. Save remaining piping in the refrigerator to be used later.


To flood cookie, fill a squeeze bottle with flooding frosting. Start by running the tip of the bottle around the outline. Try to get the flooding as close as possible to the outline. Nudge the flooding to just slightly cover the outline, but do not let the flooding to spill over the edge. Fill in remaining open space.
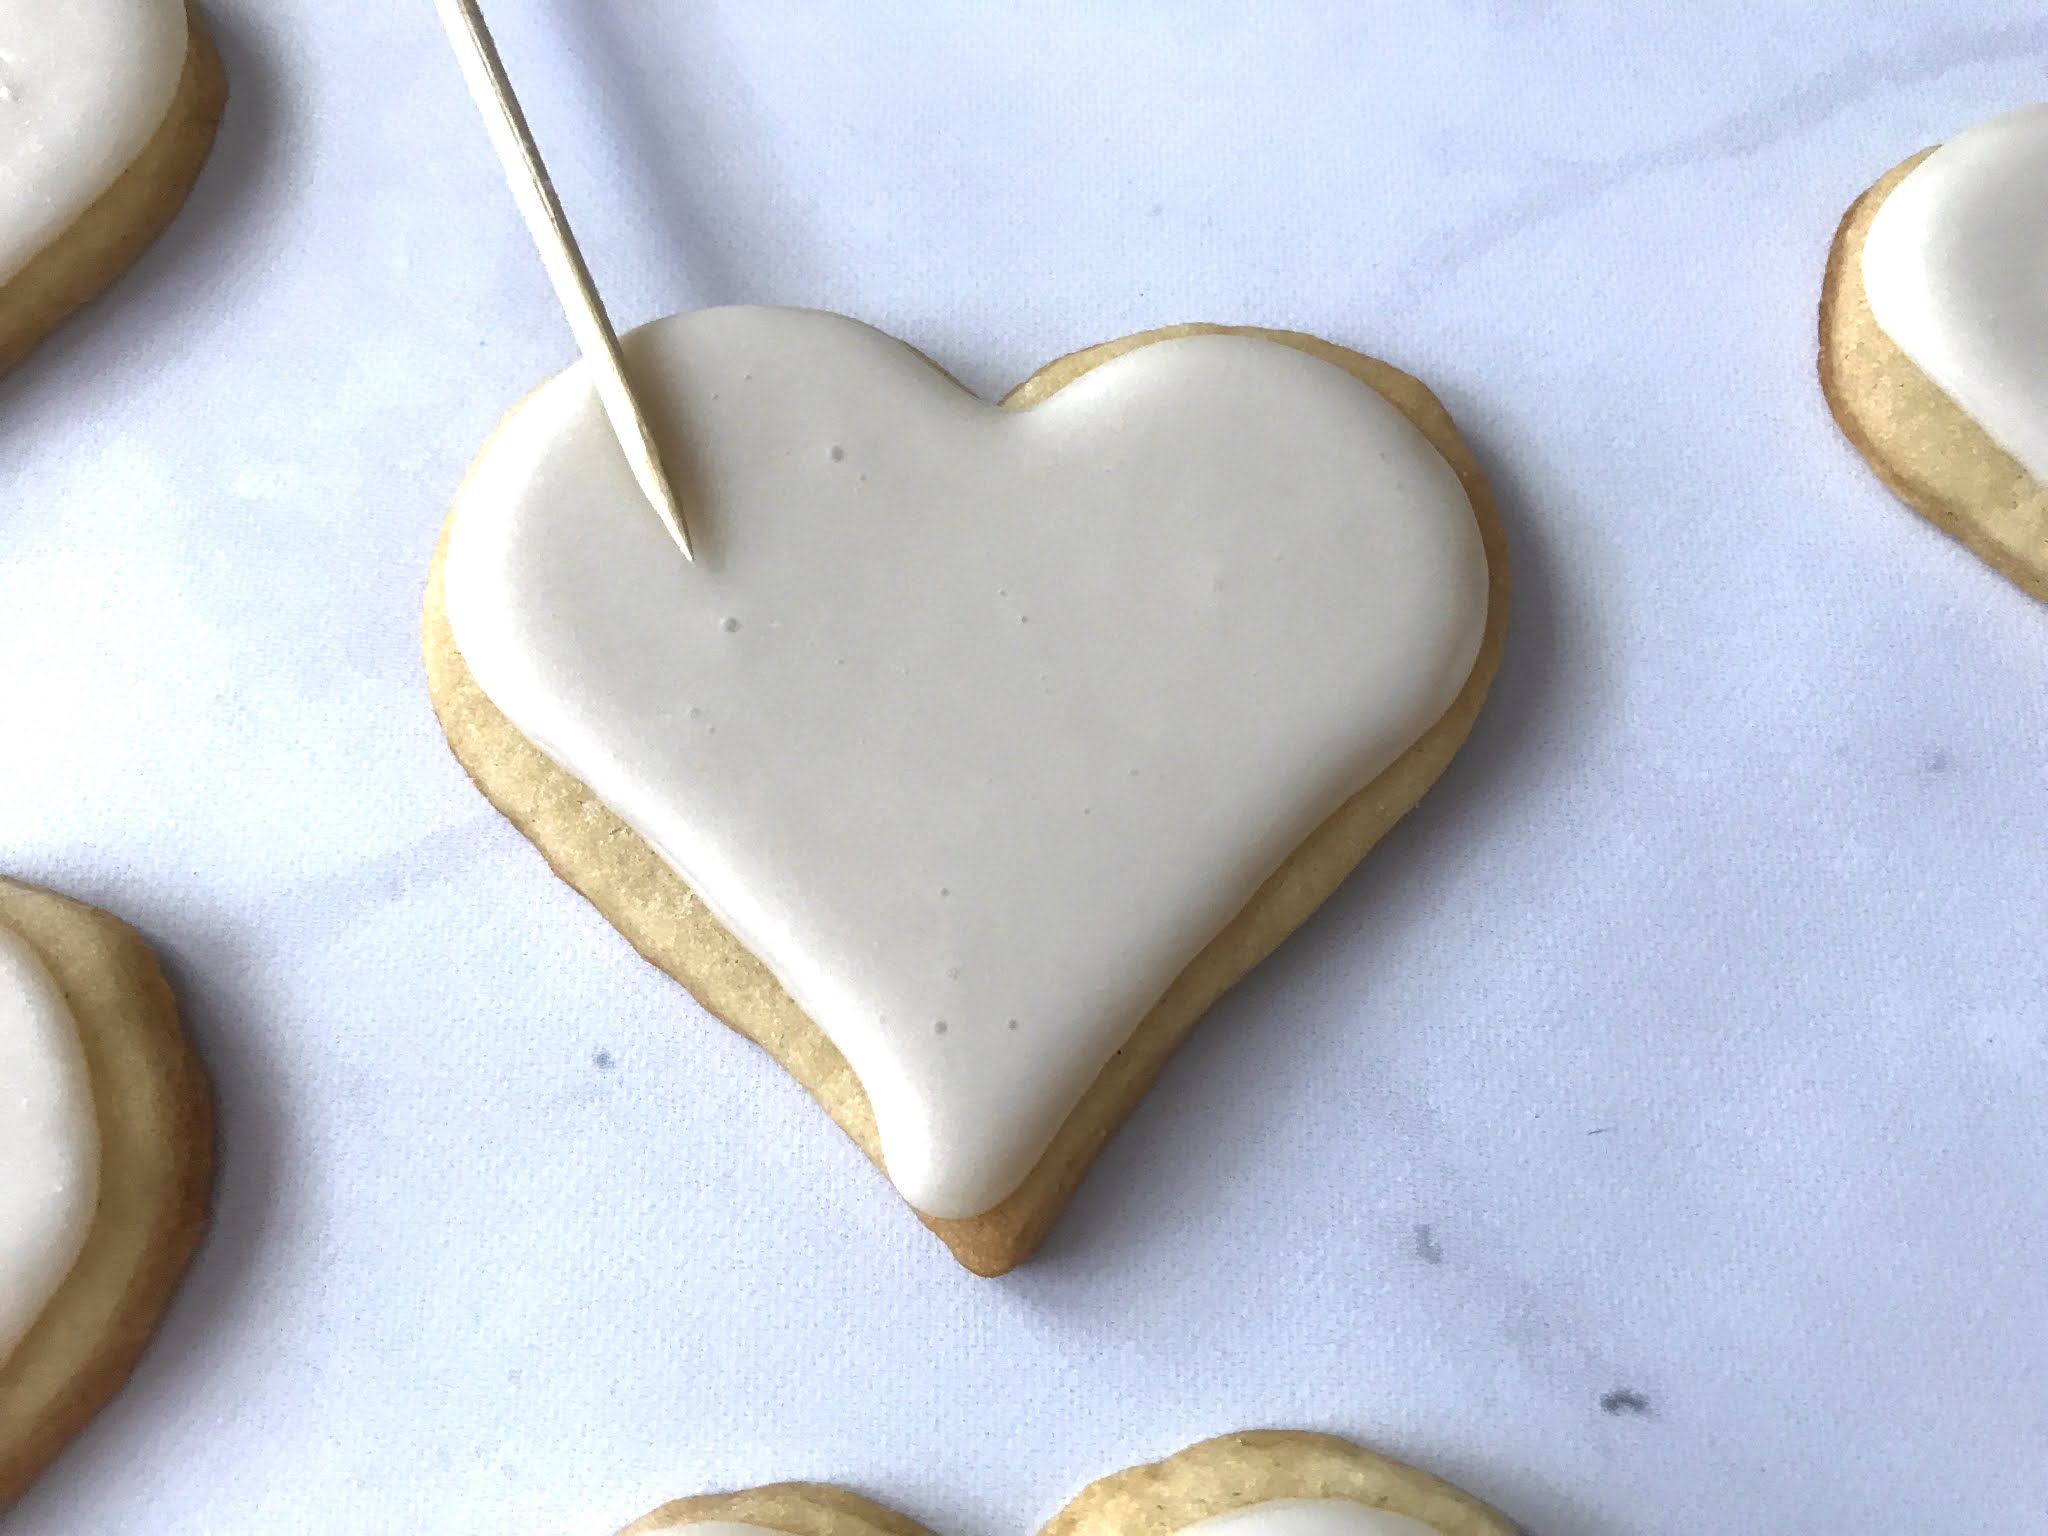
Use a toothpick to remove any air bubbles that form on the surface. Let dry overnight.

With a toothpick, coat the tip with the gel food coloring. brush it off into one of the wells. Fill one well or a small container with the clear vanilla or vodka. Dip your paintbrush into the gel and dilute with the vanilla/vodka.


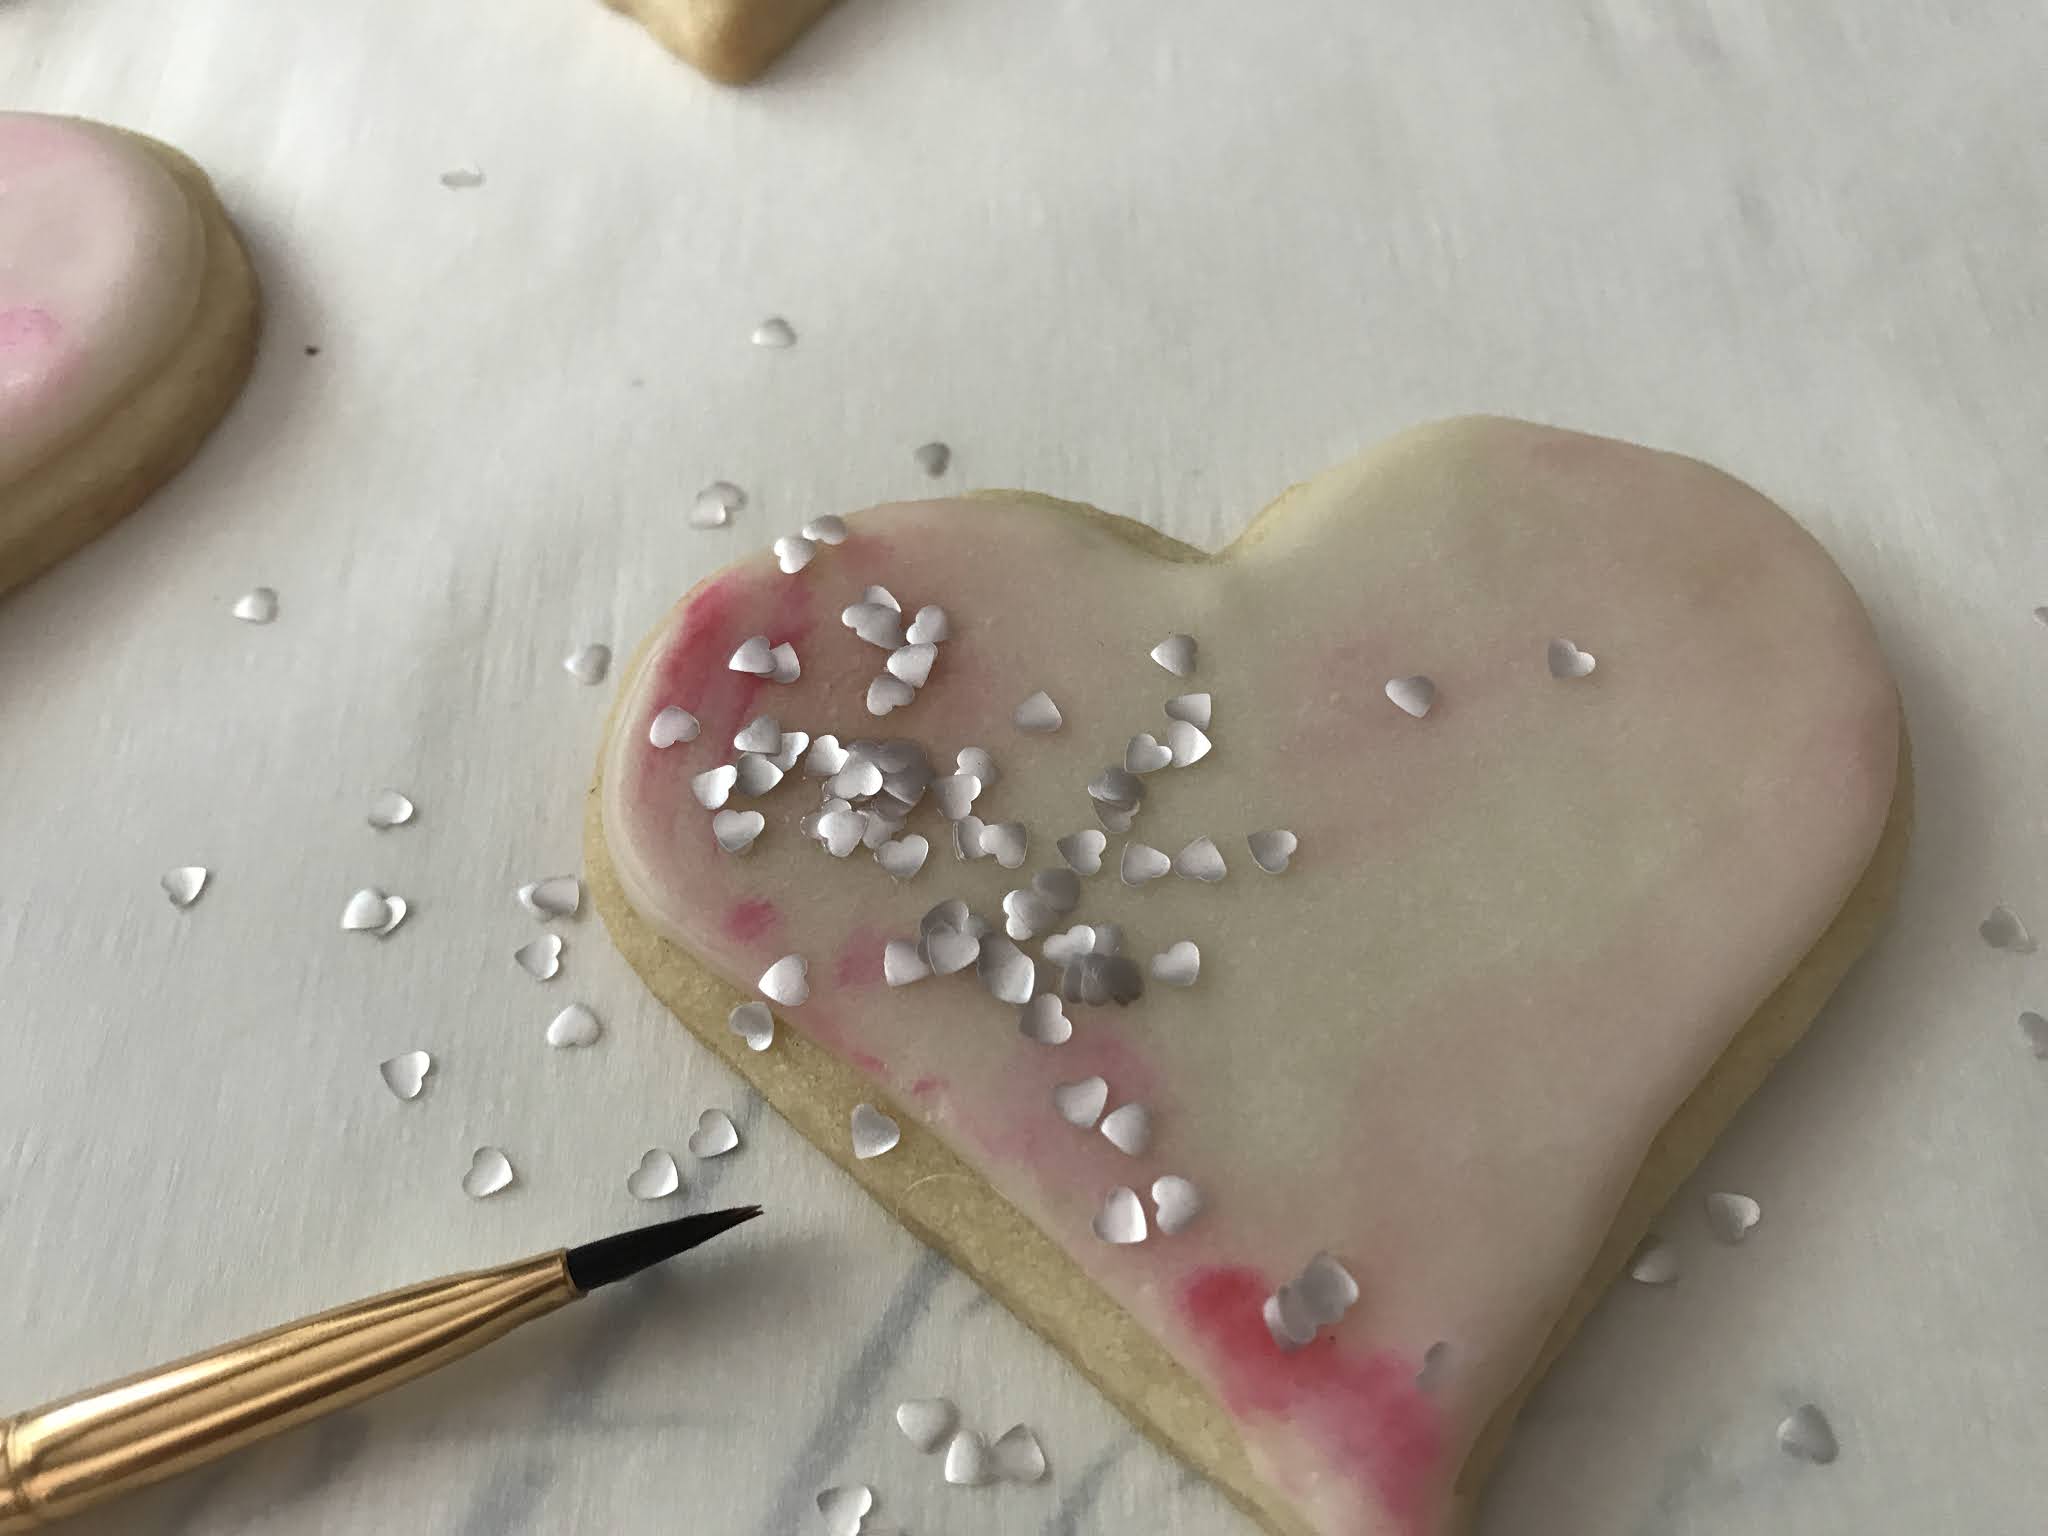
I applied the same color, only a bit darker, less diluted. I was going for a soft impressionist look, so I used small blotches and tiny bits of color. If you apply too much color you can wipe it off with a paper towel. Let dry.

Apply a light coat of vanilla/vodka to the surface of your cookie where you are planning to accent with the tiny heart sprinkles.


At the start of every summer, I make a list of house projects that need to be addressed. You know it as the honey-do list. I’m the honey. So I decide what goes on the list. It feels so good crossing off one item after another. Such a sense of accomplishment. This summer is no different, with several small to-dos and one rather large to-do (but more about that later this summer). For now, one that always bothers me is the entrance from the garage into the house. I fondly call it the Owner’s Entrance. It is nothing more that two steps up and in. Nothing glamorous. Naturally, I would like it to be less utilitarian. With a little imagination and a little love it could be a nice welcome home. A small place to hang things like damp pool towels, market bags and dripping umbrellas. A place to sit when removing your shoes. A simple bench and a simple peg board. But first, the peg board, later the bench.


(1) 1” x 4” x 42” Wood Board.
(1) ¾” Wood Dowel
2” Wood Screws
3" Wood Screws
Level
Drill
Clamps
Counterink Bit
Saw
Tape Measure
Square
Sand Paper

For a 42” length board I am using 7 pegs.
To determine placement for your pegs, use this formula... number of pegs + 1 , then divide by the length. So, 7 (pegs) + 1 = 8. 42 (length) divided by 8 = 5.25 So, there will be 5 1/4" space between each peg.

Start on the left hand edge and measure 5 ¼” and put a mark. Measure over another 5 1/4" from the first mark and make a second mark. Continue until you have made 7 marks (one for each peg). They will be equally spaced along the board.


Measure 3 1/2" on the dowel and cut. Repeat for remaining pegs.
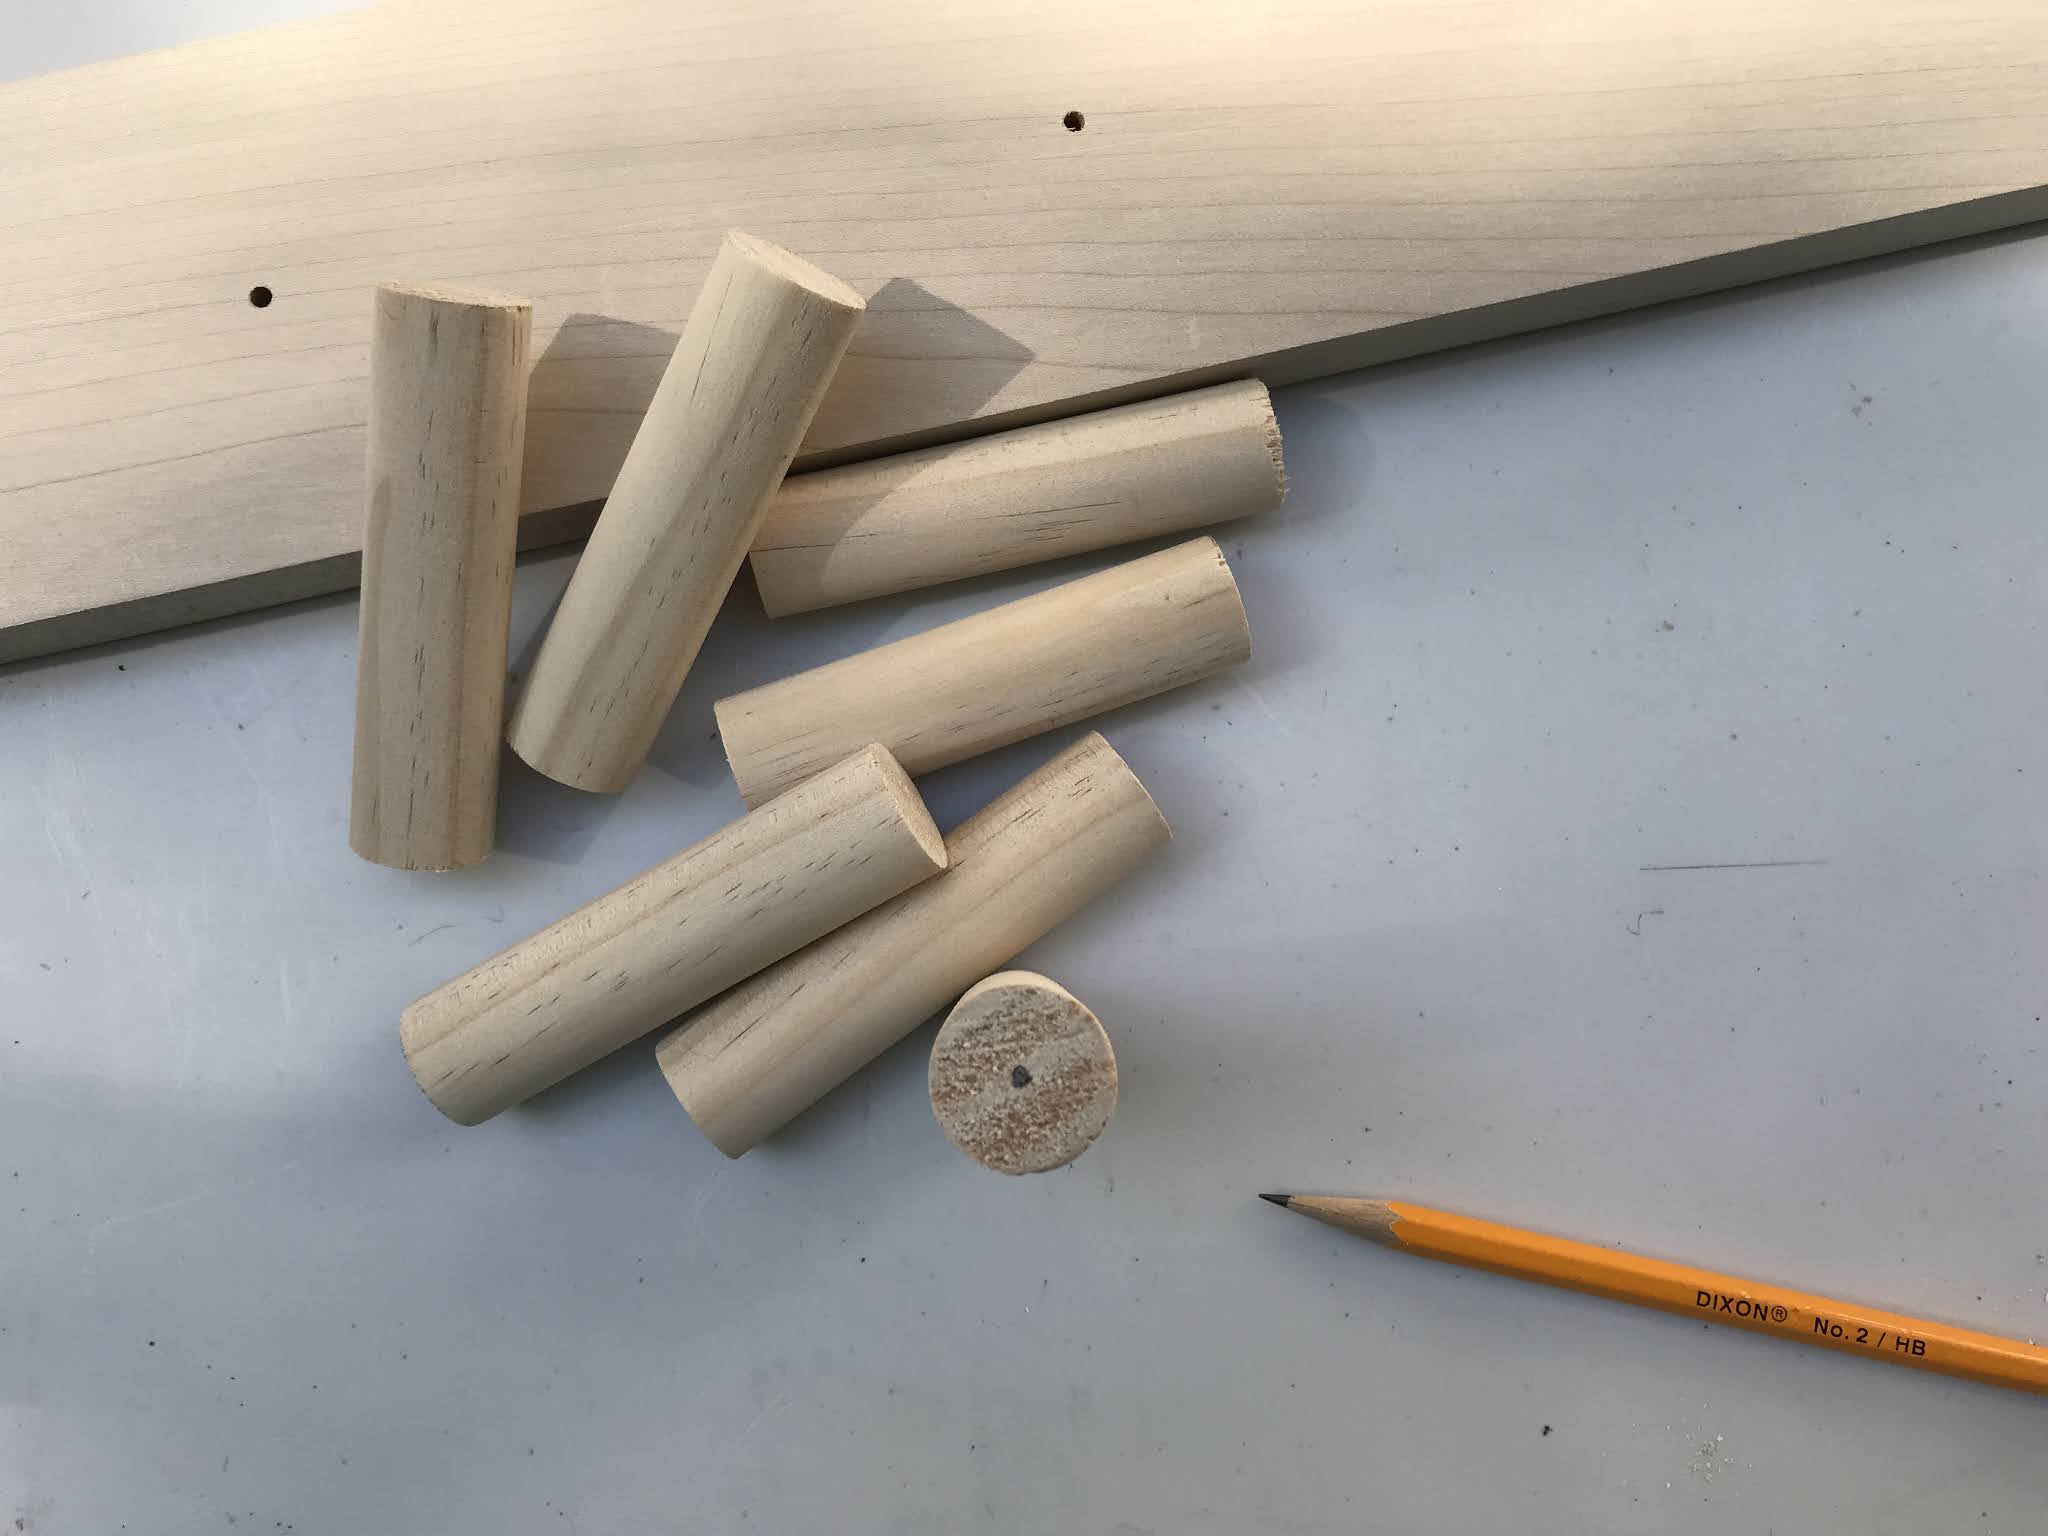
Mark the center on one end of each of the pegs with a pencil.

Drill hole 1” deep into the end of the peg. Sand all ends. Set aside.


Turn the board over to the front. The screws will be extending. Take one peg and screw it onto the wood screw. Turn the peg until it meets the board. Repeat for all pegs.
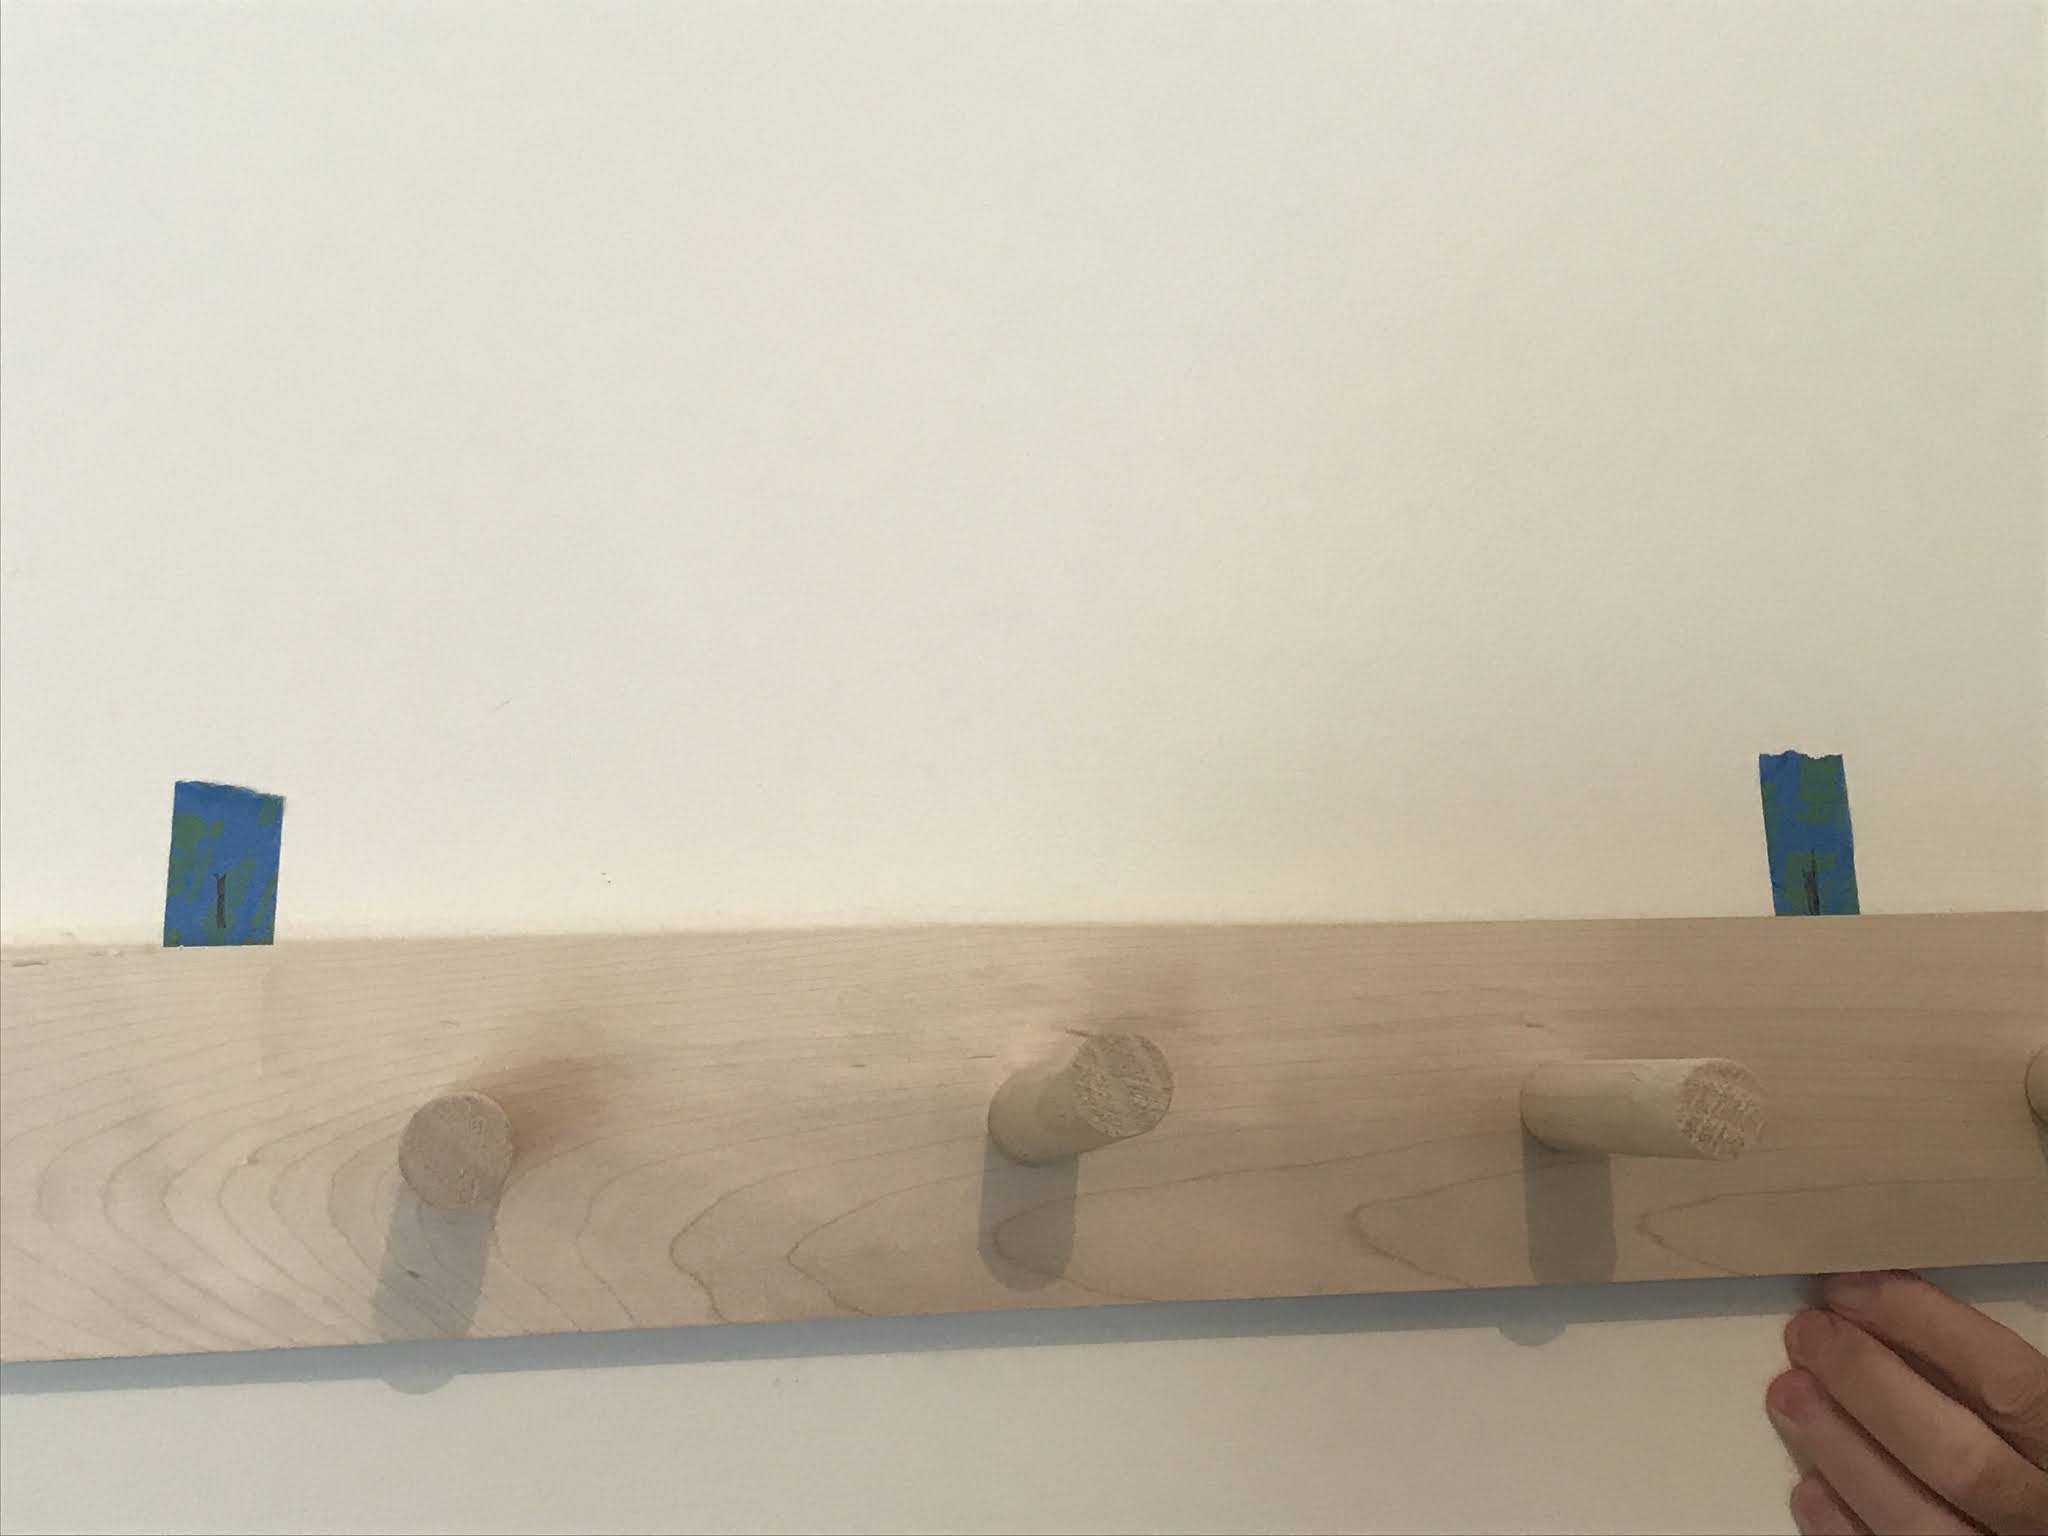
Locate on the wall where the studs are and mark.


Hold the board up and make sure the board is level. Make a mark on the board where the stud is located.You should have one on the left and one on the right. Two screws is probably all you need to hold a board this length.


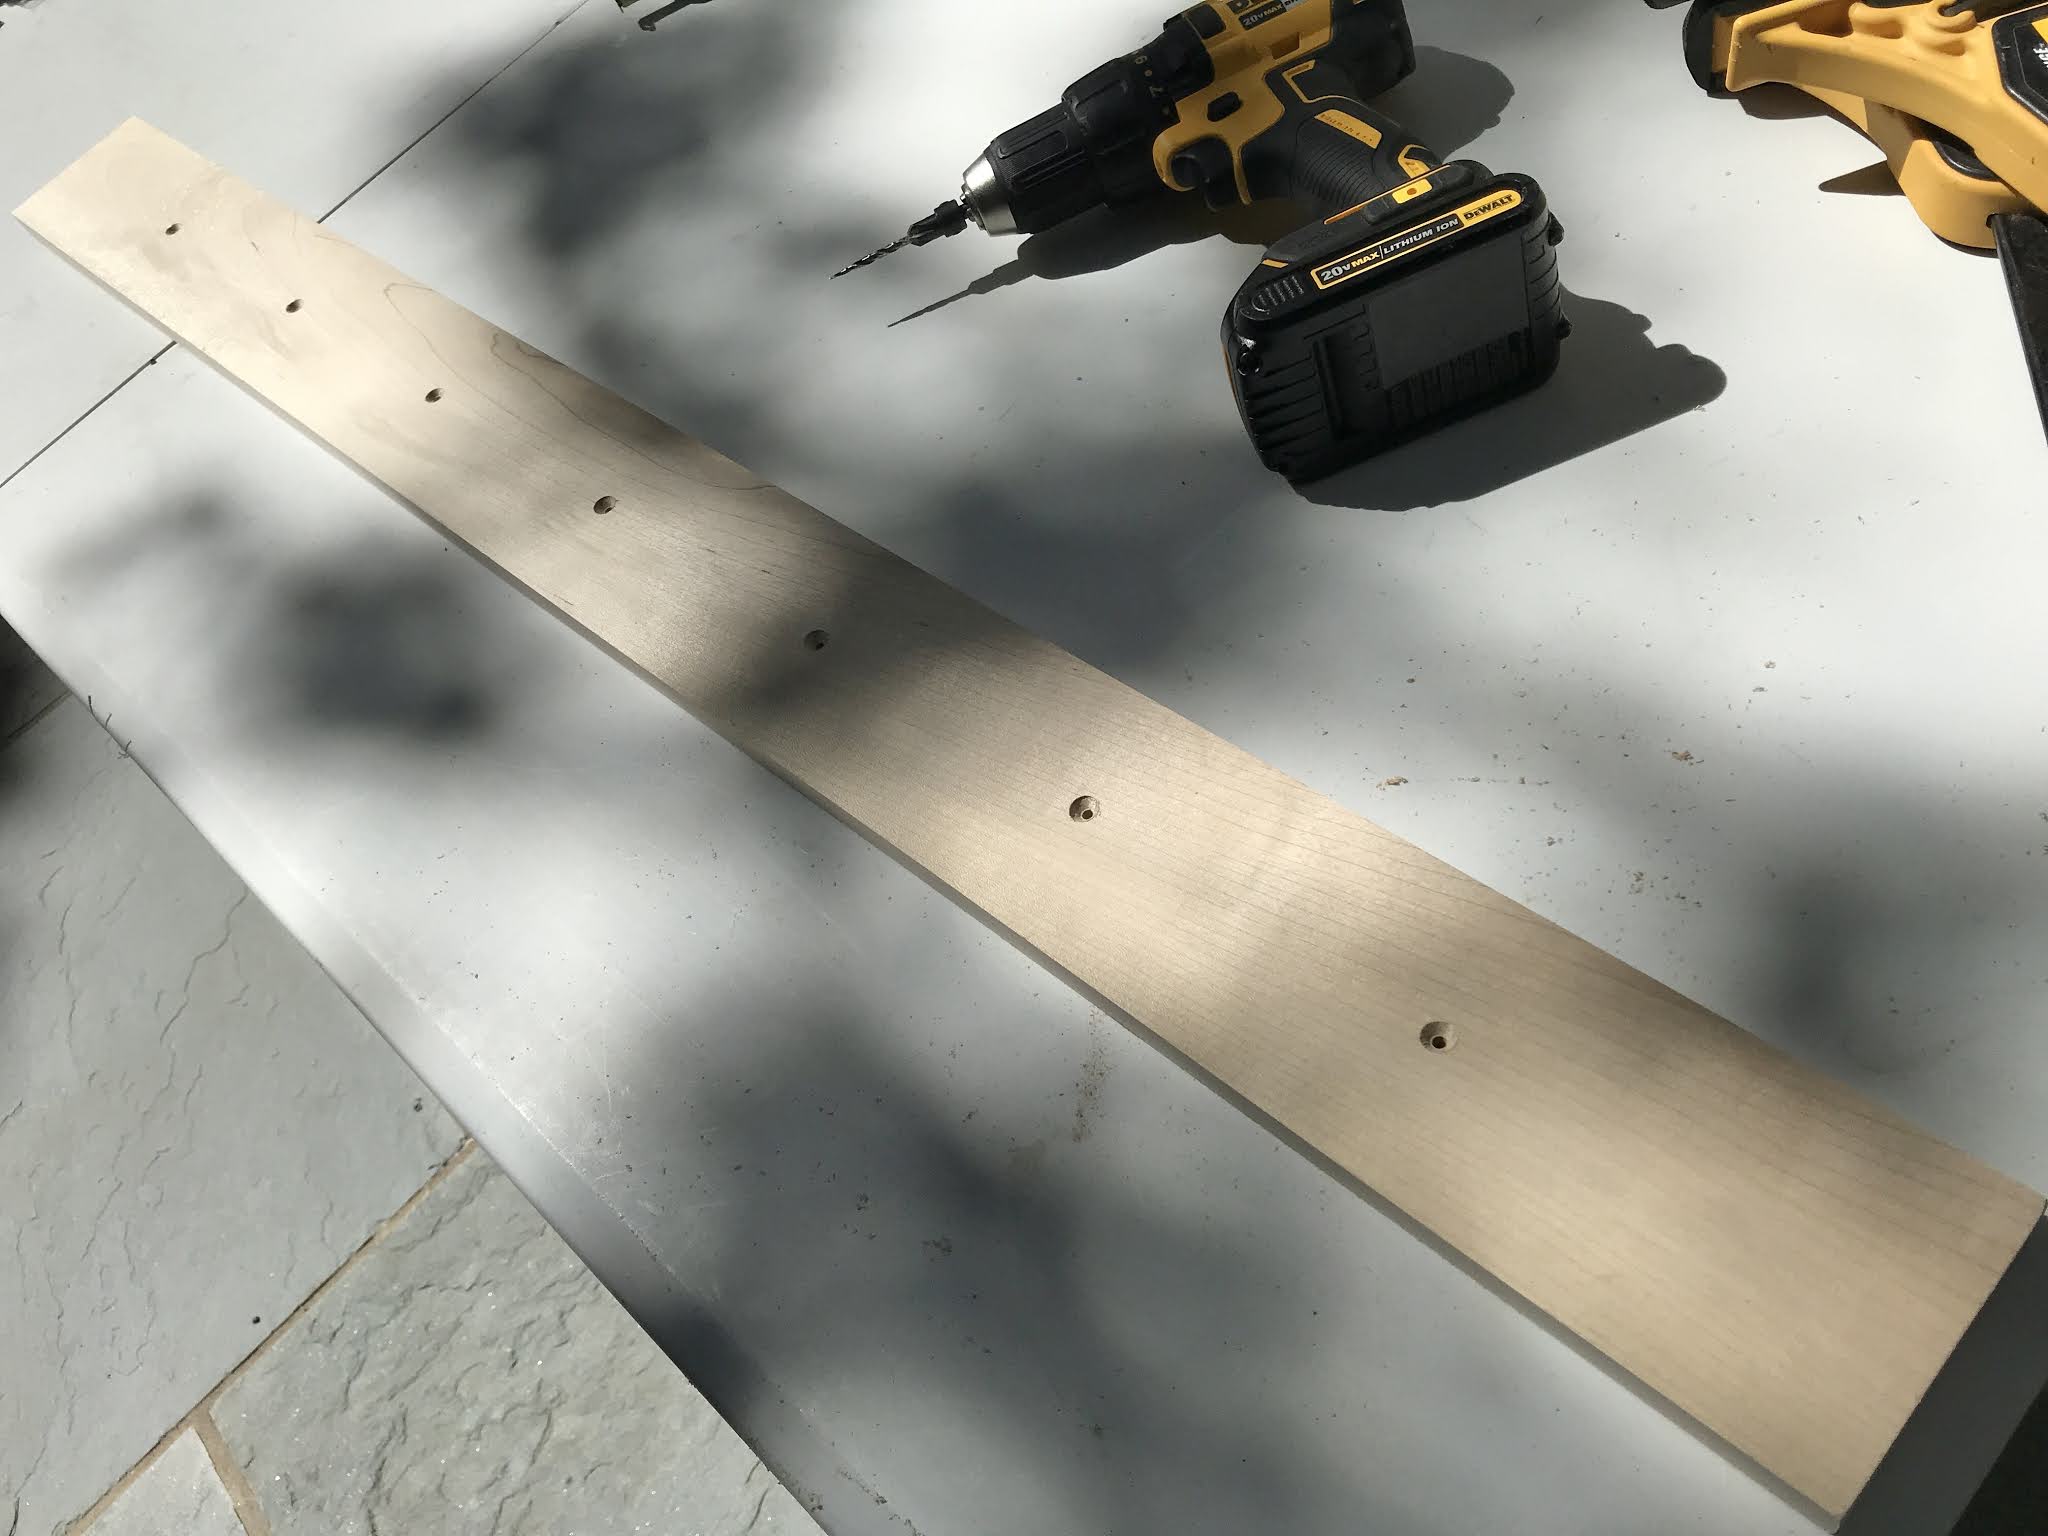
Using the countersink bit, drill a hole on the two new marks.


Hold the board in place, using the 3" wood screws attach the board to your wall. Repeat for the second hole. Remove tape.


