
Is your porch in need of a little instant charm? If yes, the solution is a house number porch pillow! This little pillow is
all about adding a unique touch to the most important feature of your home-The Entrance.
With your house number on it. How original! Instant curb appeal and the value of your house just went up! Prop it on a rocking chair, lay it on
a bench or angled just so on the stoop. Made with Sunbrella fabric, it will endure
all the weather you can imagine, and remain beautiful season after season.
Every house needs one of the little cuties.


Where ever home is...

This is what you will need-
½ Yard Sunbrella Fabric...Link here.
Scotch Tape
Pencil
Decorative Ribbon
3” Number Stencils...Link here.
16” x 12” Pillow...Link here.

If you cannot sew, there is somebody near you that can. Most local dry cleaners that offer alterations can construct this pillow for you once you have added the numbers. You cut it out, paint the numbers and they do the rest. Simple. It is still custom and it still is fun.

If you cannot sew, there is somebody near you that can. Most local dry cleaners that offer alterations can construct this pillow for you once you have added the numbers. You cut it out, paint the numbers and they do the rest. Simple. It is still custom and it still is fun.
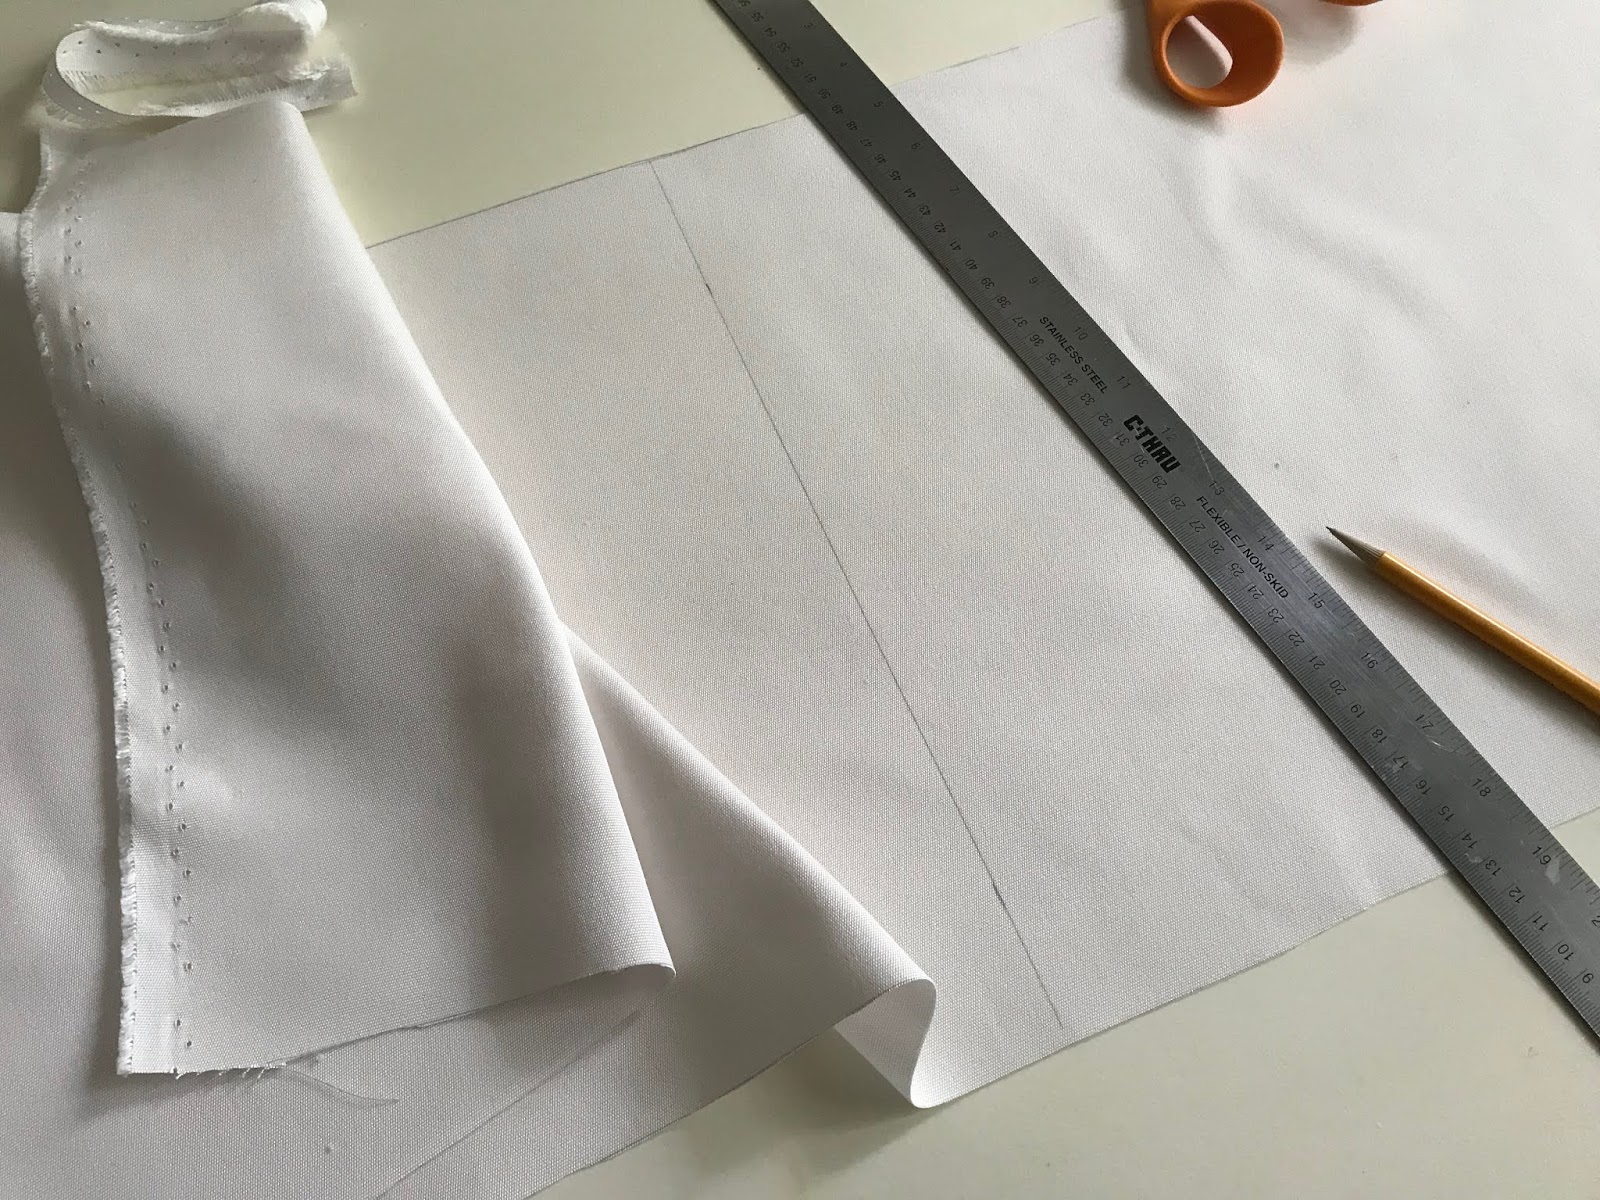

Cut three pieces of Sunbrella fabric (1) 18” L x 14” W, (2)
15 ½” L x 14” W, (3) 7 ½” L x 14” W. Sunbrella is a terrific fabric. You can leave this pillow outside all year and it will hold up to whatever comes its way and will look good year after year.

On the 18” x 14” fold in half by length, then fold in half by
with as shown. Pinch to locate the center.

Lay the fabric flat. Use a piece of tape, marked with an X
to locate the center of the front panel of fabric.


Lay the stencils on the front, using the center x as a
guide.


Space the stencils so there is about 3” from both edges with a 1/2" space between numbers.


With a sharp pencil outline each number. Because the stencils
overlap, just pencil in areas to form lines you can go back to later.


Lift off all the stencils. Place one stencil at a time back
on the fabric using your pencil registration/marks as a guide.


Slide a sheet of card stock under your fabric to protect the surface you are working on. Test out your fabric markers on some extra fabric. With the fine tip marker, trace a number on a scrap piece of fabric. Use a larger tip marker to outline the fine tip line. Good to practice.


Place the stencil back on the numbers and use the fine point
to outline the number over your pencil line.

Repeat for all the numbers.


To use the “fill” marker, you will need to shake the pen,
then press and hold the point on a scrap to get the paint to flow to the tip.


There are several different tips in this package to use-fine
points for narrow areas and wide tips to fill open areas of the stencils.


Trace and fill in all your numbers. Repeat filling in the spaces several times until you cannot see the fabric underneath.

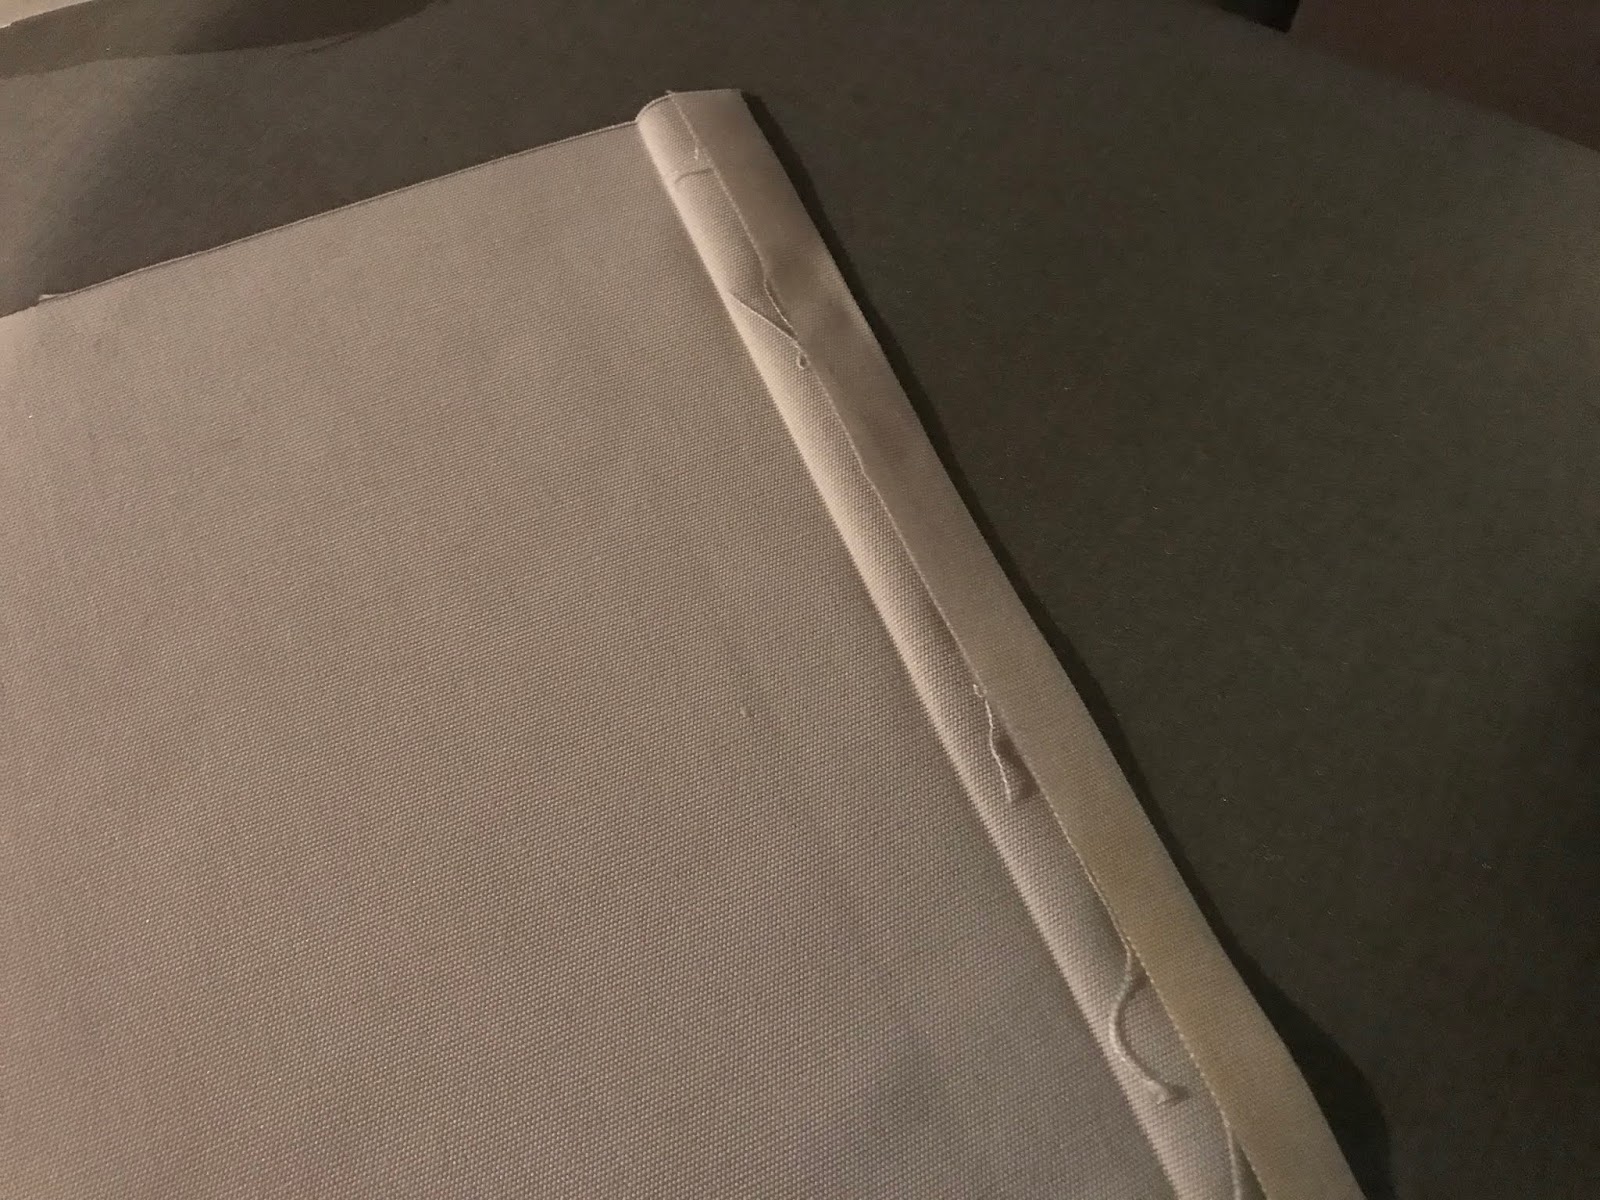

Assemble pillow- press along the 14” with ½”, then fold 1”
over to clean finish both edges. Press.

Stitch edges down.

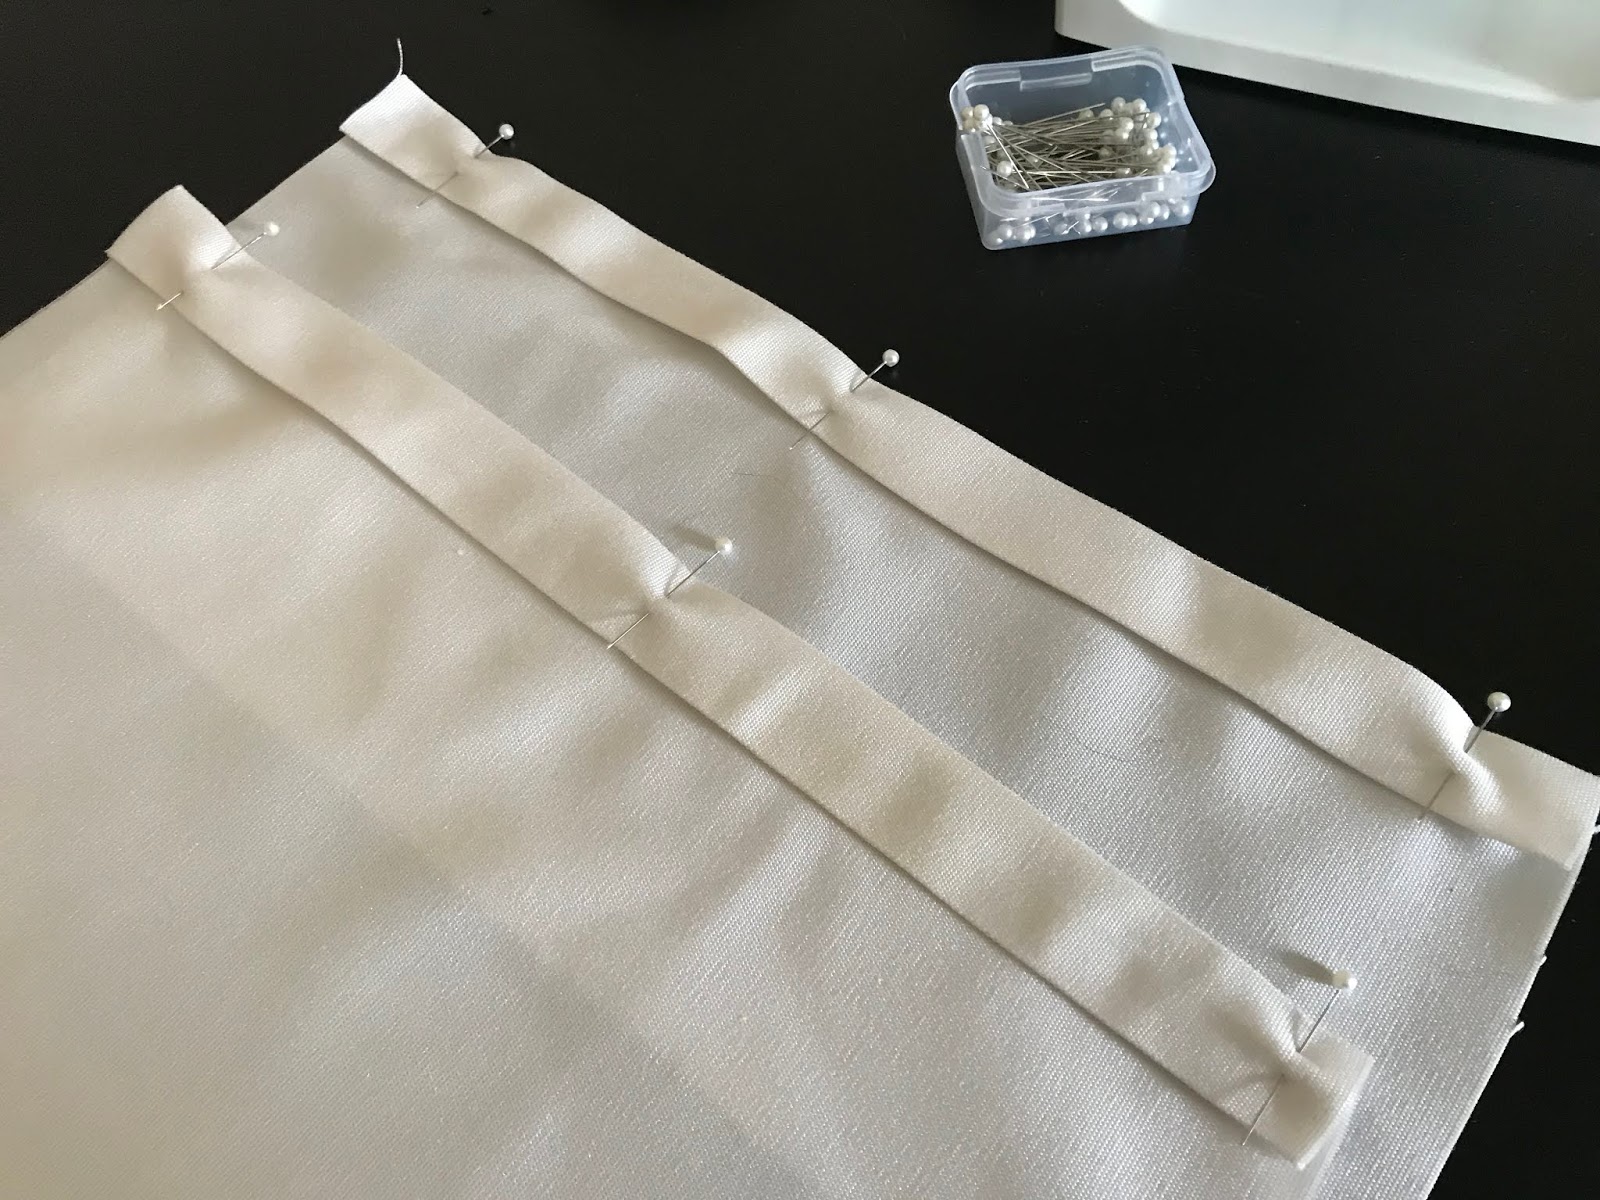
Cut two lengths of ribbon 9”.

Measure 7” down from top edge of both fabric backs to find center.
Mark with pins.

On the smaller pillow back, center ribbon 2” from finished
edge. Place decorative side of ribbon on the fabric. Fold the cut edge over 1/4”,
the again another ¼” and pin in place.
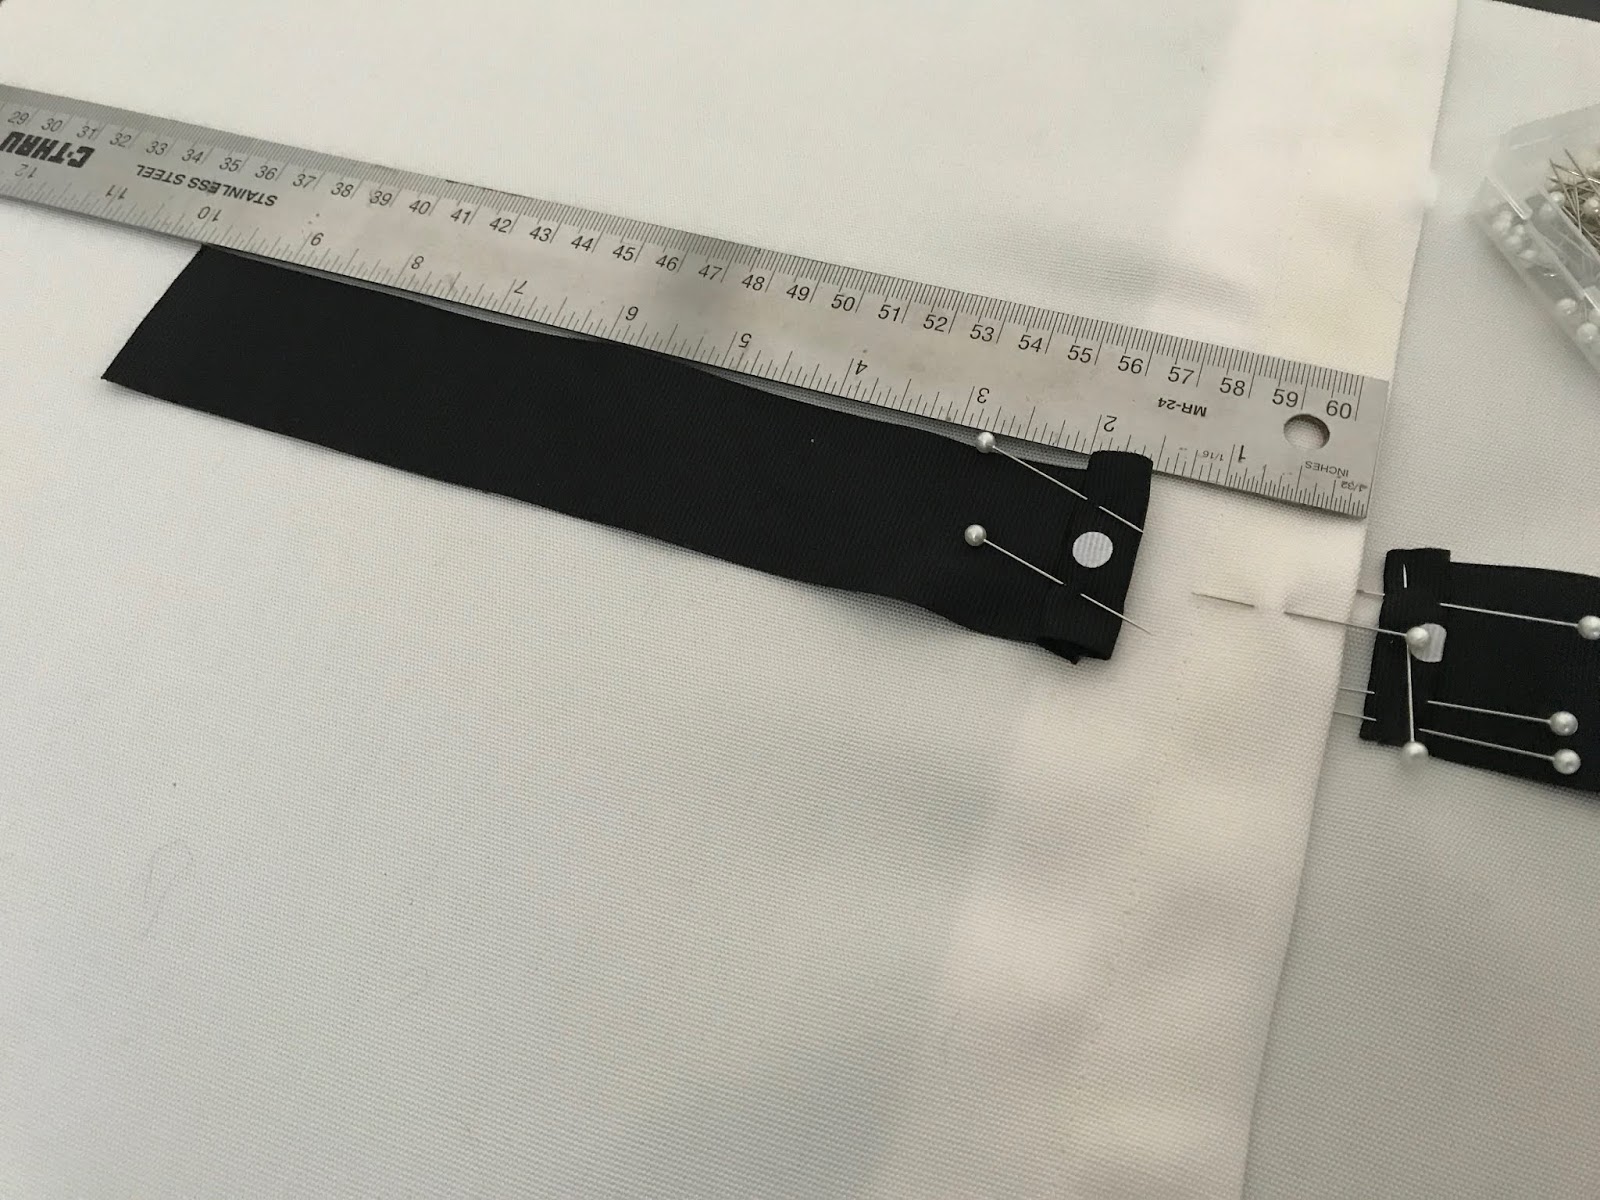
Repeat for the larger back panel, pin 1 ½” from edge.

Topstitch both ribbons to secure.


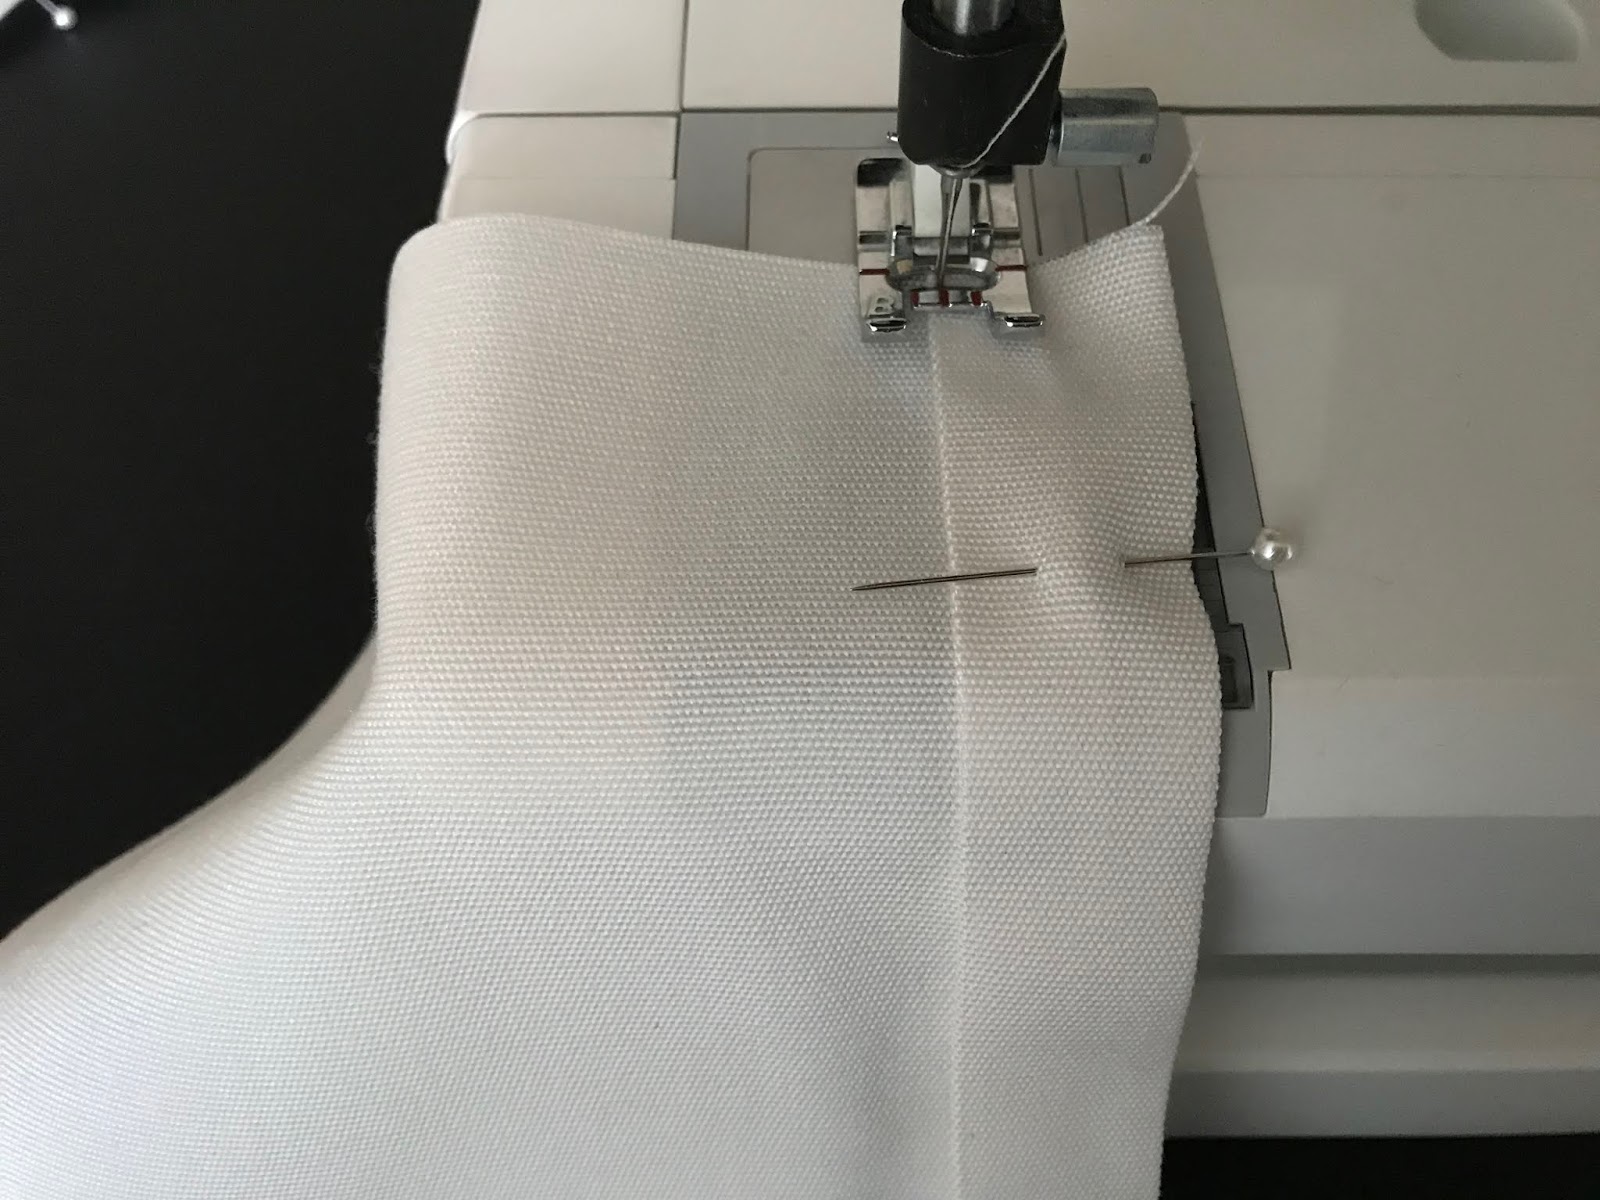
Lay the pillow front down. Place the larger back panel down
as shown. Pin in place.


Place the smaller back panel down. It will overlap the
larger panel. Pin in place.

Sew all four sides together with ½” seam allowance.

At the corners, turn fabric and stitch two or three stitches
at an angle. This will help to make a nice square corner.

Clip excess fabric from corners.

Press open all seams.

Turn right side out. Press.

Topstitch along the outside ½” from edge. The rough cut edges of
the fabric will be nicely tucked in the lip on the inside of the pillow.


Insert pillow.

Tie a knot. Cut ribbon with an angle to prevent fraying.
And done.


Front or back...

You make it home...


0 comments:
Post a Comment